Setting up your Contacts QuickStart Guide
- How to Add and Edit a Contact
- How to Set up Activity Accounts
- How to Create an Obligation Template
- How to Apply Obligation Templates
1. How to Add and Edit a contact
Does your organization need to manage contacts? MoneyMinder’s contact section makes it easy. Let’s walk through how to add and edit contacts.
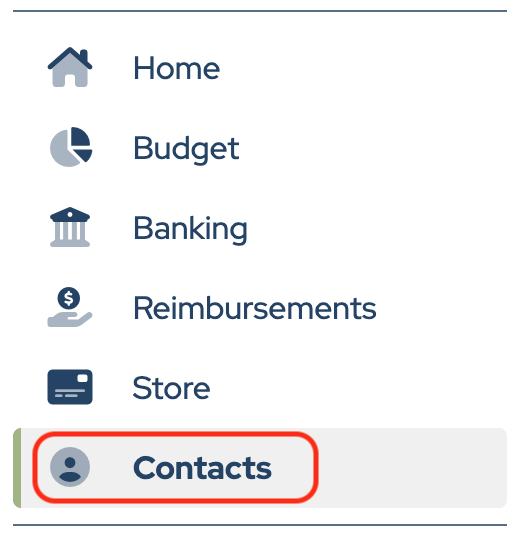
Click Contacts in the sidebar.
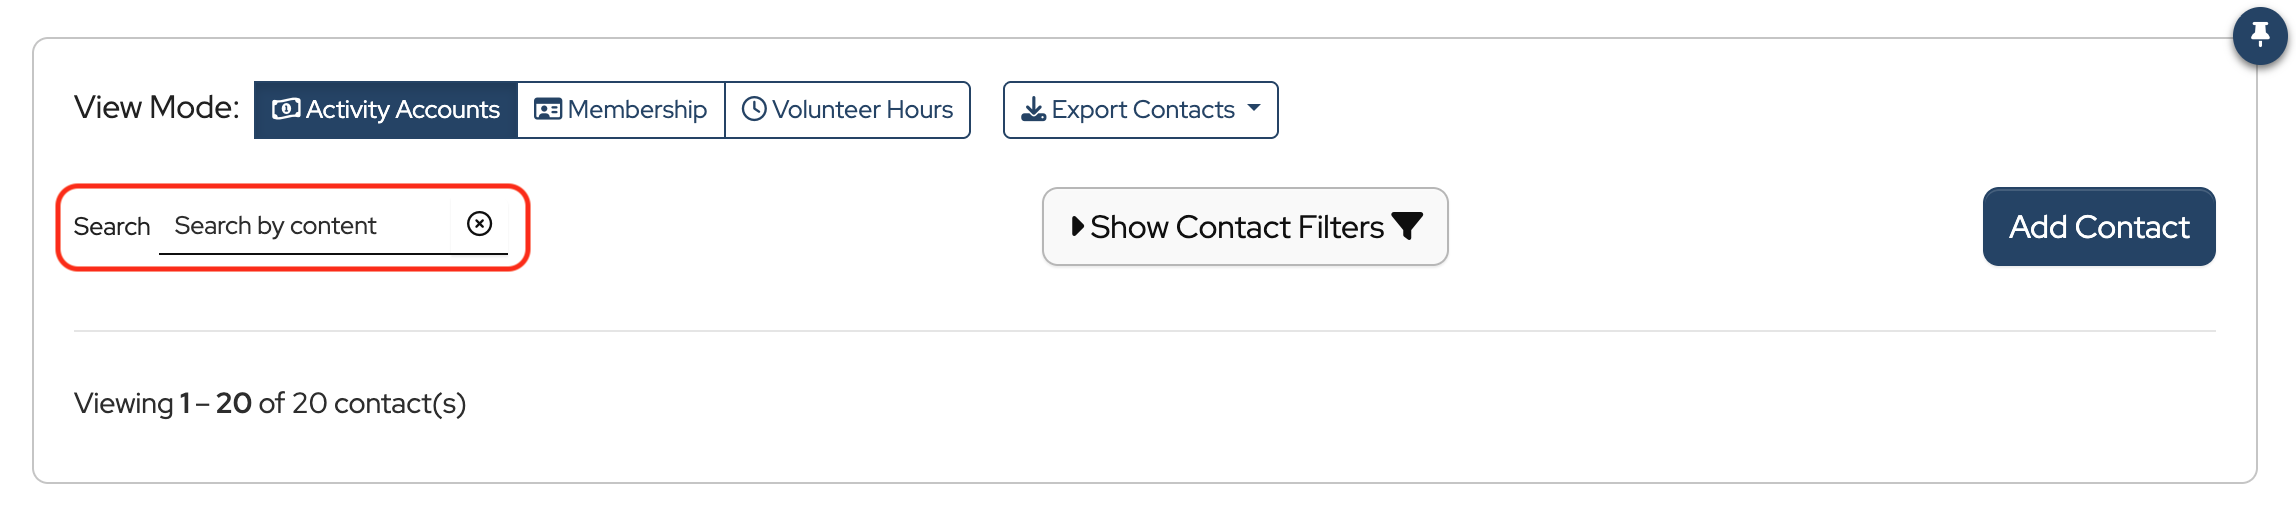
To quickly check if a contact has already been entered, type their name into the Search field. This simple step helps prevent creating a duplicate contact by mistake.
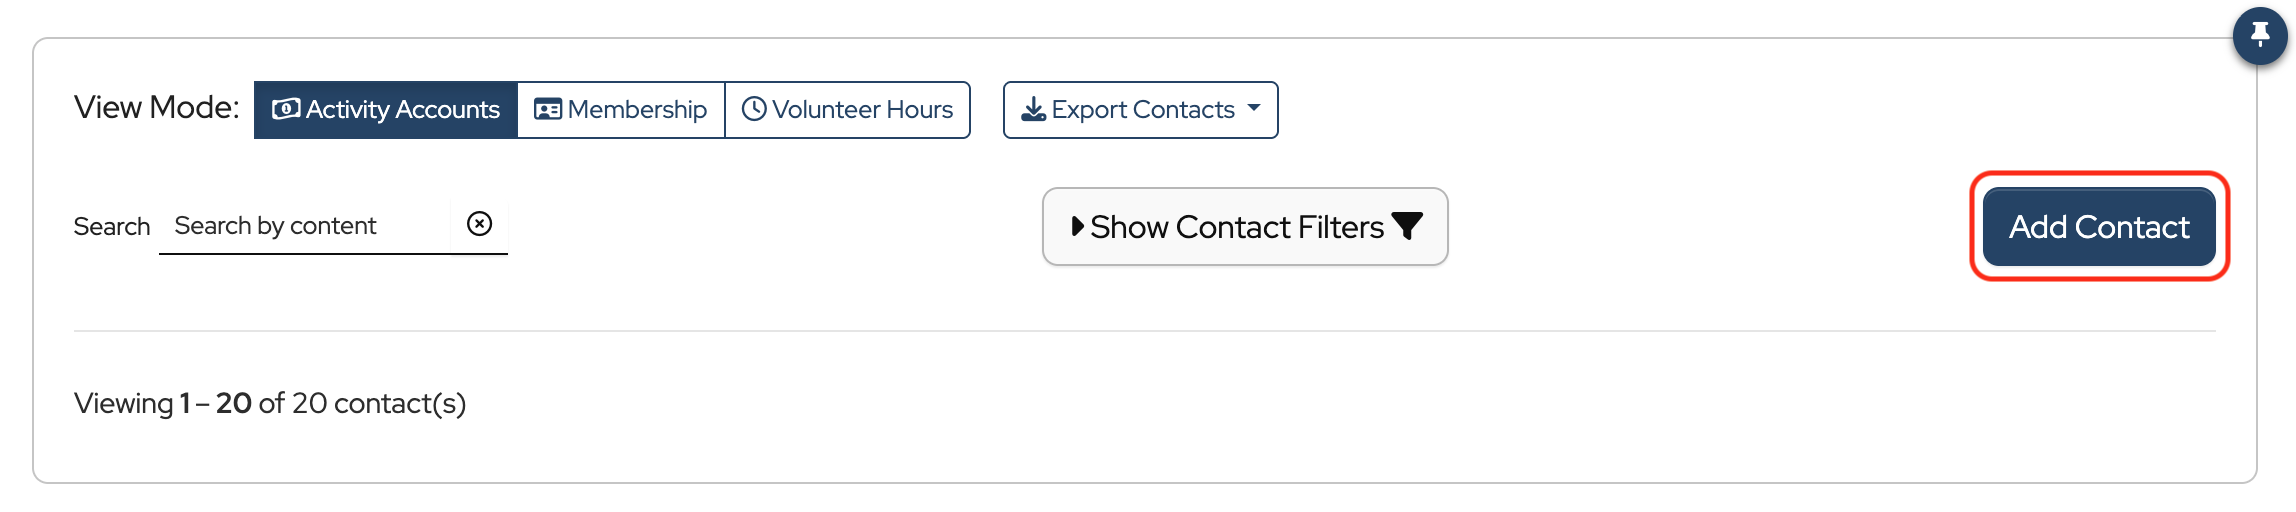
Add a contact:
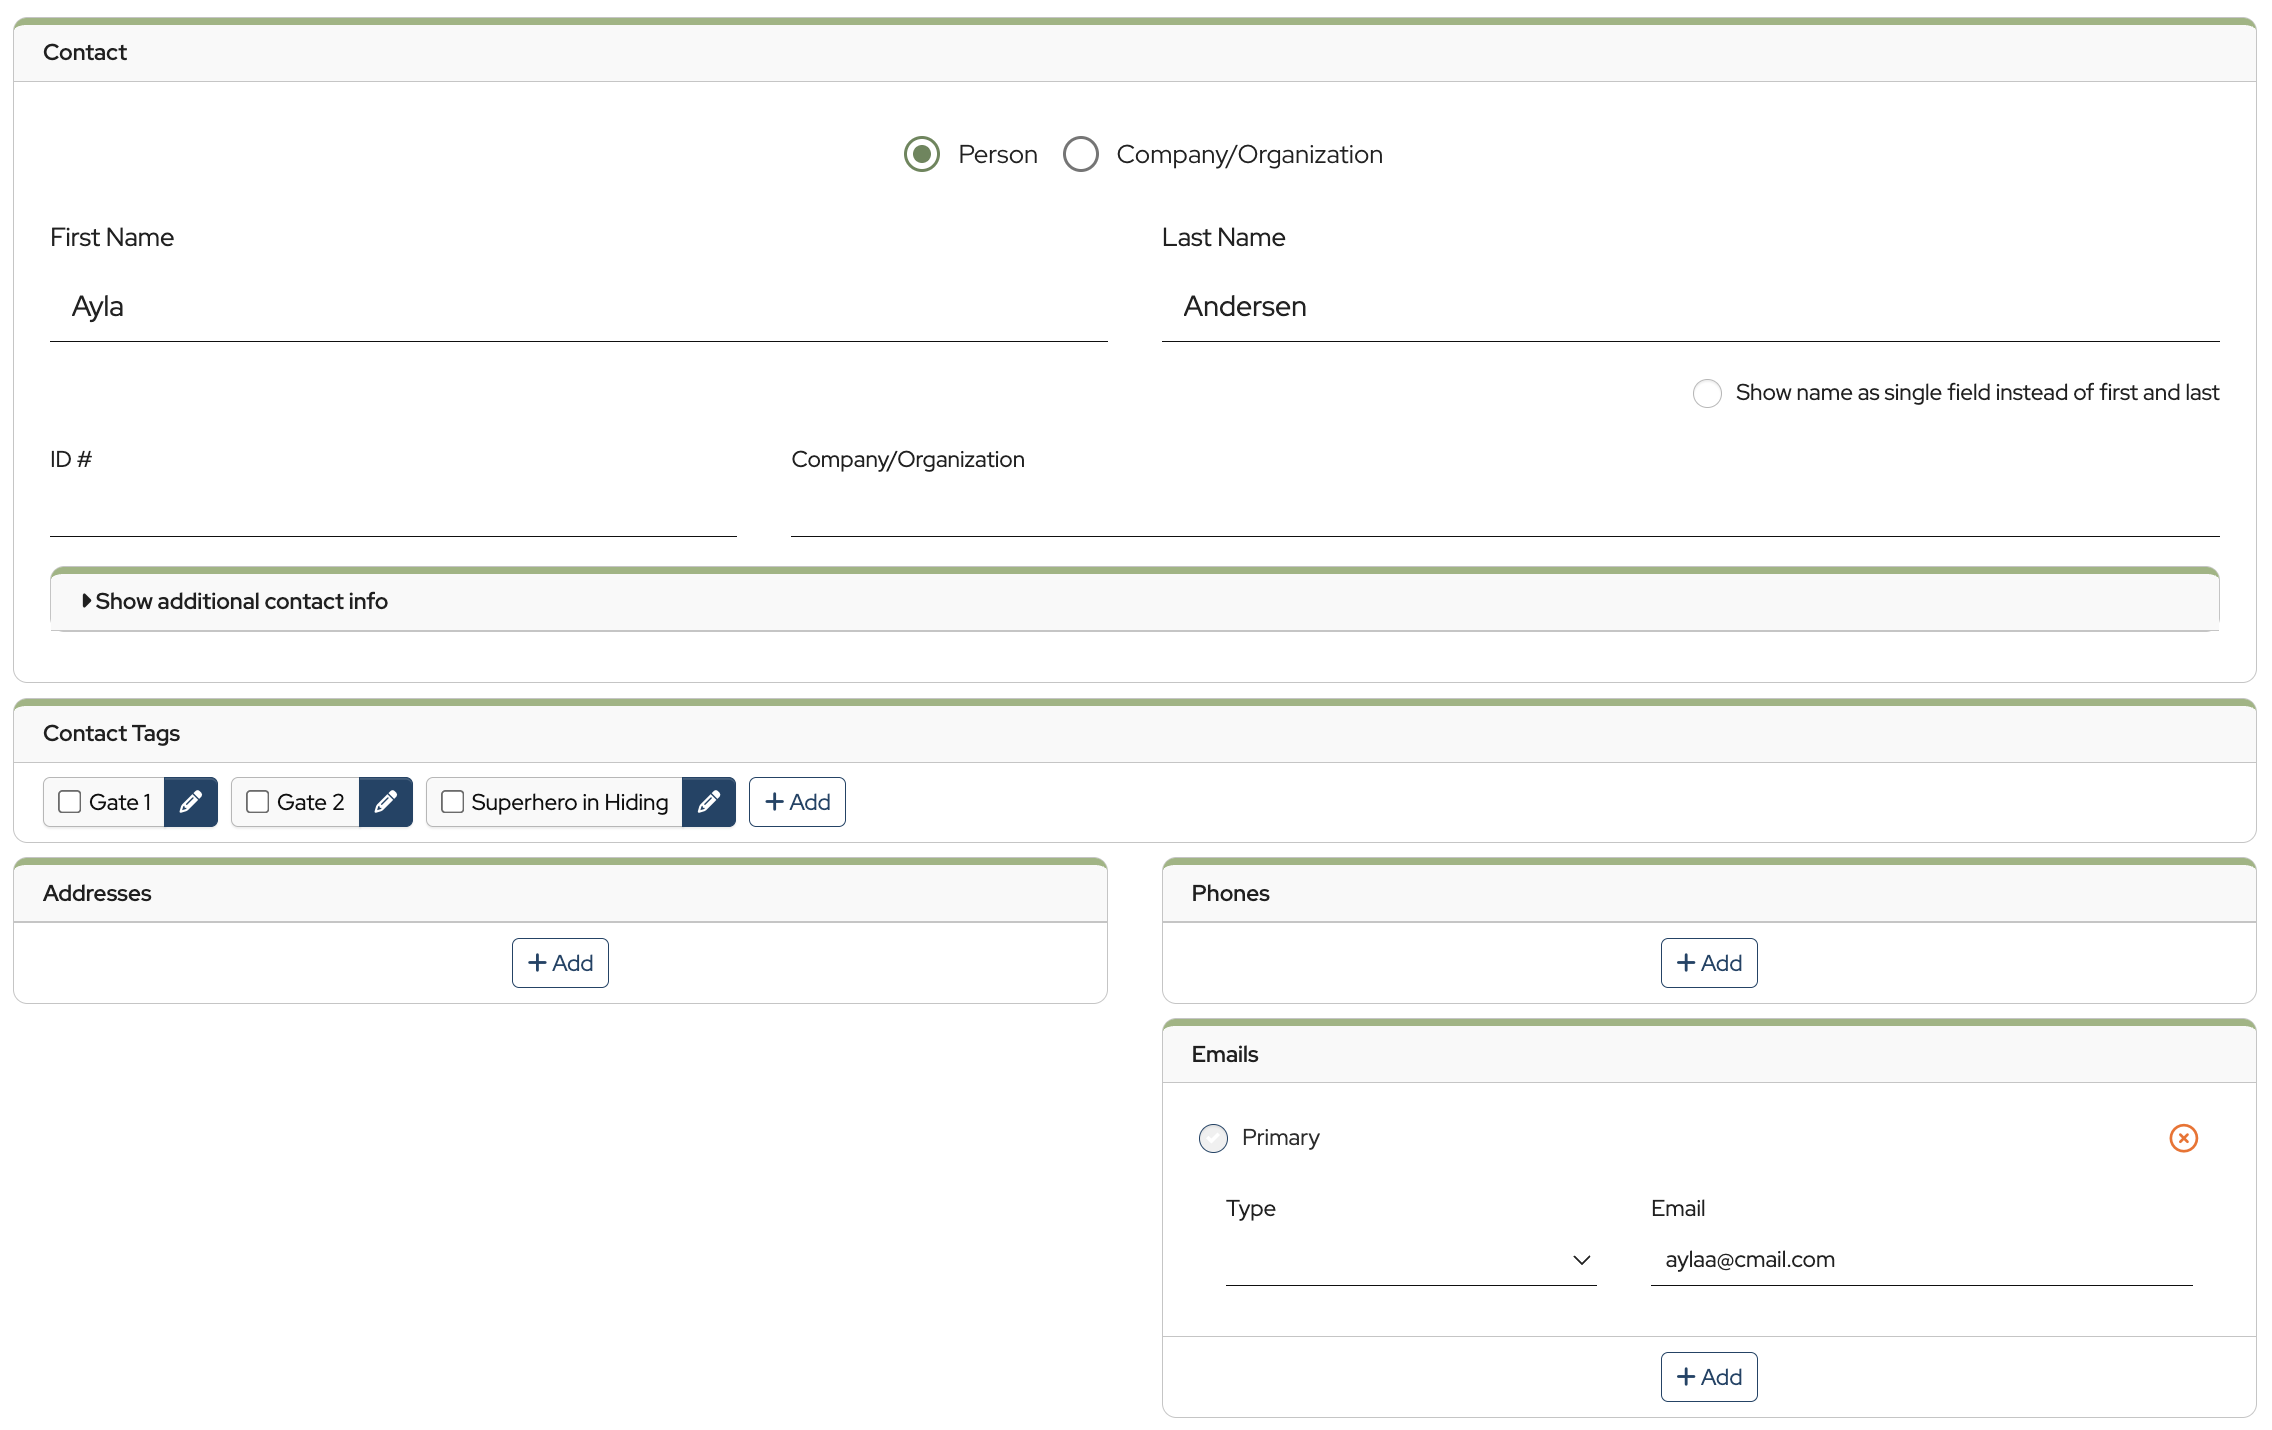
To add a new contact—whether it’s a person or an organization—click Add Contact.
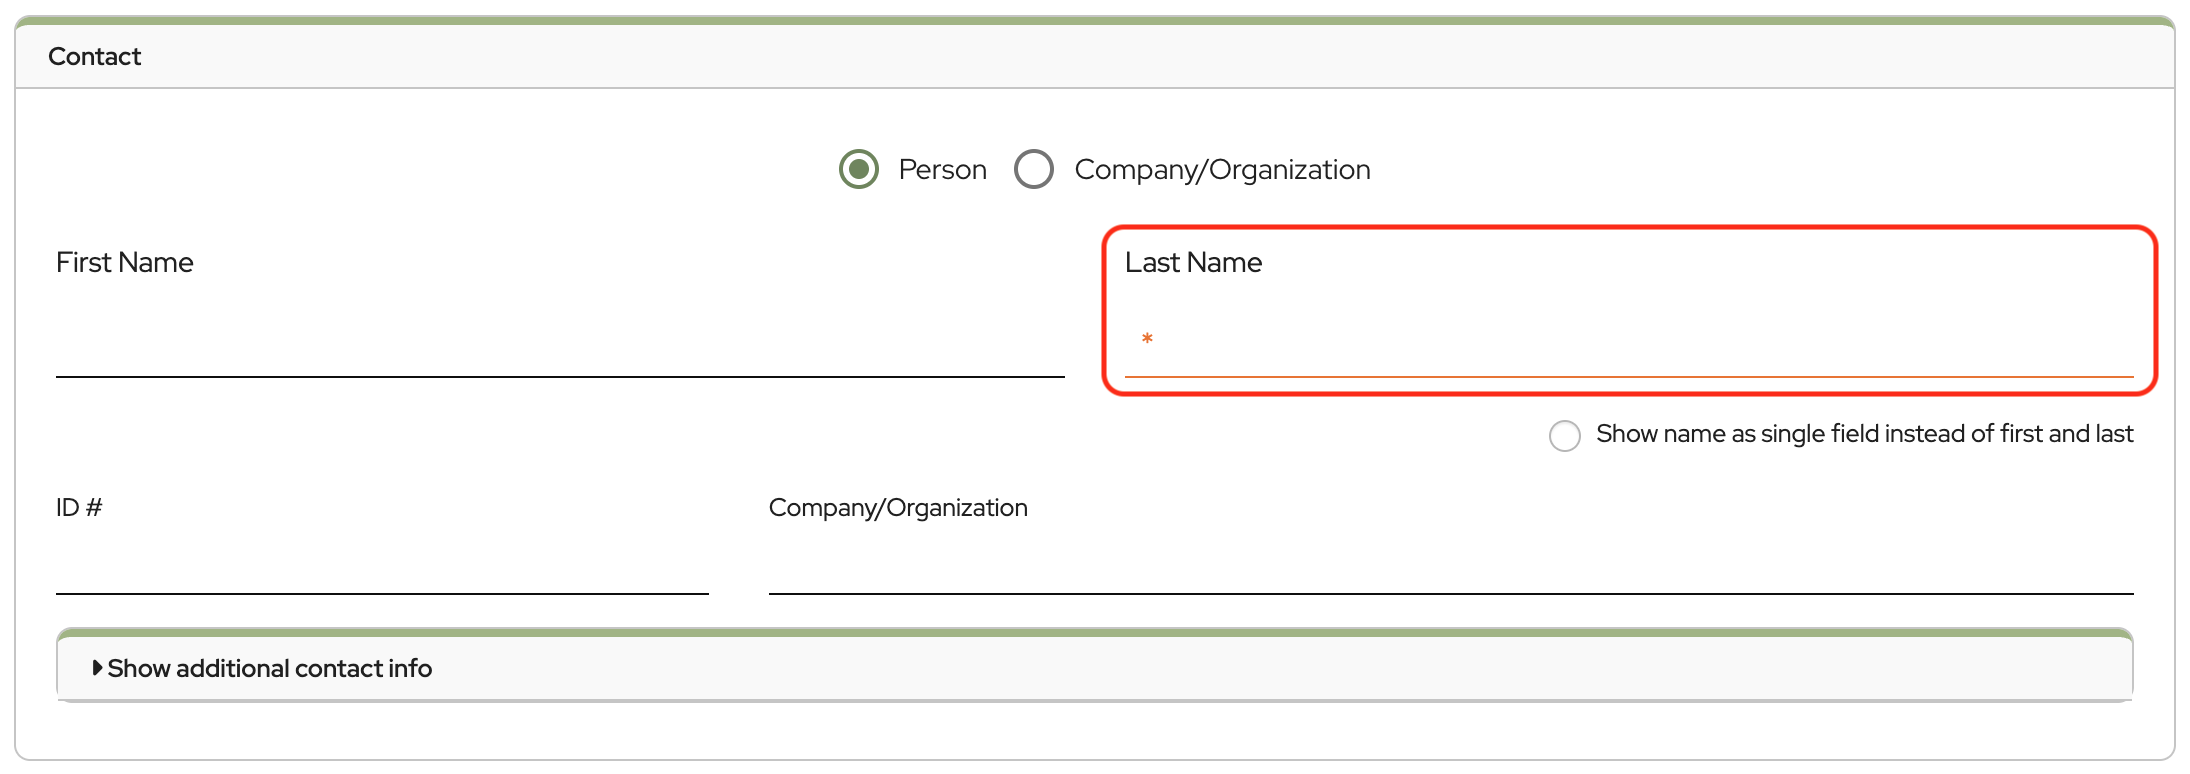
Fill out the pertinent information. You must enter at least a last name or company name.
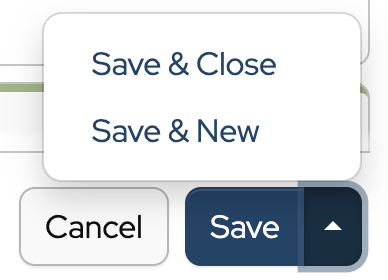
Once all of the desired information has been entered:
- Select Save & Close from the dropdown
- Or select Save & New to add another contact.
- To keep your current changes without closing, click Save.
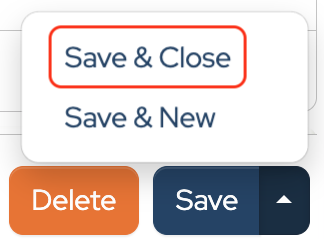
To update or make changes to a contact, click the Edit button to the right of the contact name.

Make changes or add information to the contact record, then click Save.
Select Save & Close when you’re finished.
To delete a contact, click the Edit button to the right of the contact, then click the Delete button.
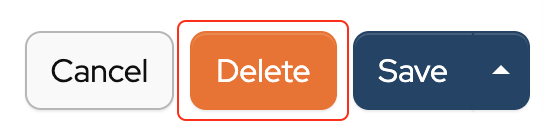
Note: If a transaction is connected to a contact, it will need to be disconnected before the contact can be deleted.
Add Contact Tags to individual contacts
A useful tool when applying obligations or creating statements is the ability to “filter” your Contacts using Tags.
Add tags to individual contacts by clicking +Add in the Contact Tags section.

Bulk Add Contact Tags
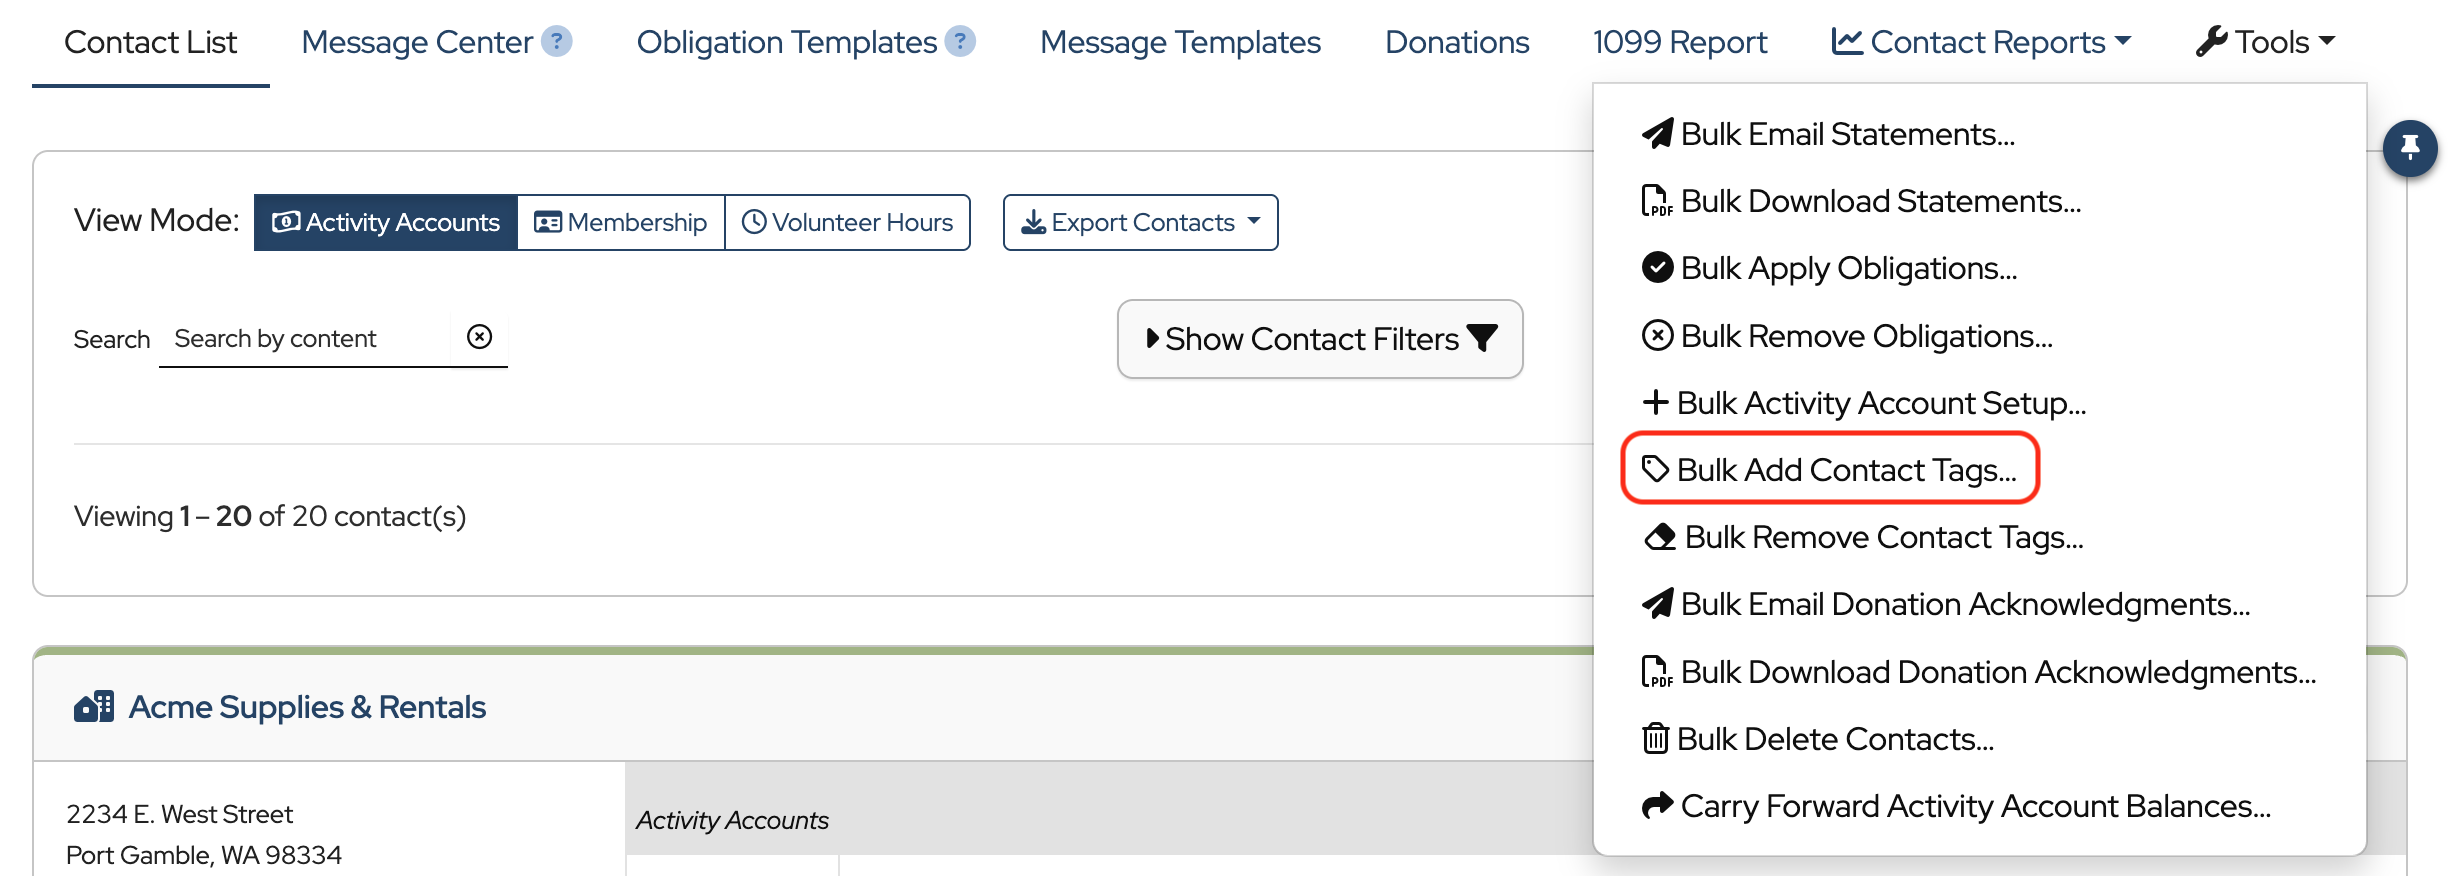
Contact Tags can be added to multiple contacts at once using the Bulk Add Contact Tags… tool.
In Contacts, click Tools and choose Bulk Add Contact Tags from the dropdown.
Click Select all (deselect any contacts you don’t want to include or hold shift to select a range)

Select the contact tag(s) to be added or click +Add to create a new tag.
Click the Add Contact Tags button. (The number that appears in the Add Contact Tags button refers to the number of contacts that tags are being added to.)
NOTE: Tags can be added to a maximum of 900 contacts at a time. Repeat the process to add tags to any remaining contacts.
Note: Do you have a list of contacts that you would like MoneyMinder to import for you? Click here: Guidelines for importing your Contact list – MoneyMinder
2. How to Set up Activity Accounts
In MoneyMinder, if you want to track contact balances—whether money is owed from or owed to a contact—and send statements, each contact will need an Activity Account. This is where obligations and payments are recorded, and where each contact’s balance history can be viewed.
Add Activity Accounts to individual contacts
Click Contacts in the sidebar.
In the contact’s record, click Add Activity Account:

This opens the Activity Account Template screen, where you can choose which type of Activity Account you’d like to add.
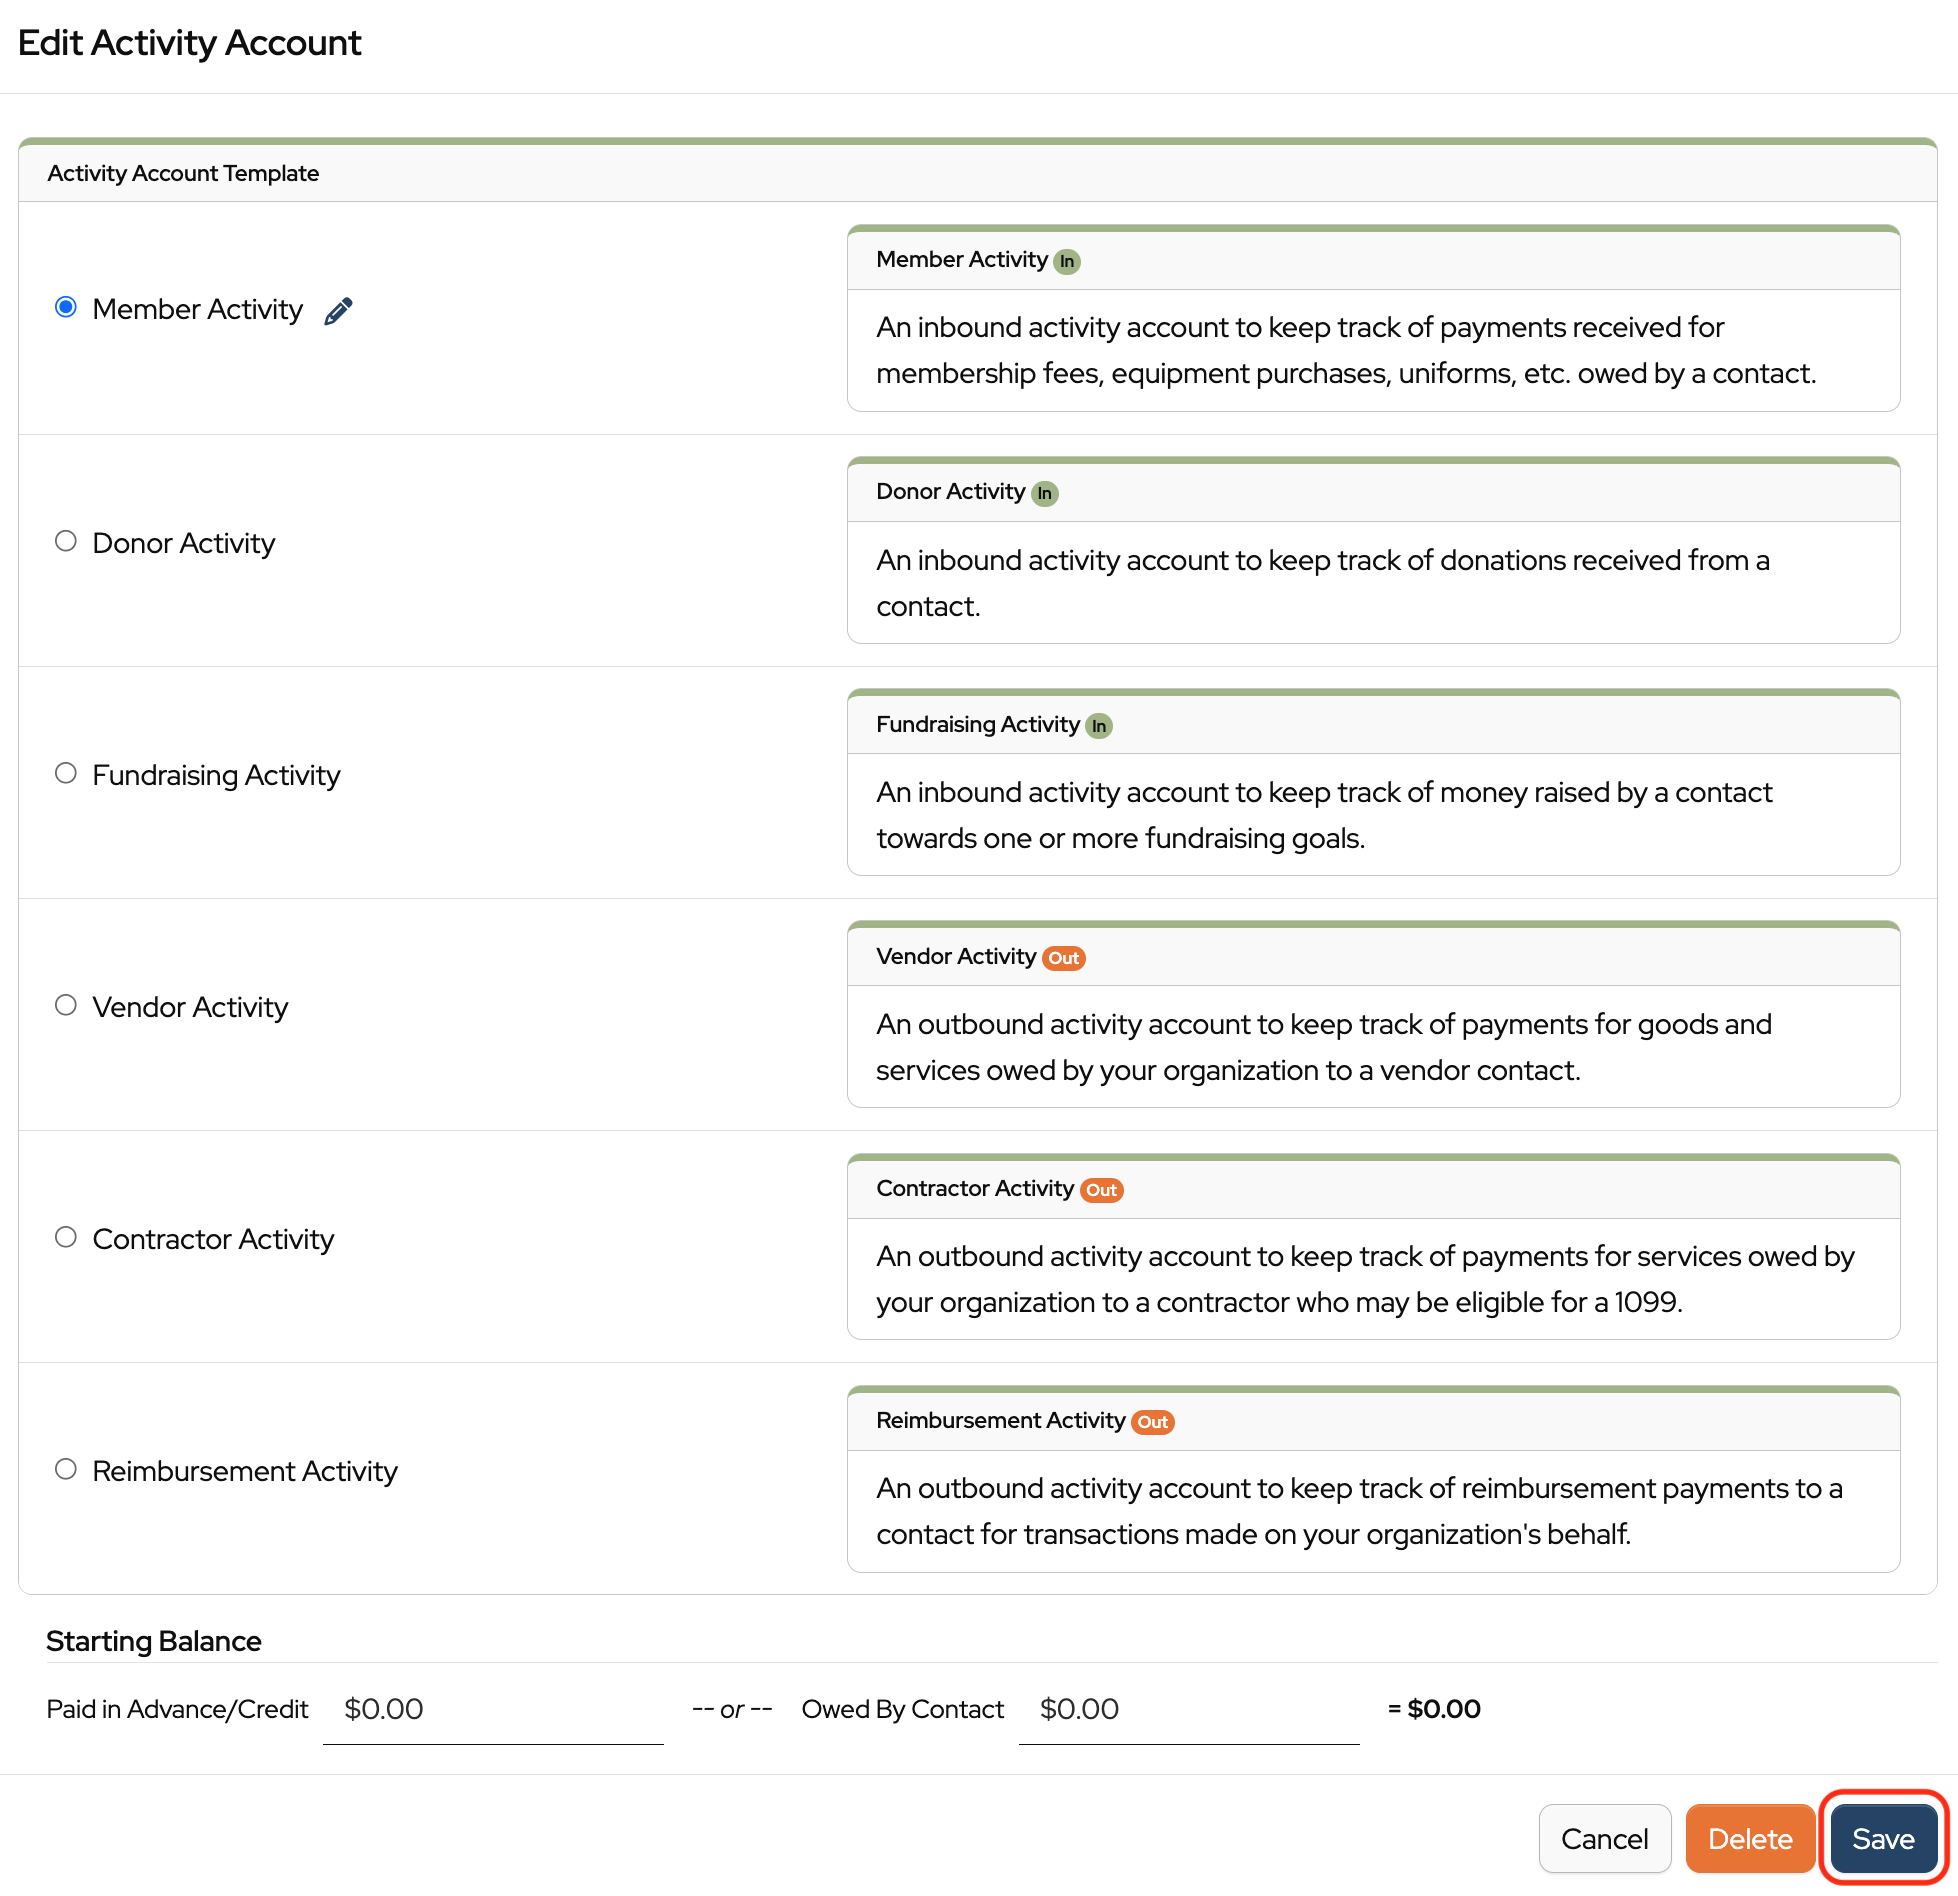
When you’re ready, click Save.
To add additional Activity Accounts to a contact, click the “hamburger” under the Edit button and choose Add Activity Account from the dropdown. Go through the steps above for each Activity Account you’d like to add.

Note: You can also use the Wizard to walk you through the process by choosing Help me set up activity accounts…
Add Activity Accounts in bulk
Activity Accounts can be added to multiple contacts at once using the Bulk Activity Account Setup…
In Contacts, click Tools and choose Bulk Activity Account Setup… from the dropdown.

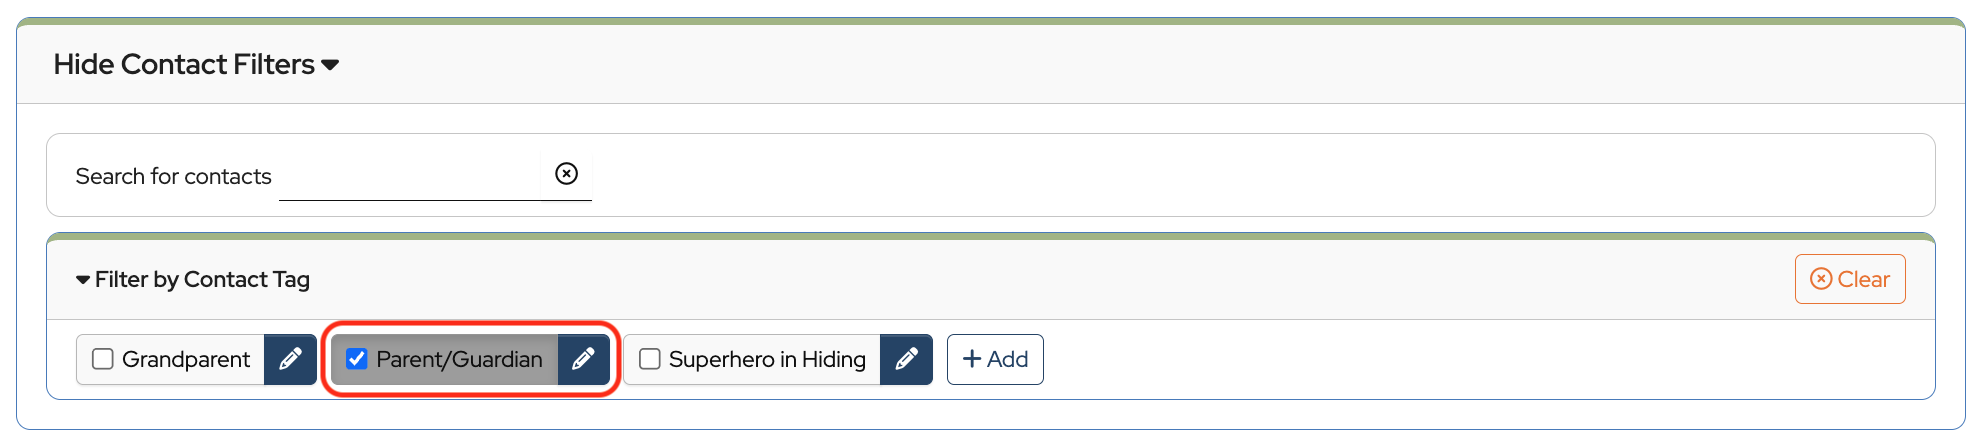
If tags have been added to your contacts, you can filter by tag to set up Activity Accounts for different groups of contacts. Click on Show Contact Filters. Under Filter by Contact Tag, click the box next to the tag for the group you want to set up Activity Accounts for.
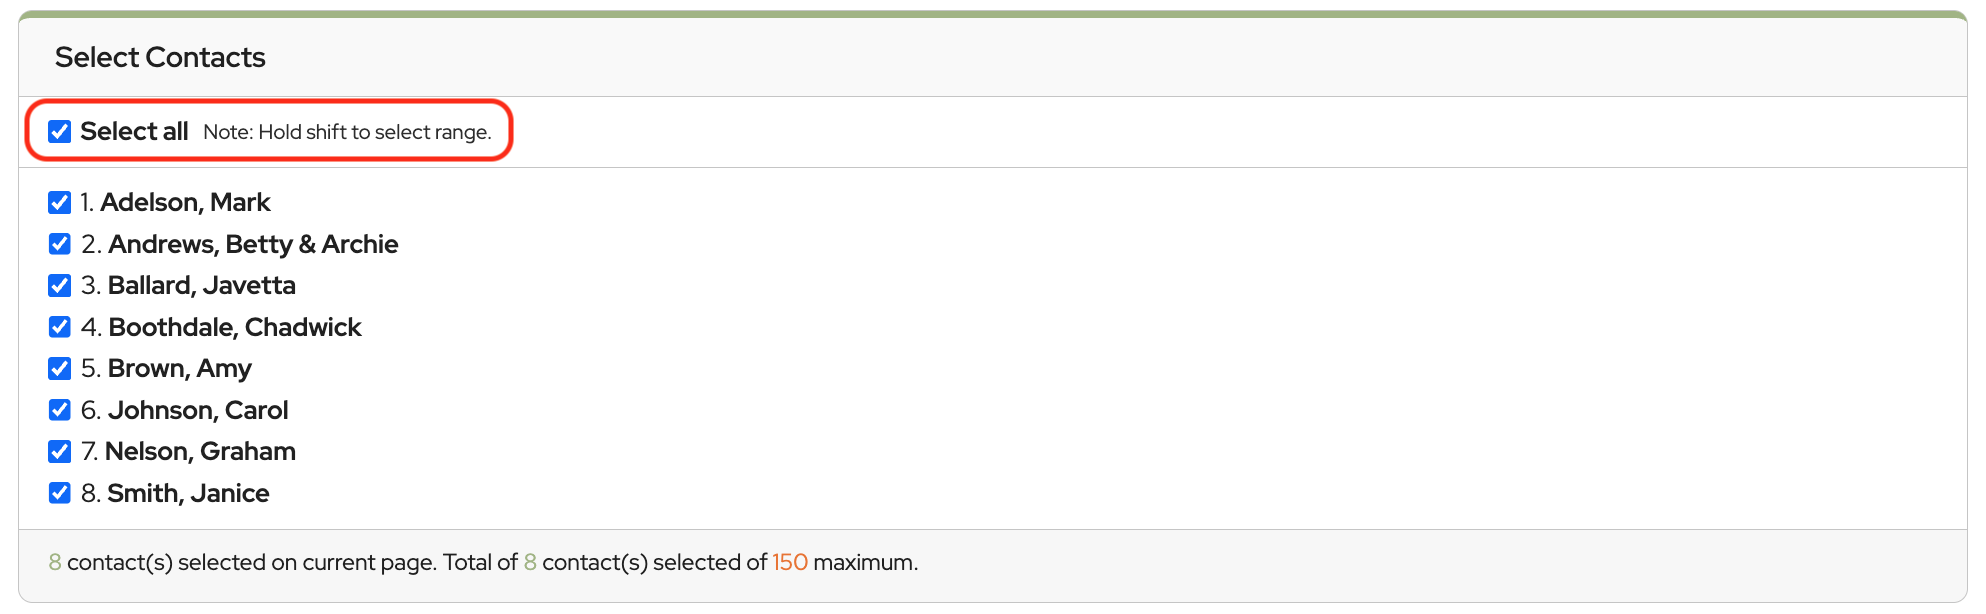
Click Select All (you can deselect any contacts you don’t want to include or hold shift to select a range)
Select the Activity Account(s) you wish to add by clicking the box(es).

Click the Create Activity Accounts button. (The number that appears in the Create Activity Accounts button refers to the number of contacts that Activity Accounts are being created for.)
NOTE: Activity Accounts can be added to a maximum of 150 contacts at a time. Repeat the process to add Activity Accounts to the remaining contacts.
How to Add Contact Starting Balances
If contacts have existing balances at the time they’re set up in MoneyMinder, a starting balance can be entered in their Activity Account.
Click Contacts in the sidebar.
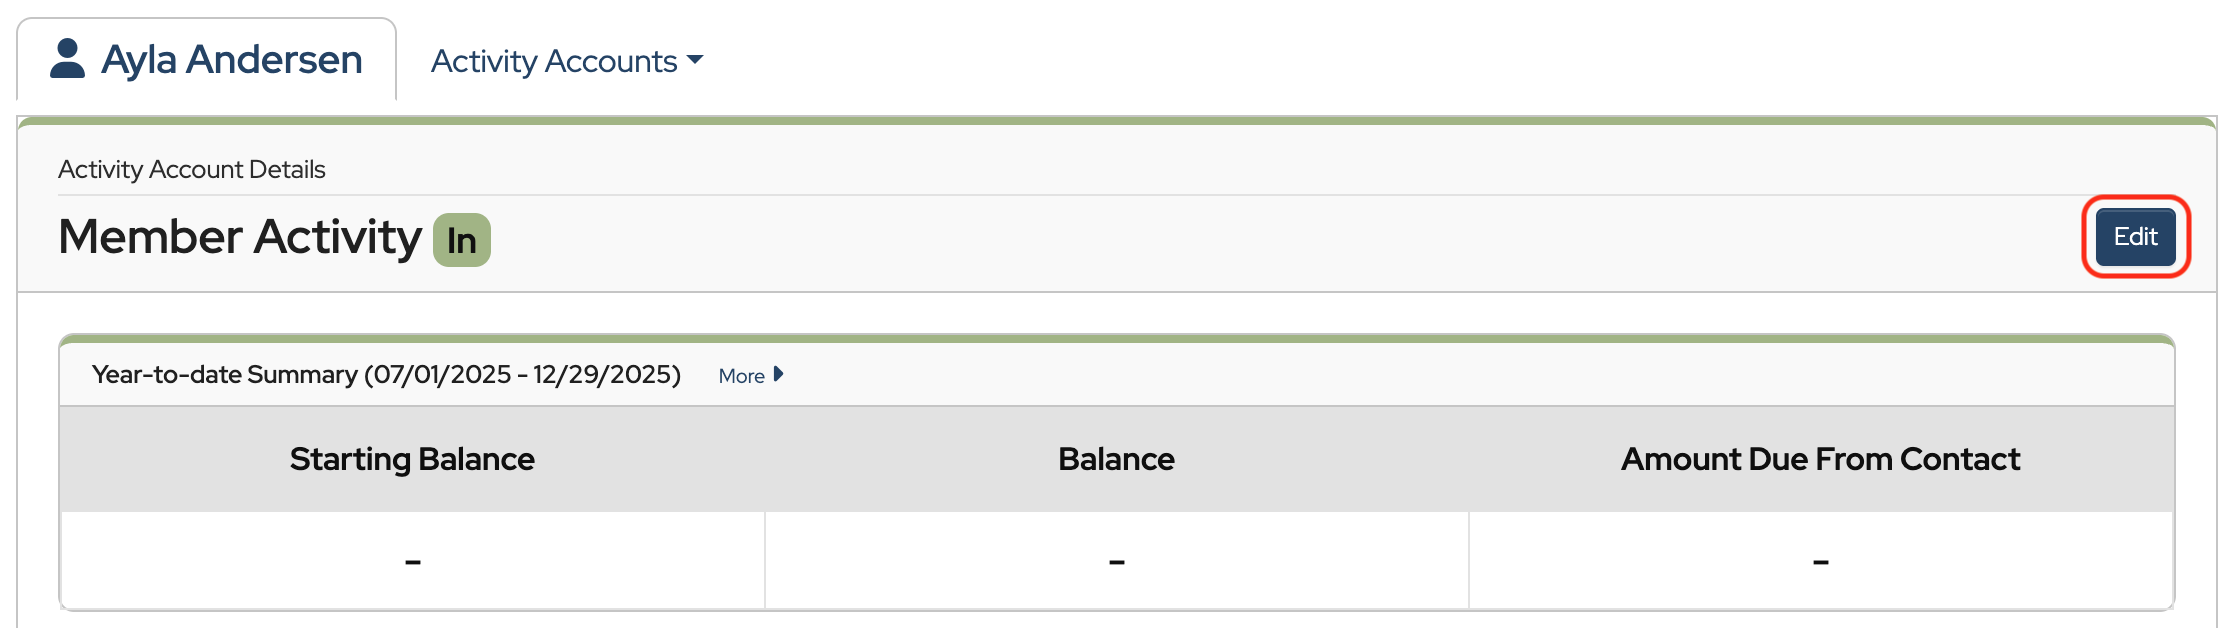
In the contact’s record, click the name of the Activity Account to open it.

Next, click the Edit button within the Activity Account.
Scroll to the bottom of the screen and enter the starting balance into either the Paid in Advance/Credit box or the Owed By Contact box.

Click Save.
3. How to Create an Obligation Template
Click Contacts in the sidebar.
Select the Obligation Templates tab.

Click +Add New Template.

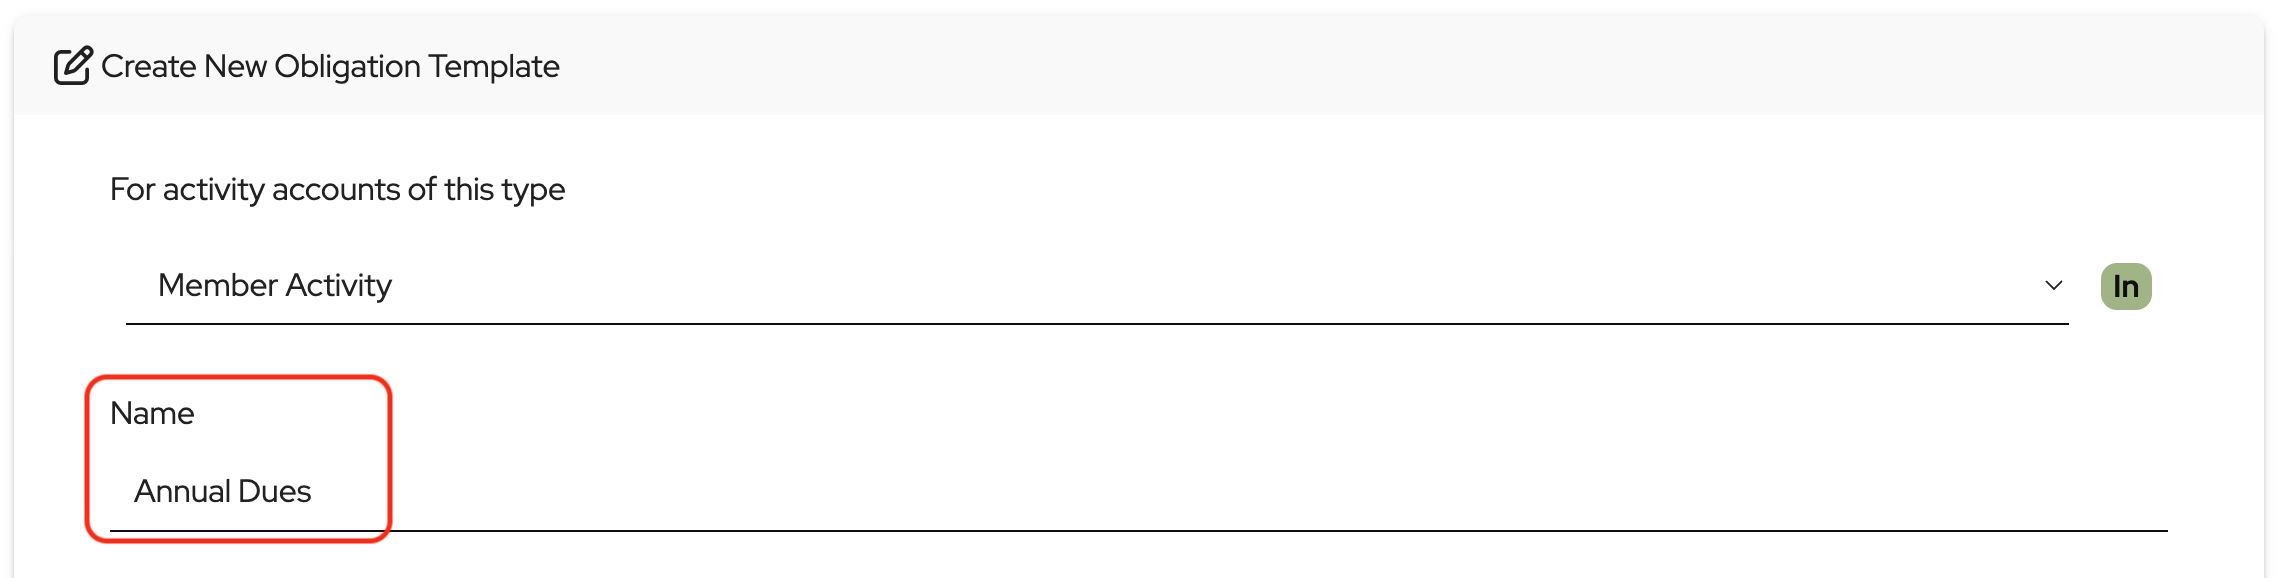
Select the activity account type from the drop down.

Next, give the Obligation Template a name. This is what will appear on the statement. For example, ‘Annual Dues’.
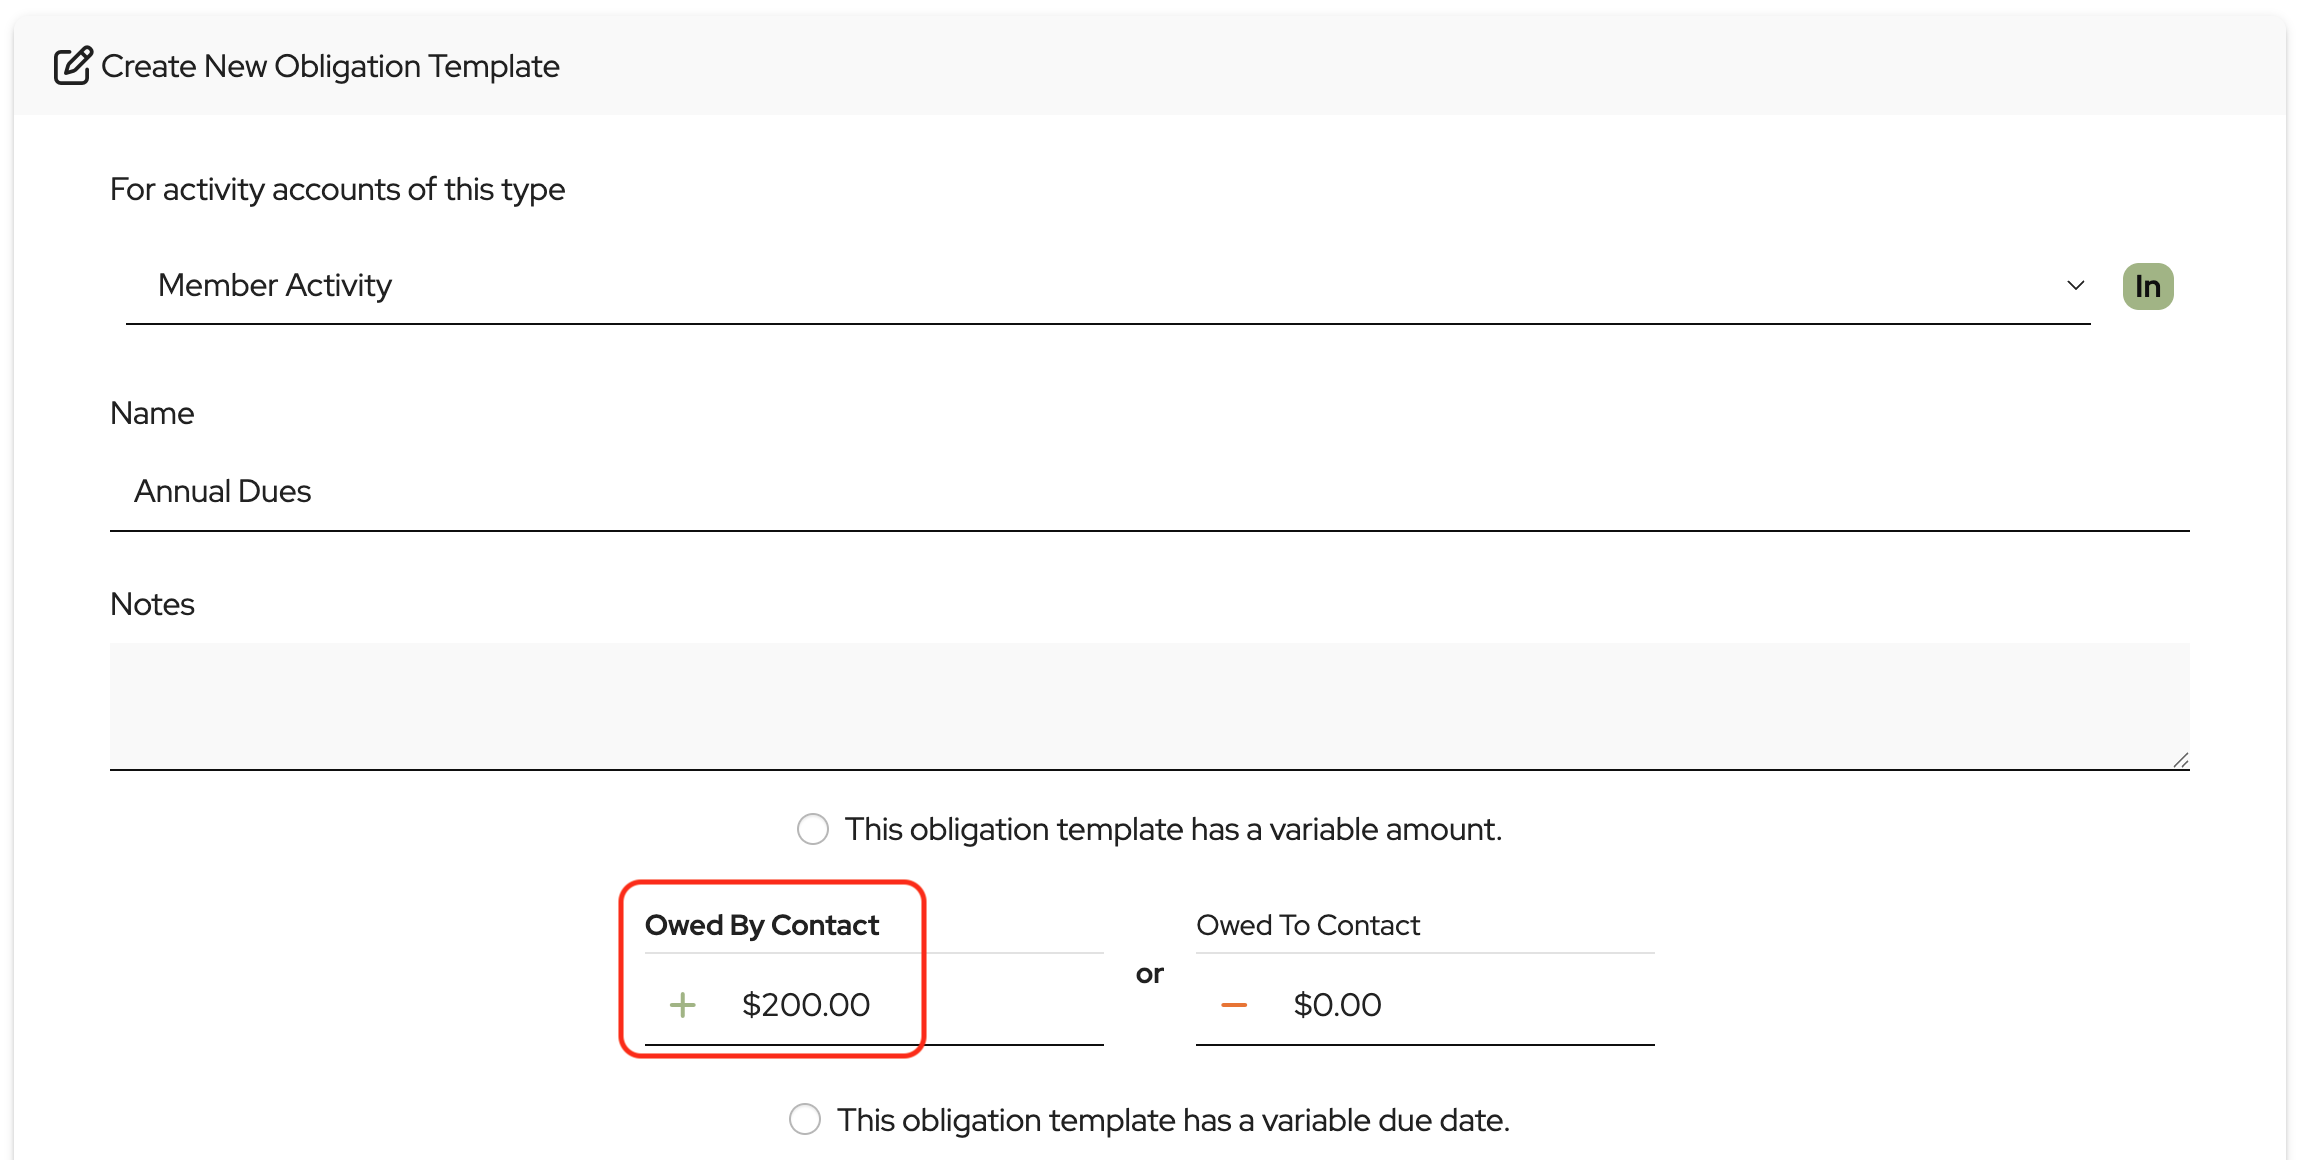
Enter how much is Owed By Contact, money the contact needs to pay (i.e. membership or dues) or enter how much is Owed To Contact, money that needs to be paid to the contact (i.e. refund or credit from fundraising).
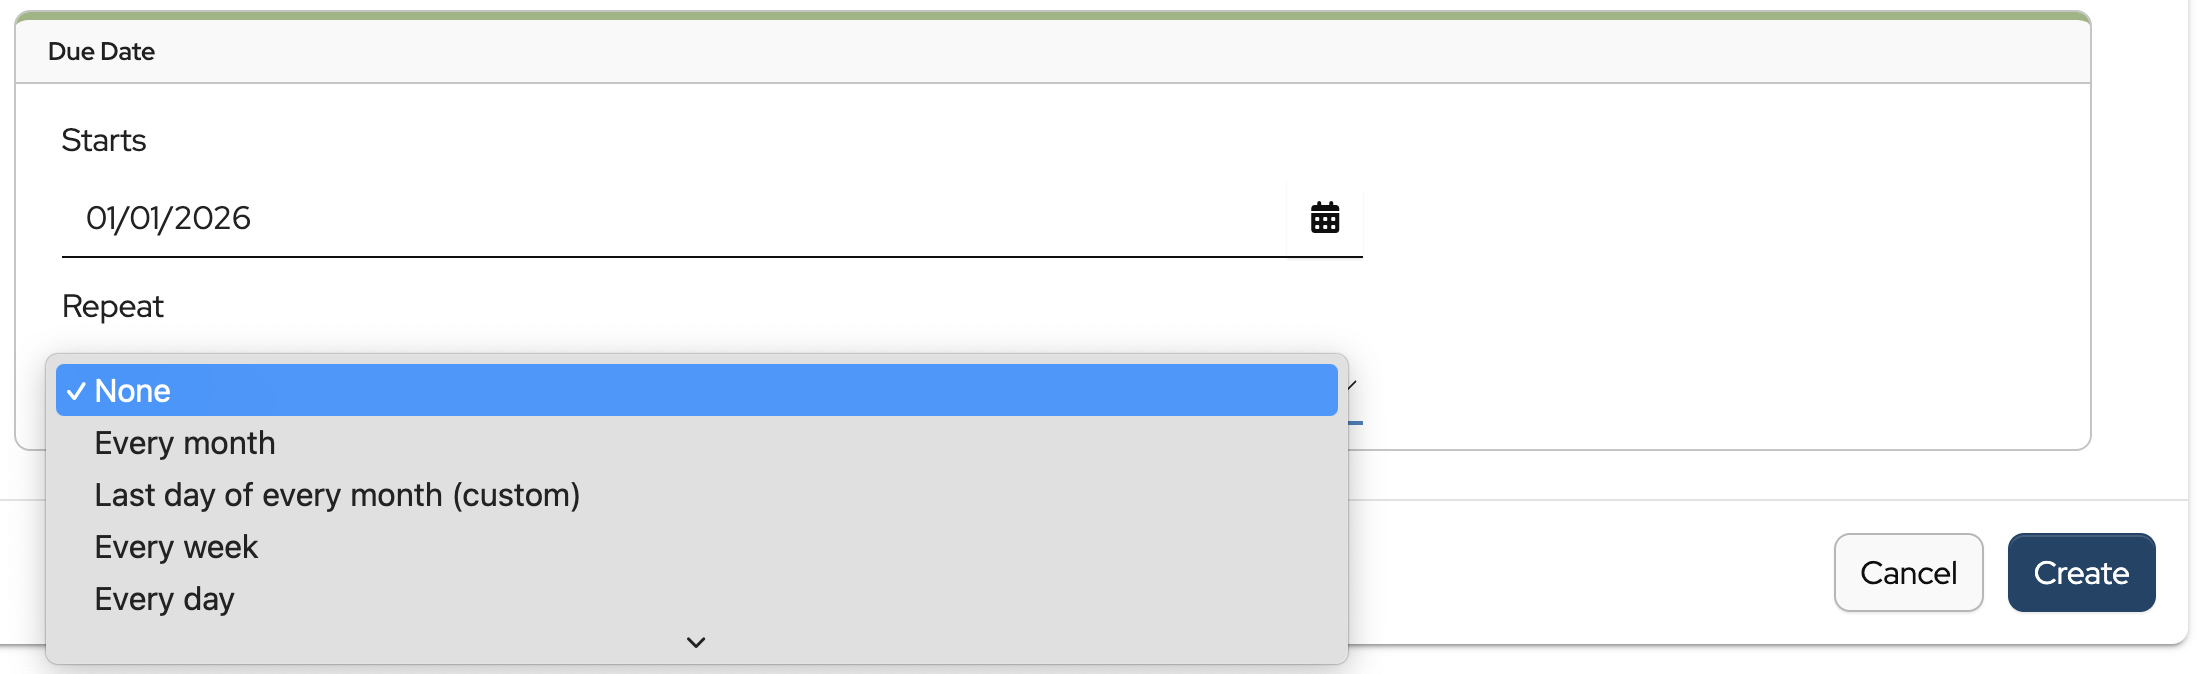
Select the Due Date. The Due Date is the date the obligation will start. Note: the obligation will not show on a contact’s record until the Due Date.
Next, choose whether this obligation should repeat and recur at set intervals. The default option is set to ‘None’.
Click Create to save the Obligation Template.
To make changes to an obligation template, click the Obligation Templates tab.

Click Edit next to the template that needs to be changed.

Make changes and click Save and Update Linked Obligations.

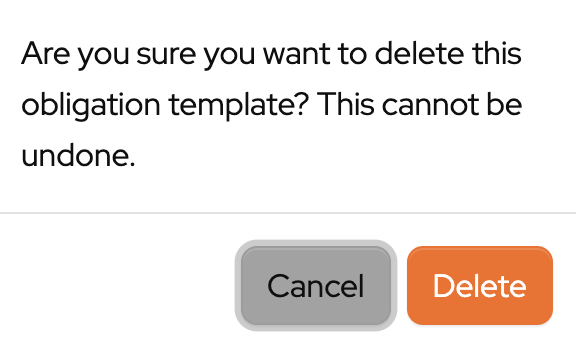
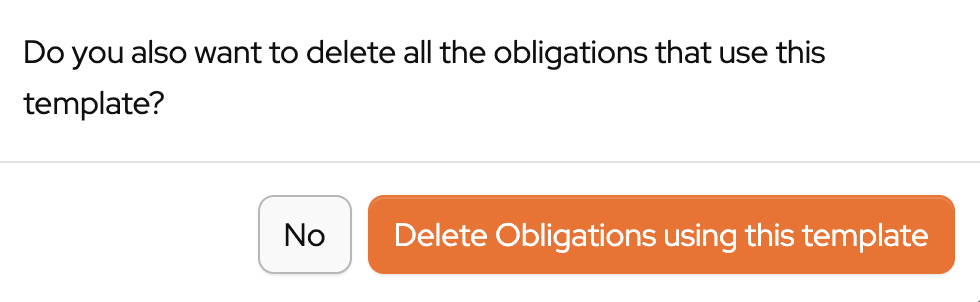
Obligation Templates can also be deleted here. There are two messages that pop up before you can delete the Obligation Template.
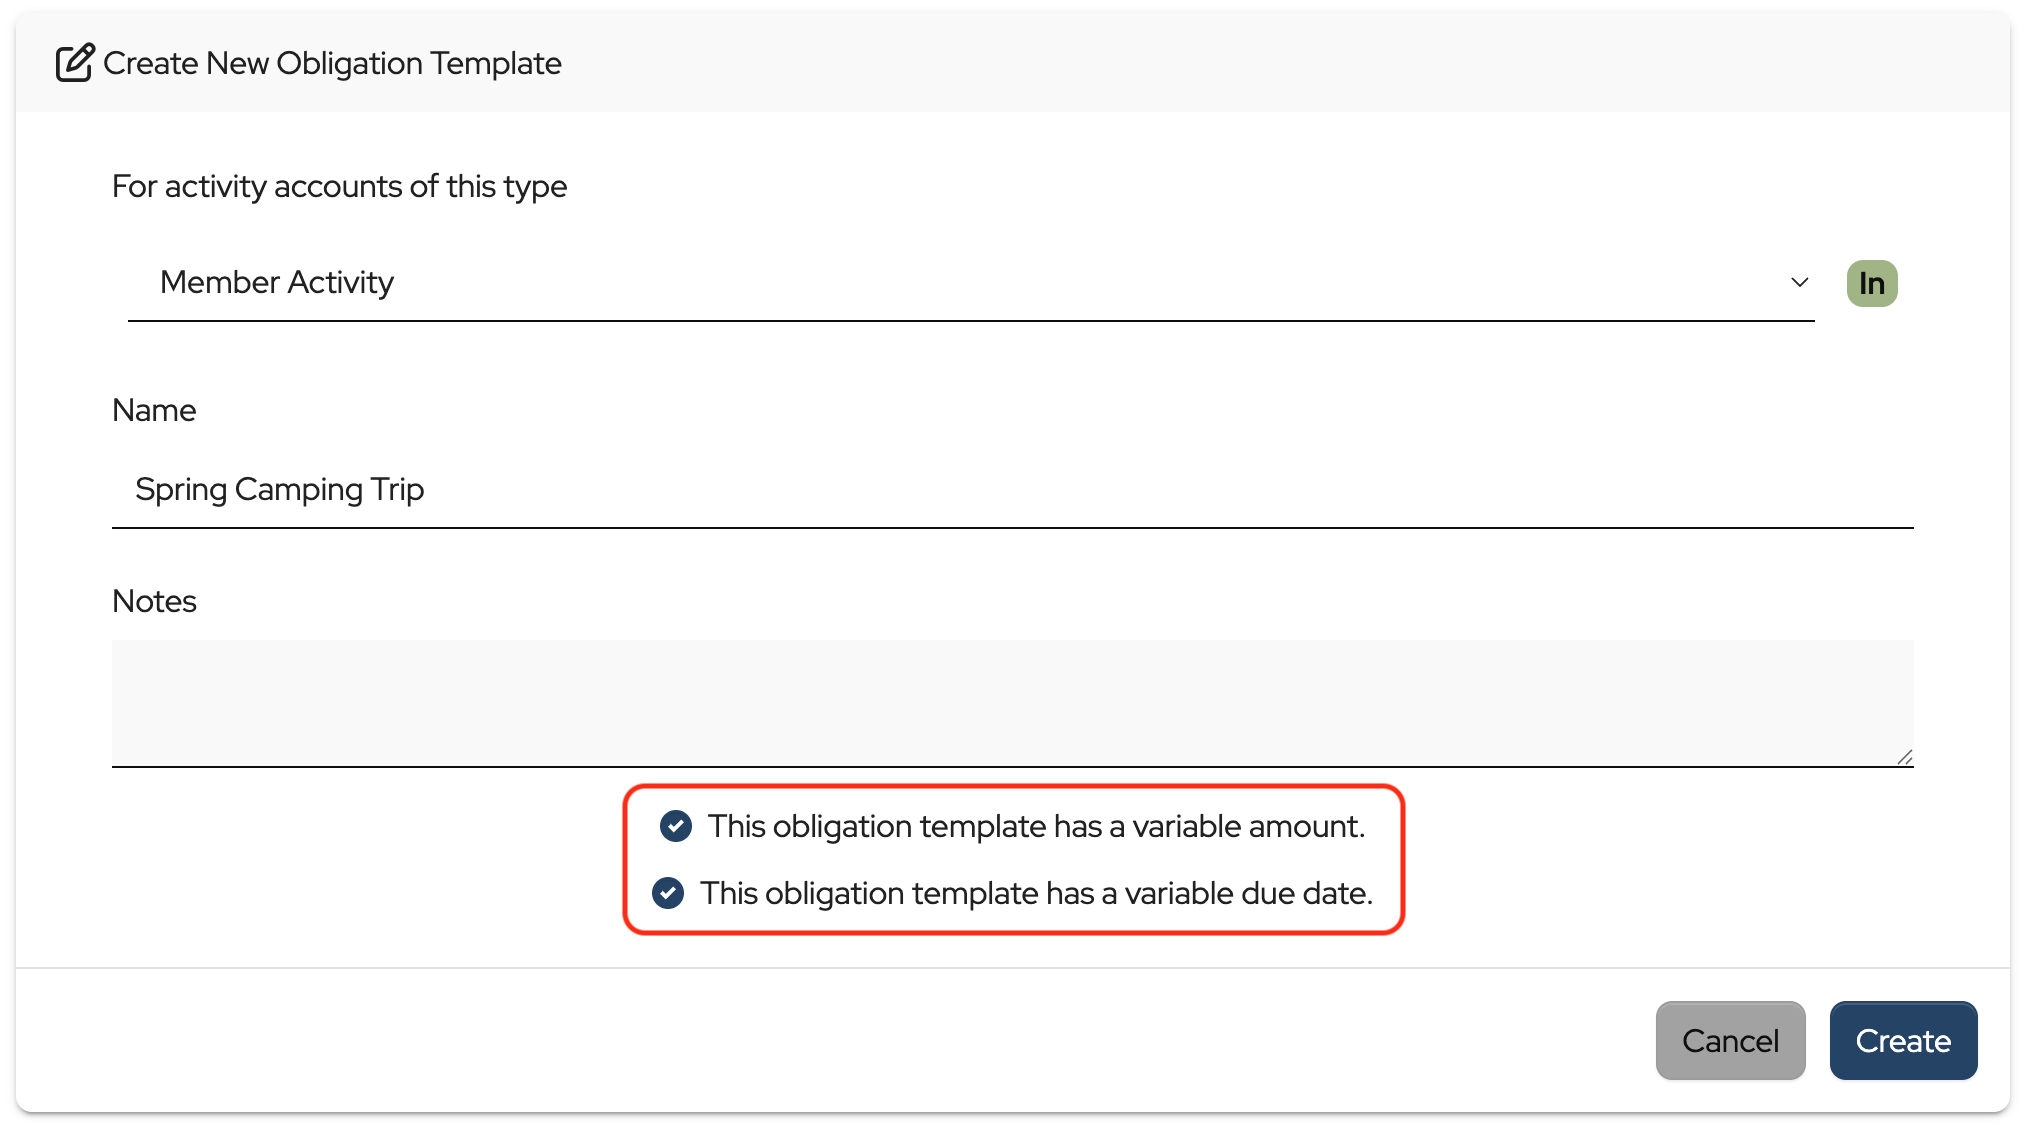
To make obligation templates editable for individual contacts, check the variable amount and variable due date boxes.
4. How to Apply Obligation Templates
After you have set up an Obligation Template, it can be applied to an individual contact or multiple contacts at once.
Apply Obligation Templates to individual contacts
Click Contacts in the sidebar.
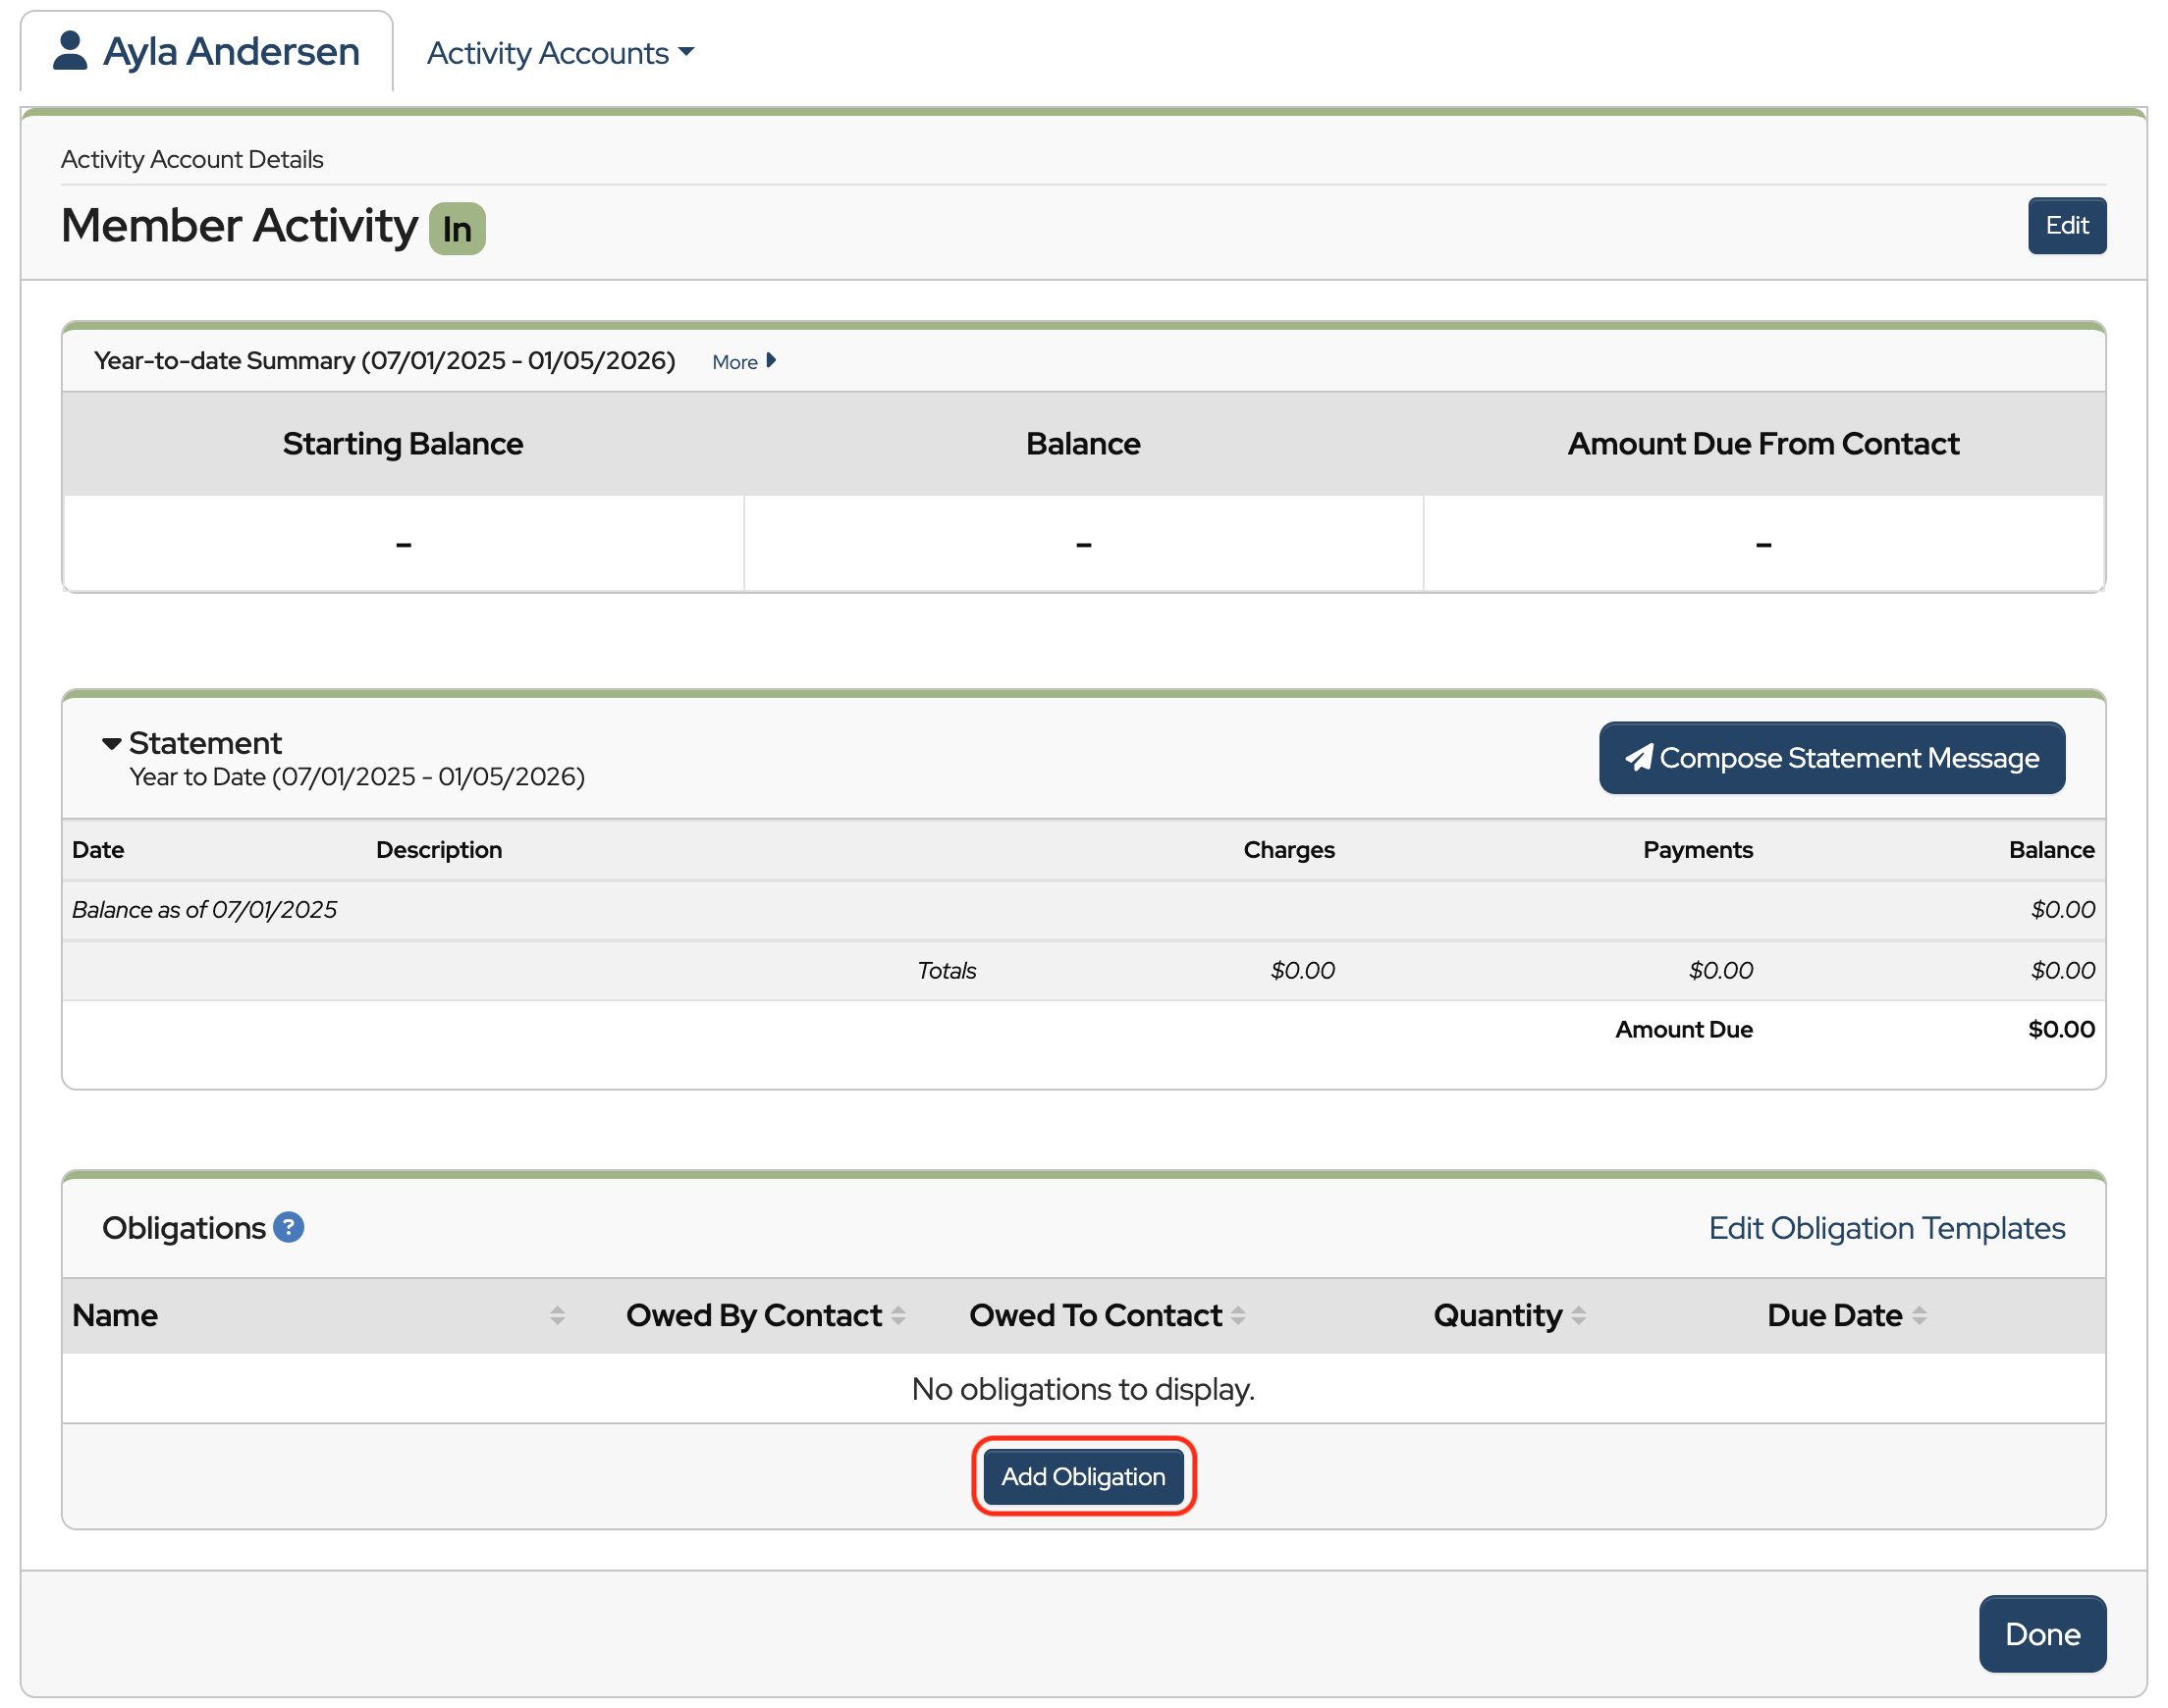
In the contact’s record, click the name of the Activity Account to open it. If one is not already set up, an Activity Account will need to be added before an obligation can be applied.
Click Add Obligation.
Using the Obligation Template drop-down, select the obligation template.
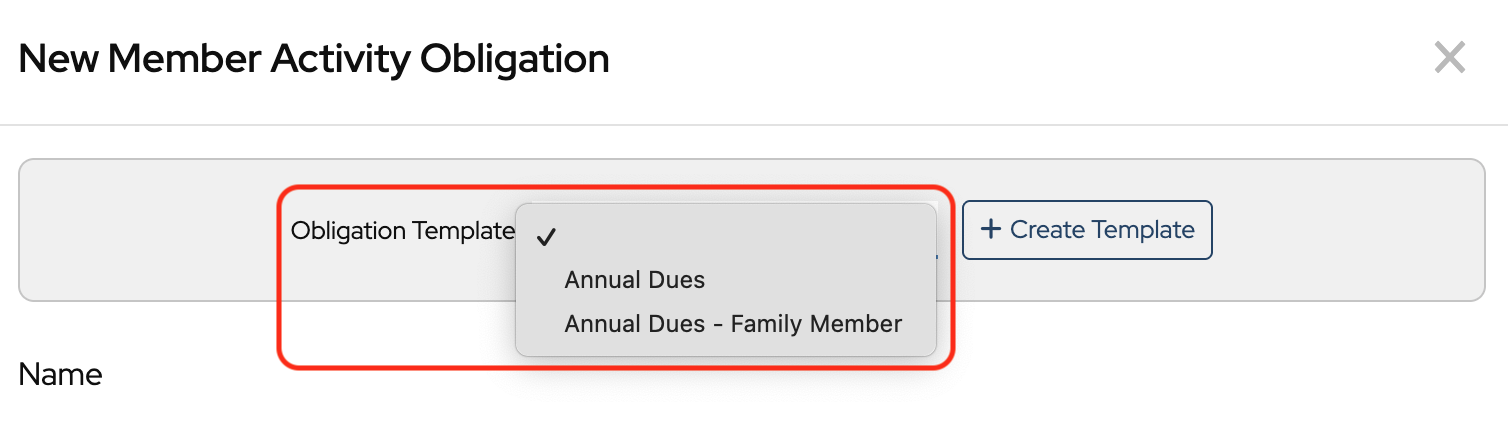
When the template is selected, the fields will auto-populate with the template’s details.
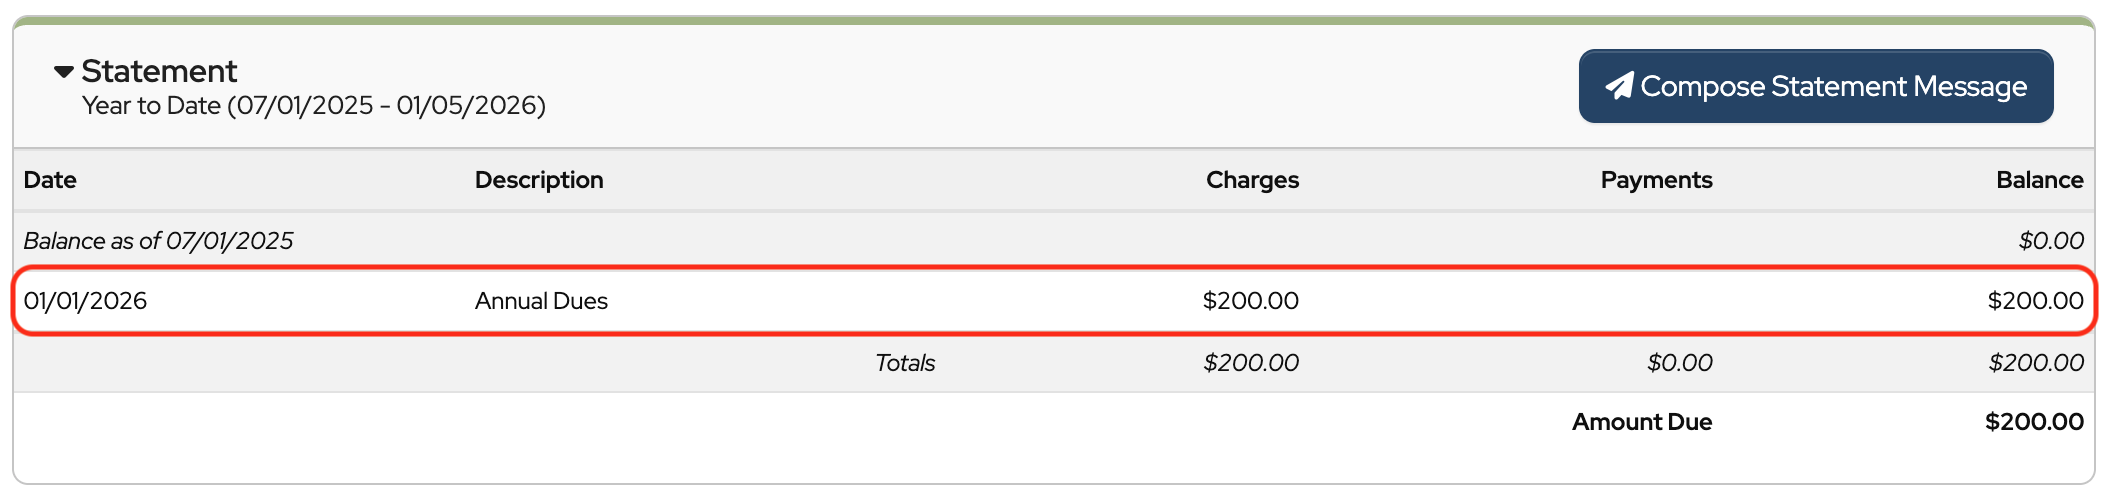
Click Save.
And that’s it — the obligation template has been applied to that individual contact.
Apply Obligation Templates in bulk
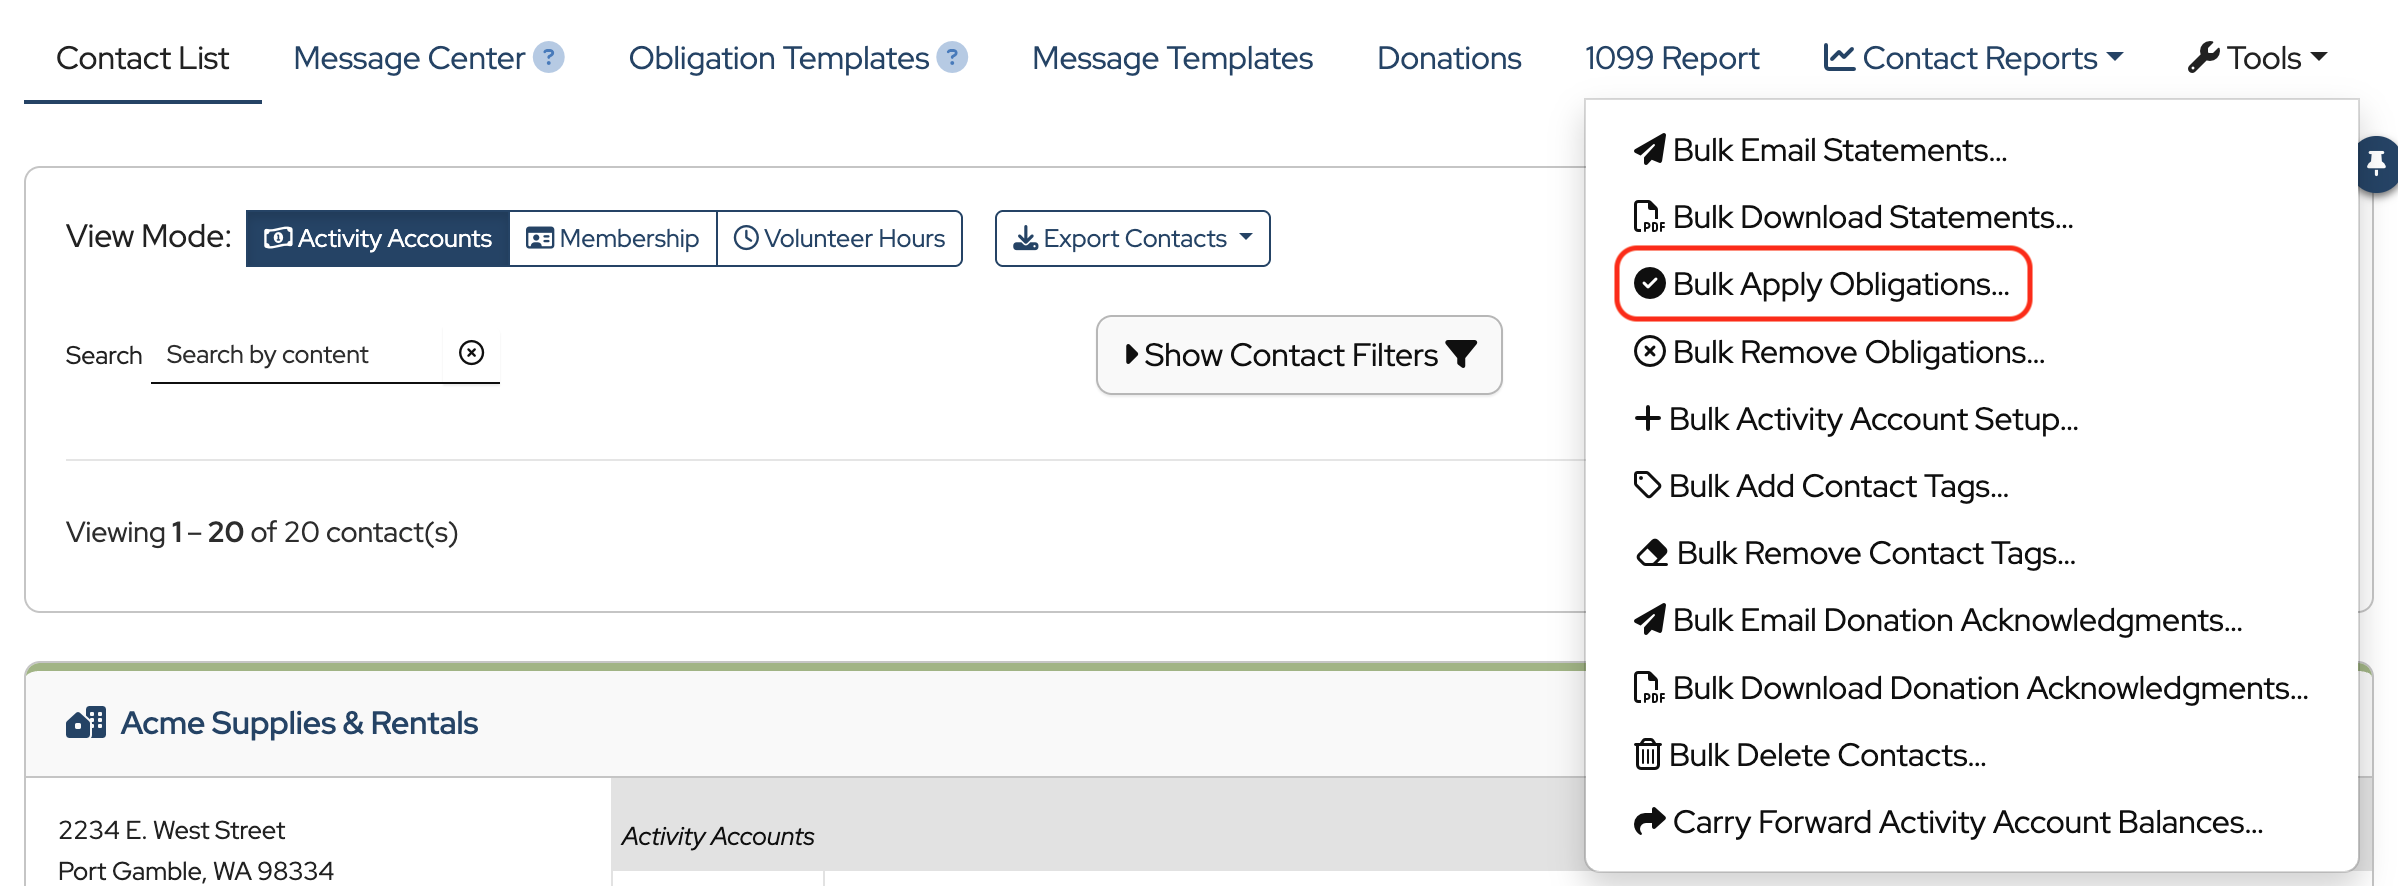
Obligation Templates can be applied to multiple contacts at once using the Bulk Apply Obligations… tool.
In Contacts, click Tools and choose Bulk Apply Obligations… from the dropdown
1. Select an activity account.

2. Select the obligation template(s) to be applied. More than one can be selected.

3. Select contacts.
Click Select all (deselect any contacts you don’t want to include or hold shift to select a range)
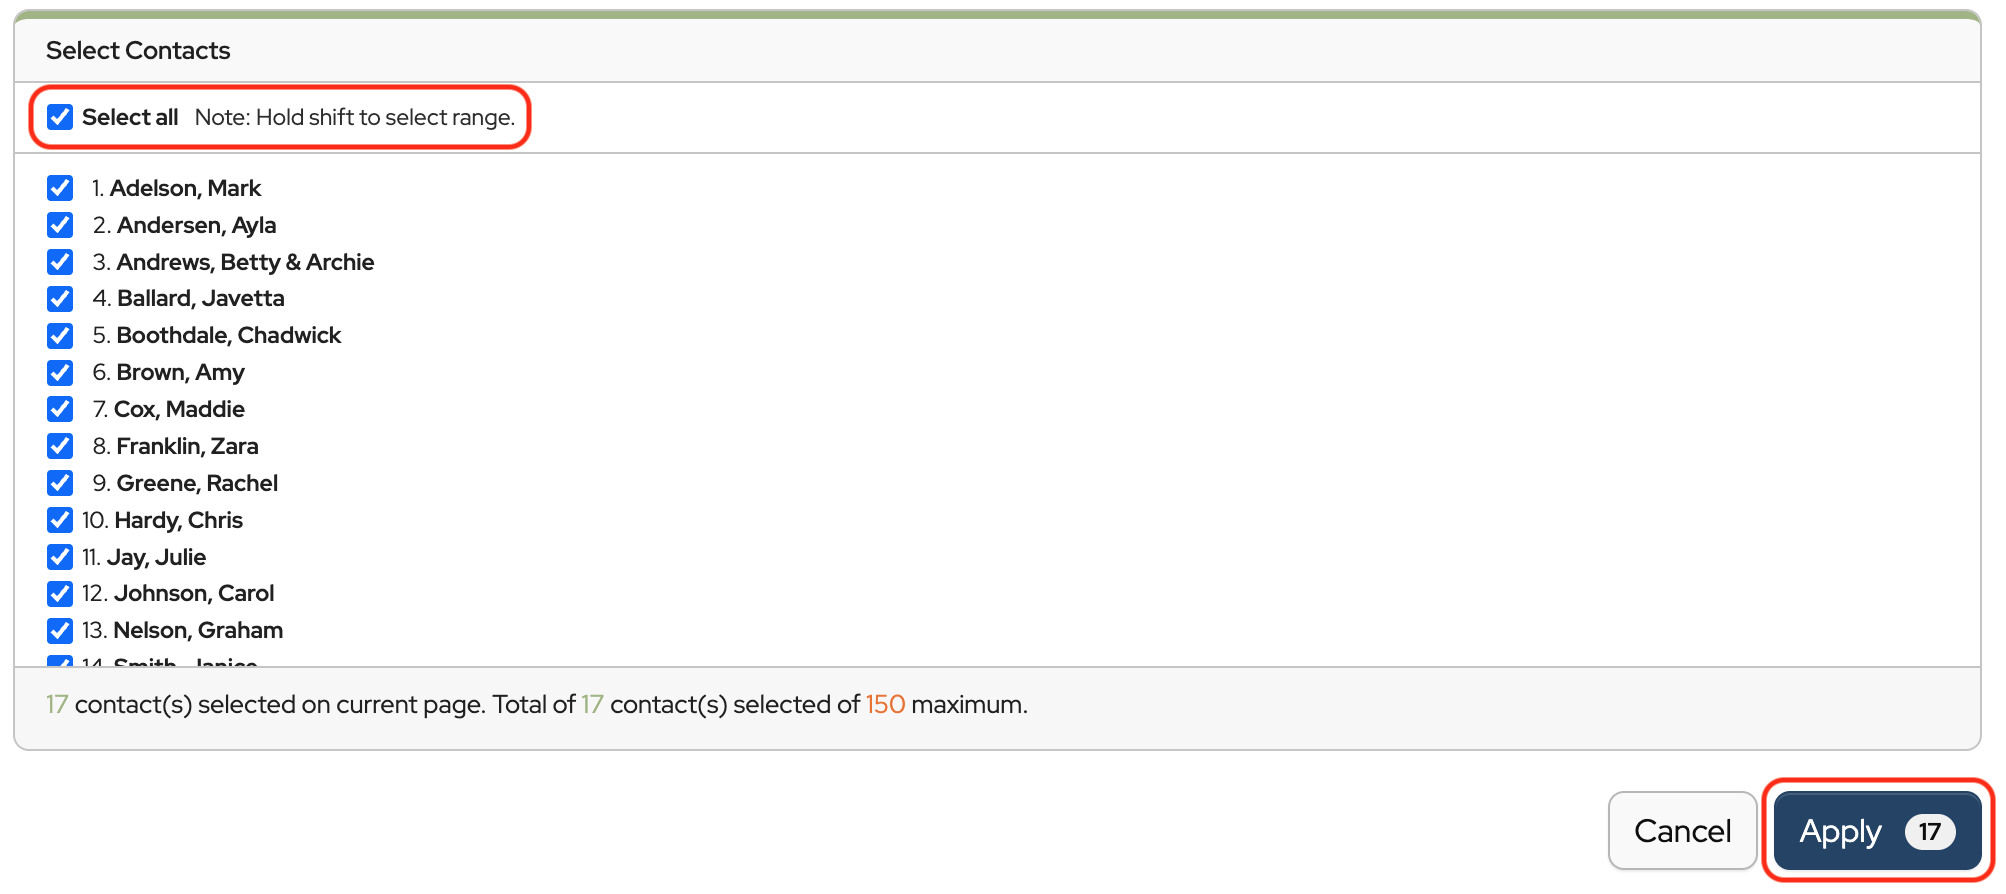
Click Apply. (The number that appears in the Apply button refers to the number of contacts the obligation will be applied to.)
NOTE: Obligations can be added to a maximum of 150 contacts at a time. Repeat the process to add Obligations to the remaining contacts.
Would you like to send statements to your contacts?
Click here to learn How to Email or Download Statements.
Would you like to send Donation Acknowledgement letters?
Click here to learn how to Create and send Donation Acknowledgement letters individually.
Click here to learn how to Create and send Donation Acknowledgement letters in bulk.
 Connect your Venmo account to MoneyMinder PRO to directly download transactions, saving you time and effort. You just review the transactions to ensure they are properly categorized and fill out any required fields.
 Connect your Bank, Paypal and Square accounts to MoneyMinder PRO to directly download transactions, saving you time and effort. You just review the transactions to ensure they are properly categorized and fill out any required fields.
 Connect your Bank, Paypal and Square accounts to MoneyMinder PRO to directly download transactions, saving you time and effort. You just review the transactions to ensure they are properly categorized and fill out any required fields.
 Join It is a membership management service that helps businesses and nonprofits effectively sell, track, and grow their membership.
 Connect your Bank, Square and PayPal accounts to MoneyMinder PRO to directly download transactions, saving you time and effort. You just review the transactions to ensure they are properly categorized and fill out any required fields.
This is a great article and provides a lot of information. Is there any documentation on how to make a member inactive? Thank you!
Hi Mary,
I’m glad you liked the article. There isn’t a way to make a contact inactive, but you can delete a contact if the member is no longer part of the organization. The nice thing is when you delete a contact, it only deletes them from the current financial year so you still have their contact record in previous financial years. I added instructions on how to delete a contact to this article in the top section.
I’m trying to edit the contact tags and am unable to locate where to do that.
Hi Alf,
Click Contacts in the sidebar then click the Show Contacts Filter button. You can edit the names of tags or add tags here.
To bulk delete or bulk add tags, click Tools and choose either Bulk Add Contact Tags or Bulk Remove Contact Tags.