- Home
- Knowledge Base
- Getting Started
- For new treasurers with an existing account
- How to use Reimbursements
- Home
- Knowledge Base
- Banking
- Special situations
- How to use Reimbursements
- Home
- Knowledge Base
- Strategy & Tips
- How to use Reimbursements
How to use Reimbursements
Watch Video
Does your organization need to reimburse volunteers, parents, or others? MoneyMinder’s Reimbursement Tool makes it quick and easy.
Let’s walk through the process.
Create a Reimbursement Workflow
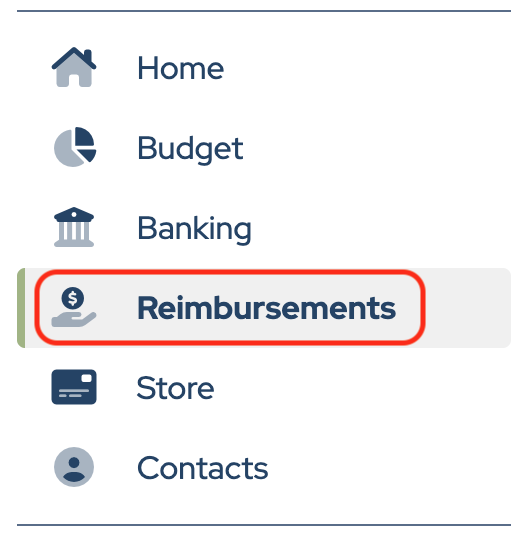
Click Reimbursements in the sidebar.
Click Add New Workflow.

Enter the Workflow Name.

Decide what information you want to collect. Click Build in Form Editor to design the Reimbursement form.
Watch a quick video about the newly improved reimbursement workflow features.

Name, Email, and Amount are required by default and cannot be changed.
Description and Attachments are included on the form by default, but can be edited.
Other fields can be added by choosing Field Types from the list.
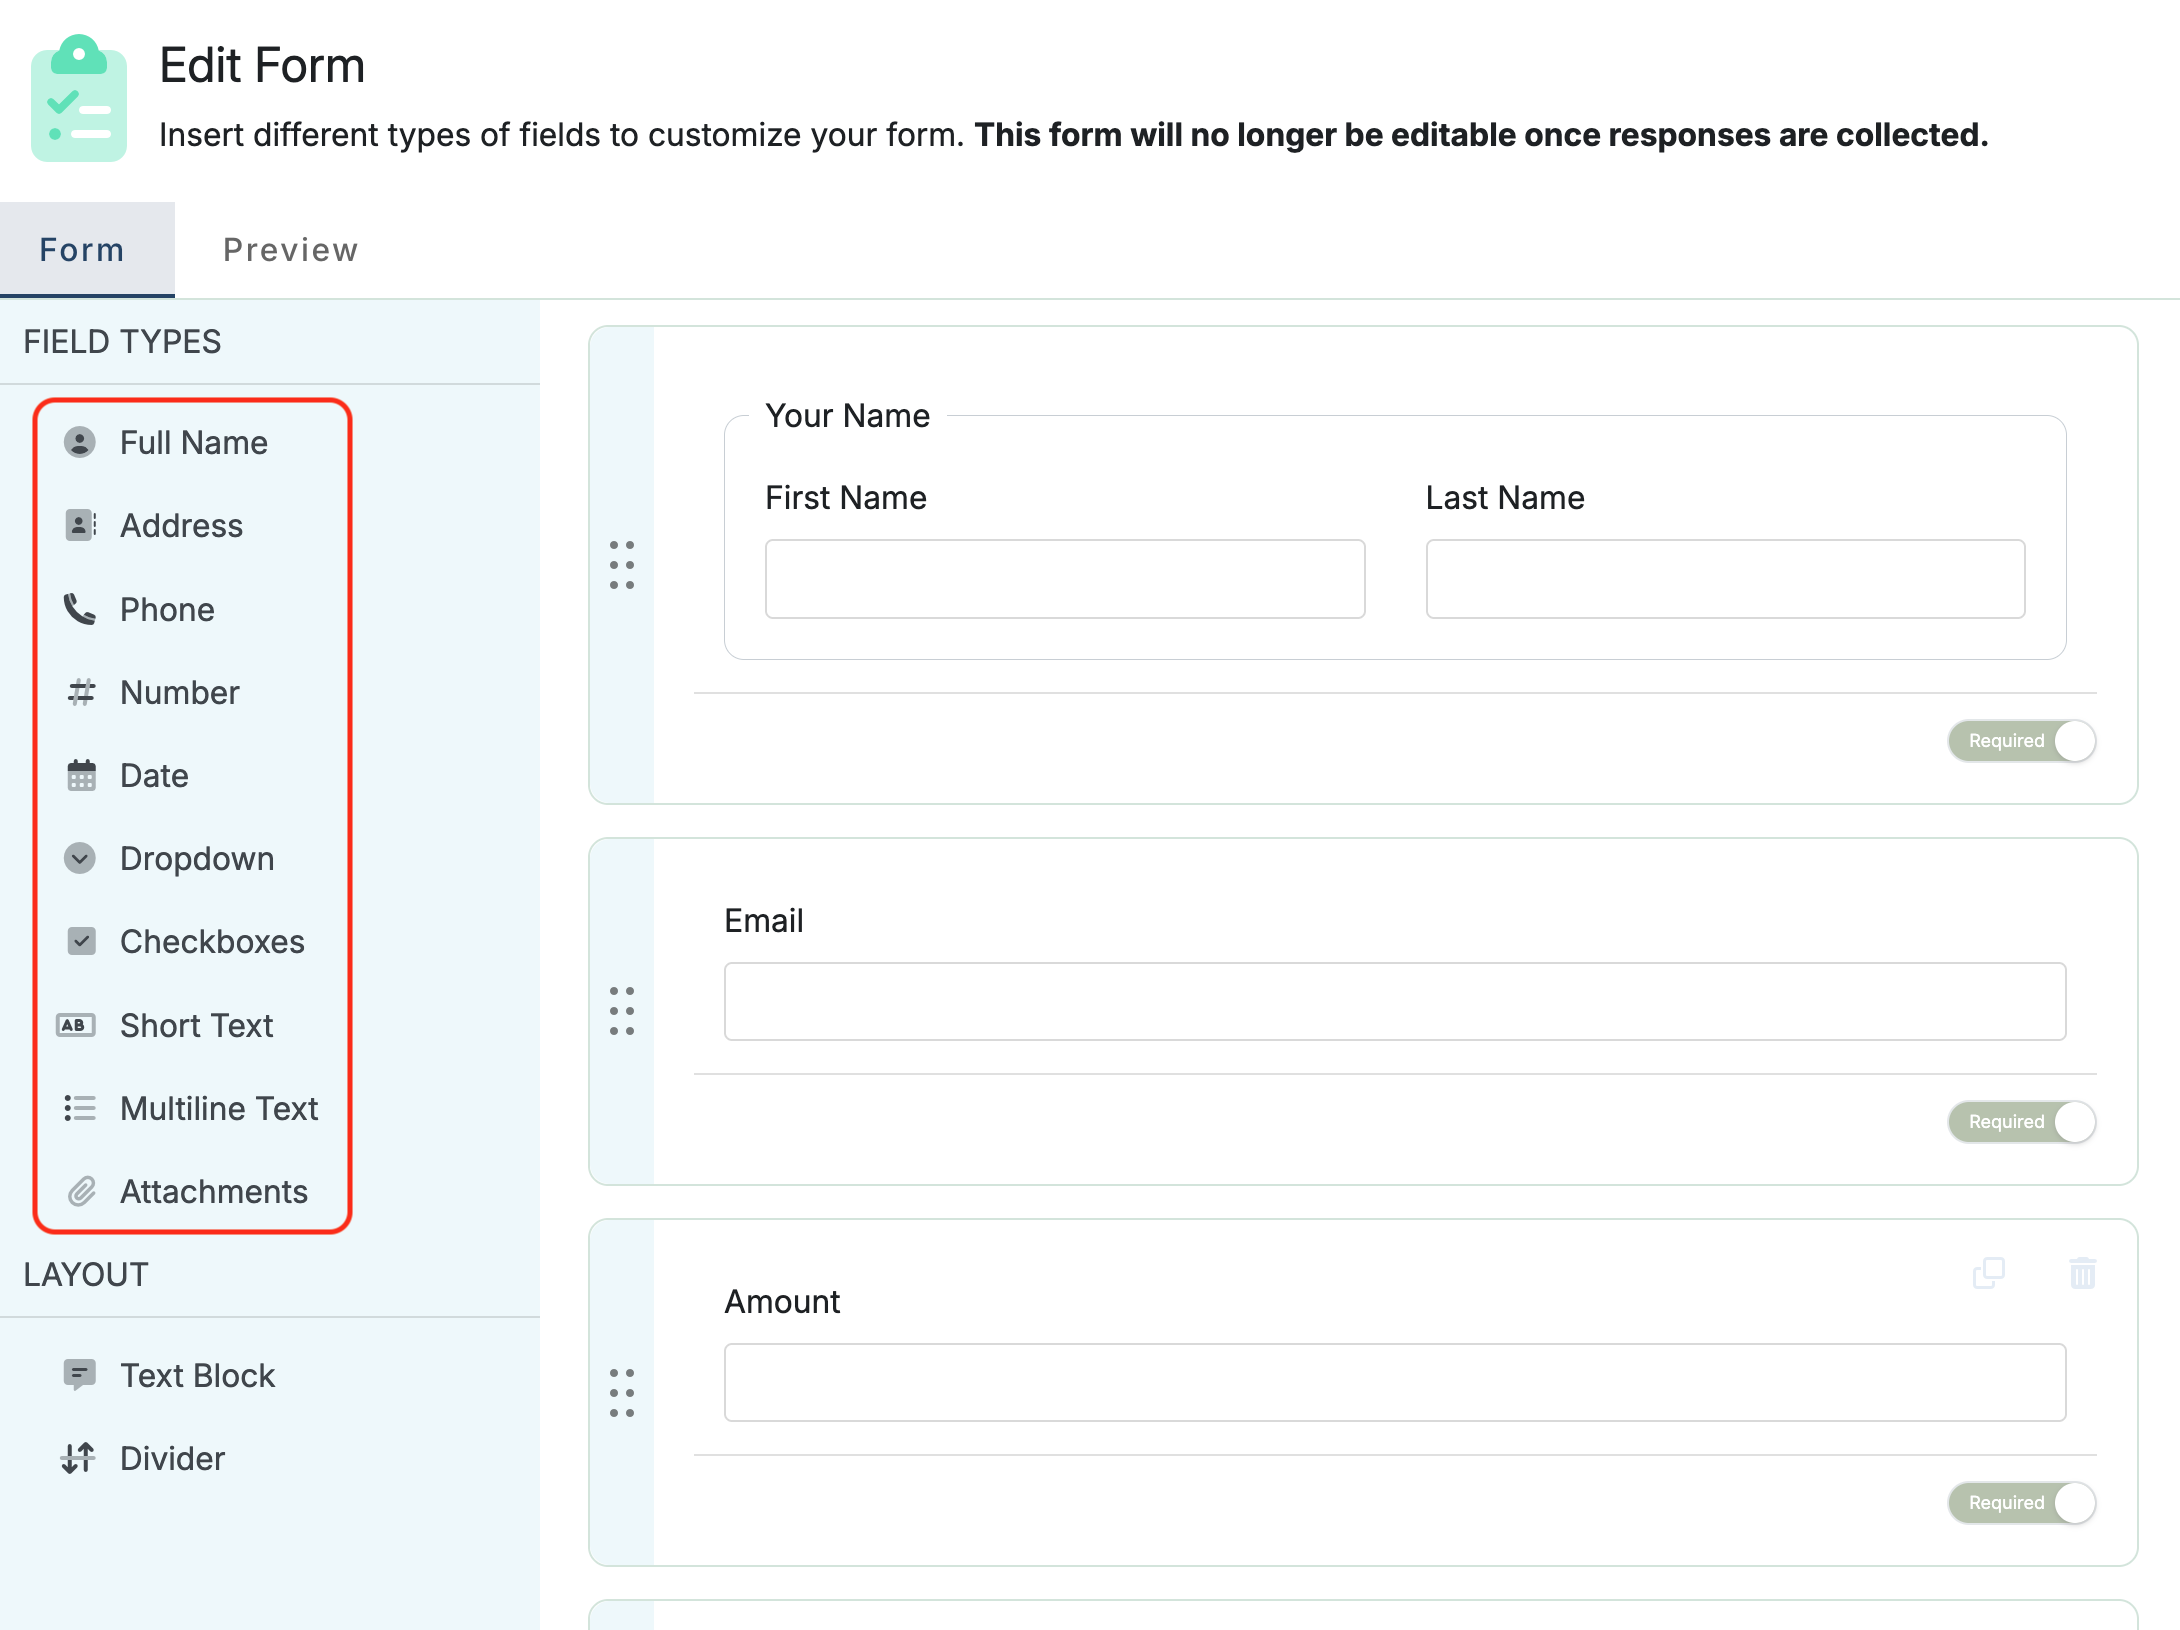
To add instructions to the form, choose Text Block in the Layout section.
Click in the box to enter text and/or images.

Field names can be changed by clicking into the name field and typing the new name.
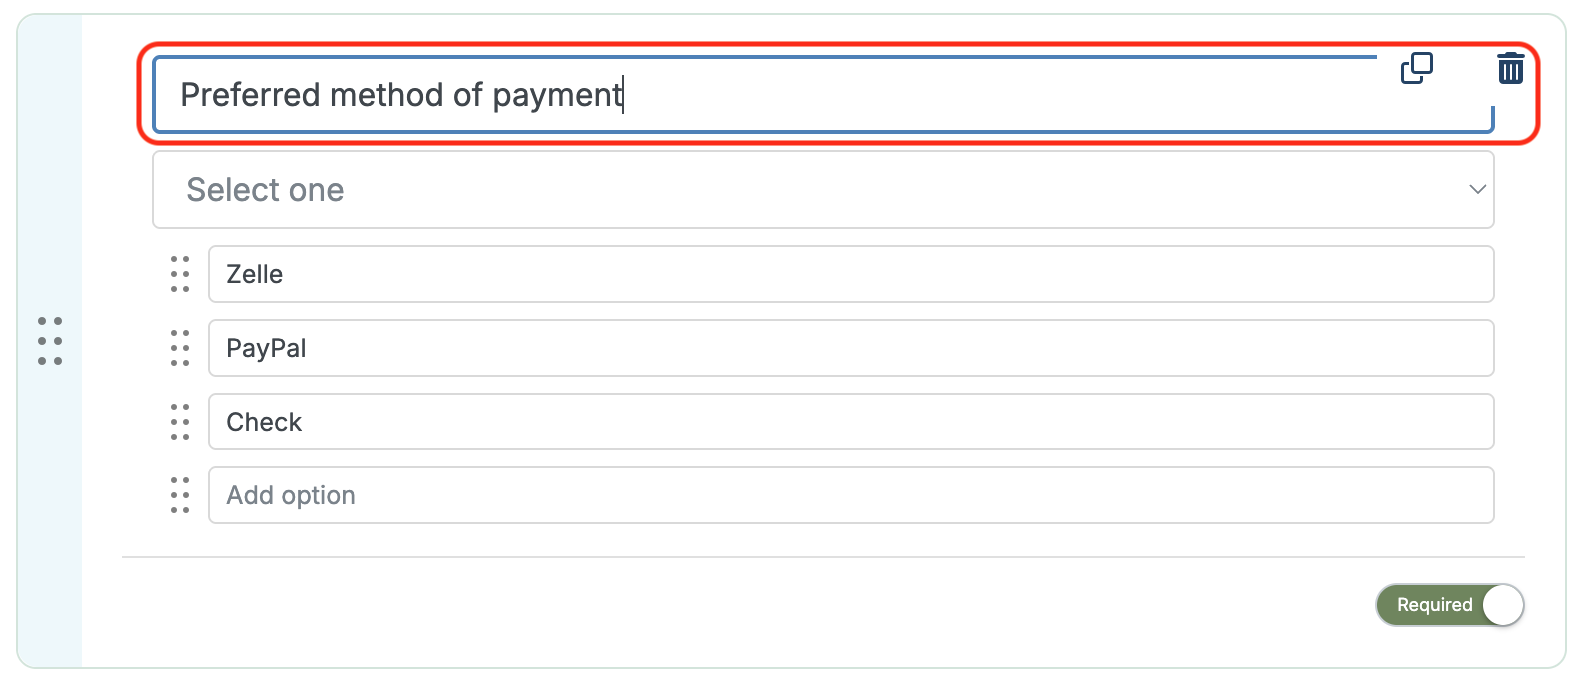
Make fields required or optional by toggling the selector.
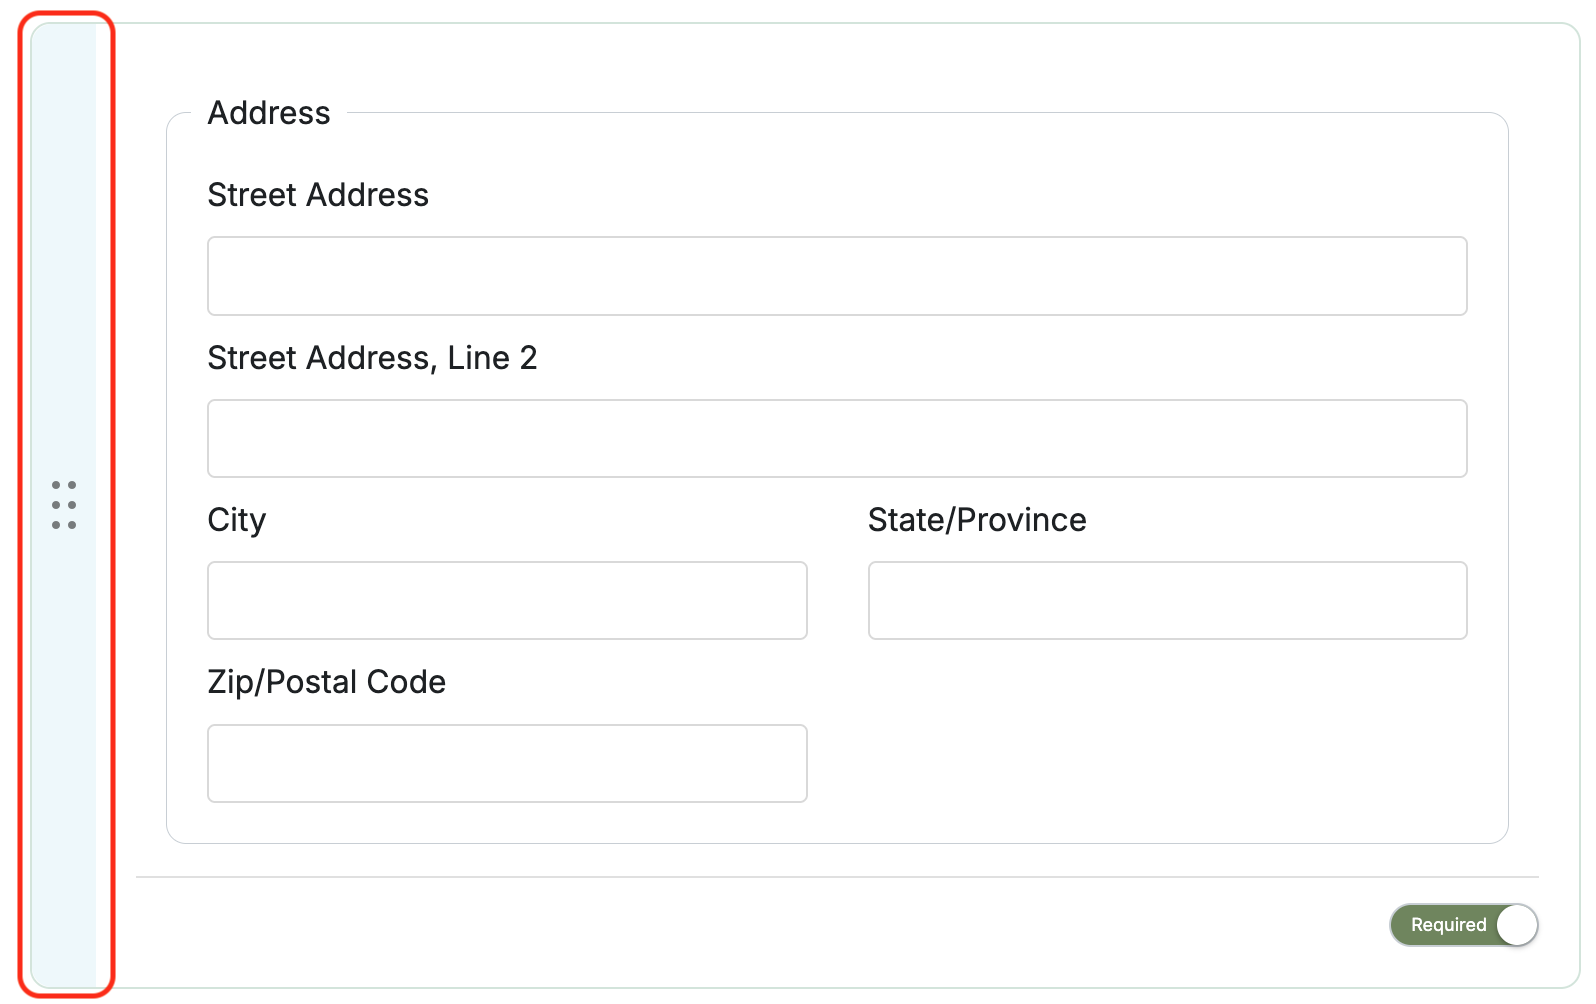
Fields can be moved by clicking the blue move bar on the left and dragging the field to the desired position.
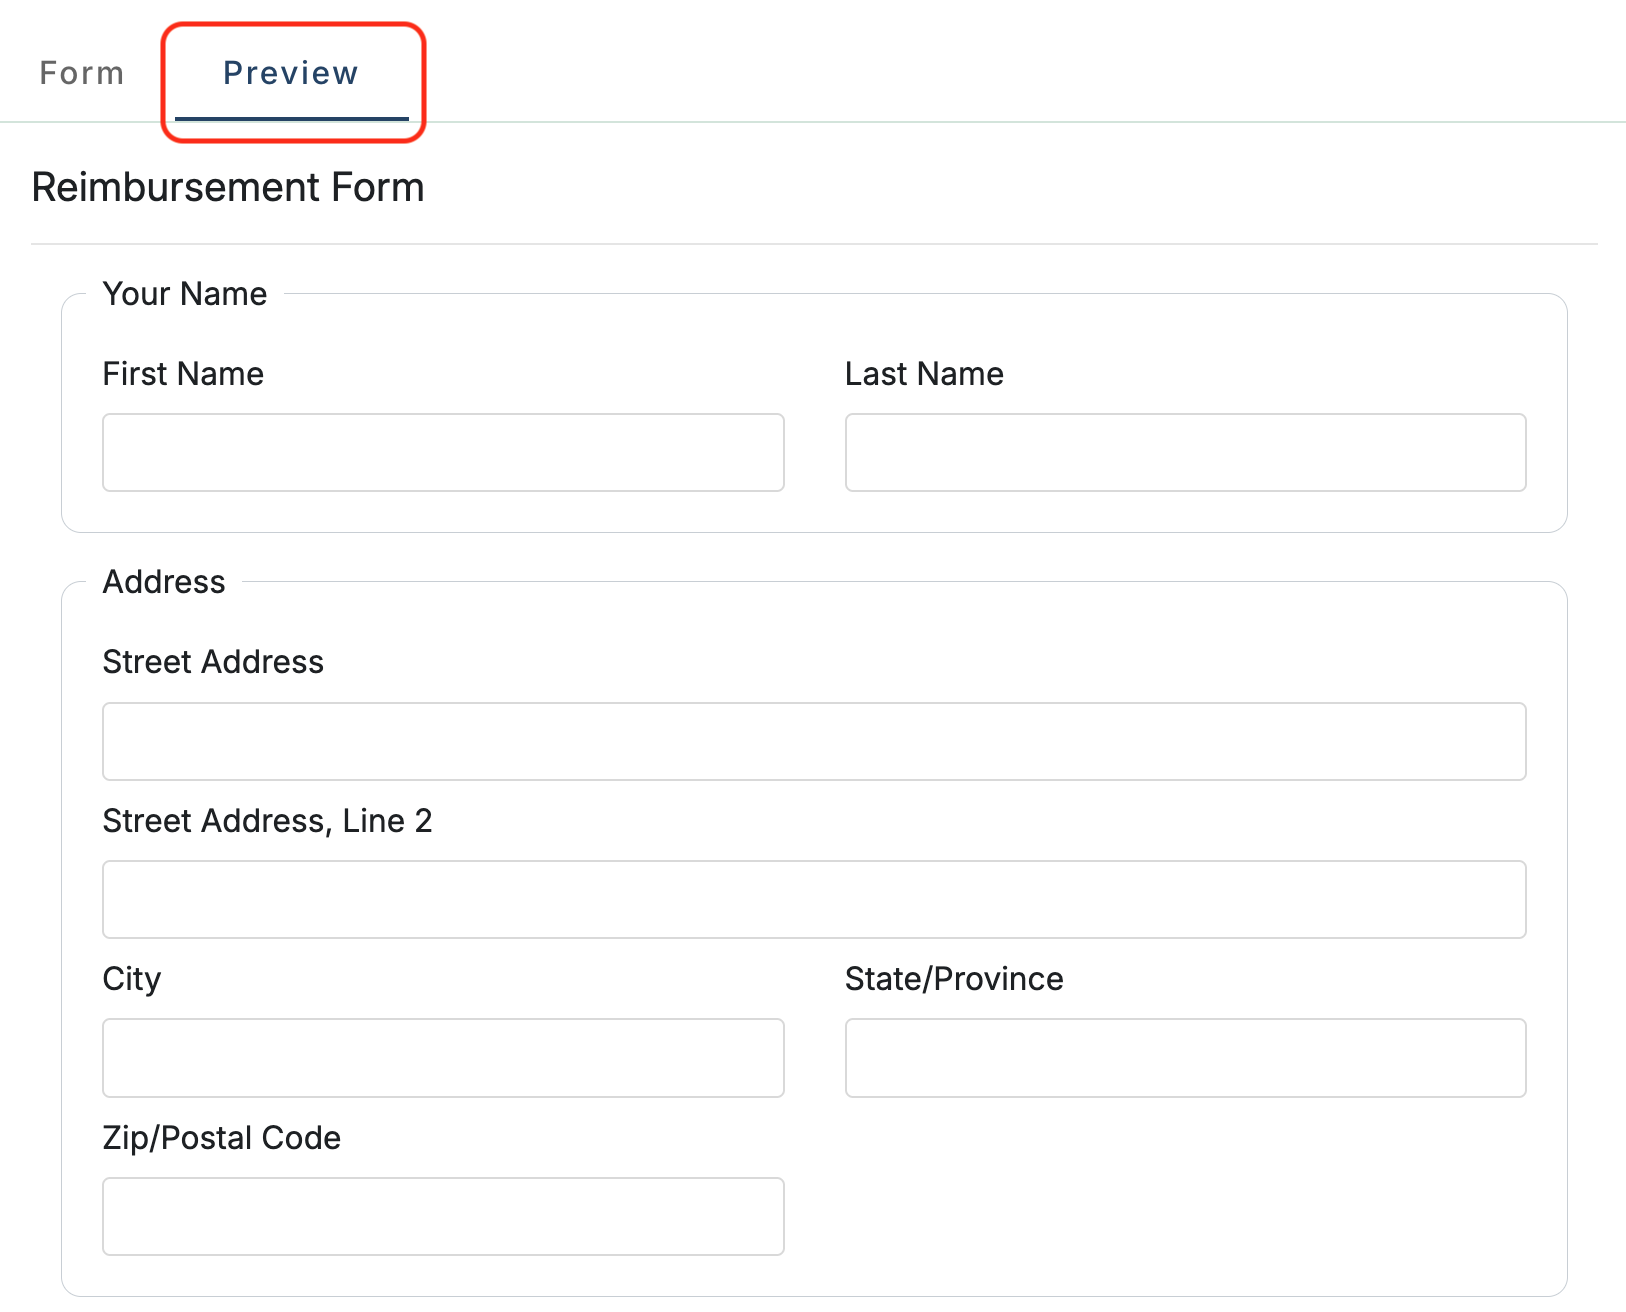
Click Preview to view the form. Click Form to continue editing. Click Save when finished editing.
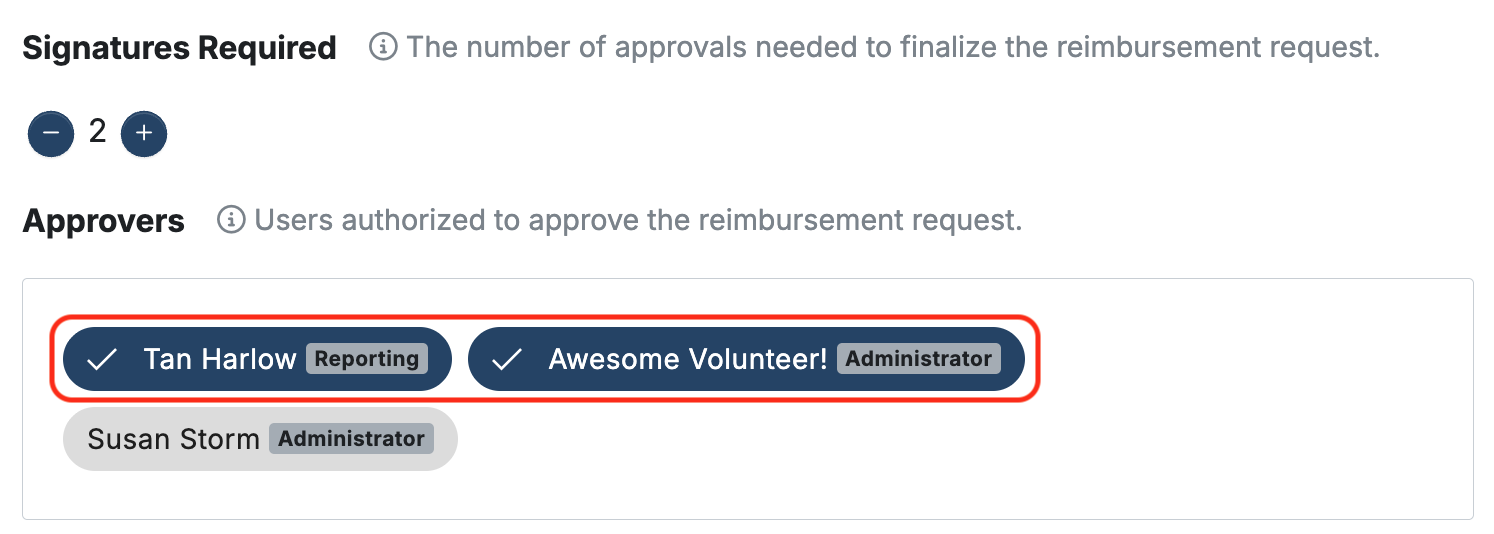
Set the number of required approvers by clicking the + and – signs.
Click the names to select the users authorized to approve requests.
*NOTE: Approvers must have user access to MoneyMinder. Any user role can approve reimbursement requests. Click here to learn how to add users.
Select the email address that email notifications will be sent from.

Once you’re ready, click Create & Publish.

Share the Reimbursement form
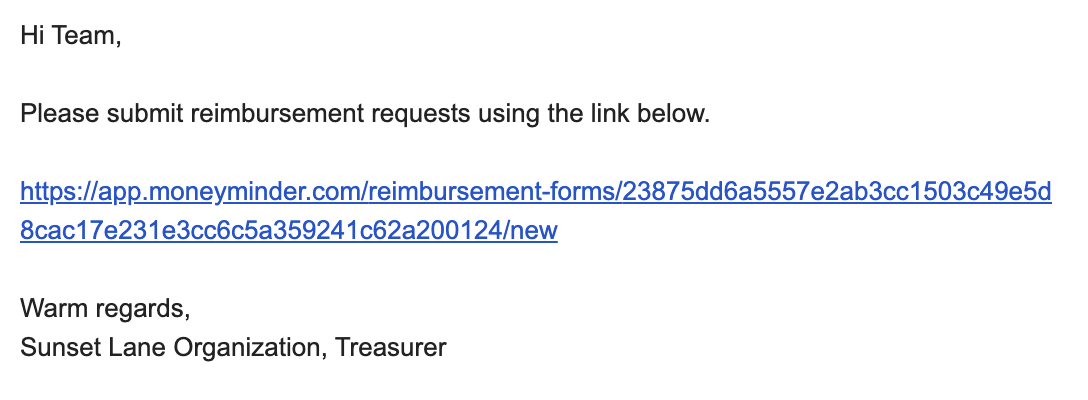
Click Copy Shareable Link.

The link can be pasted into an email, text, or any digital communication app and shared with board members, volunteers, teachers, parents, etc.
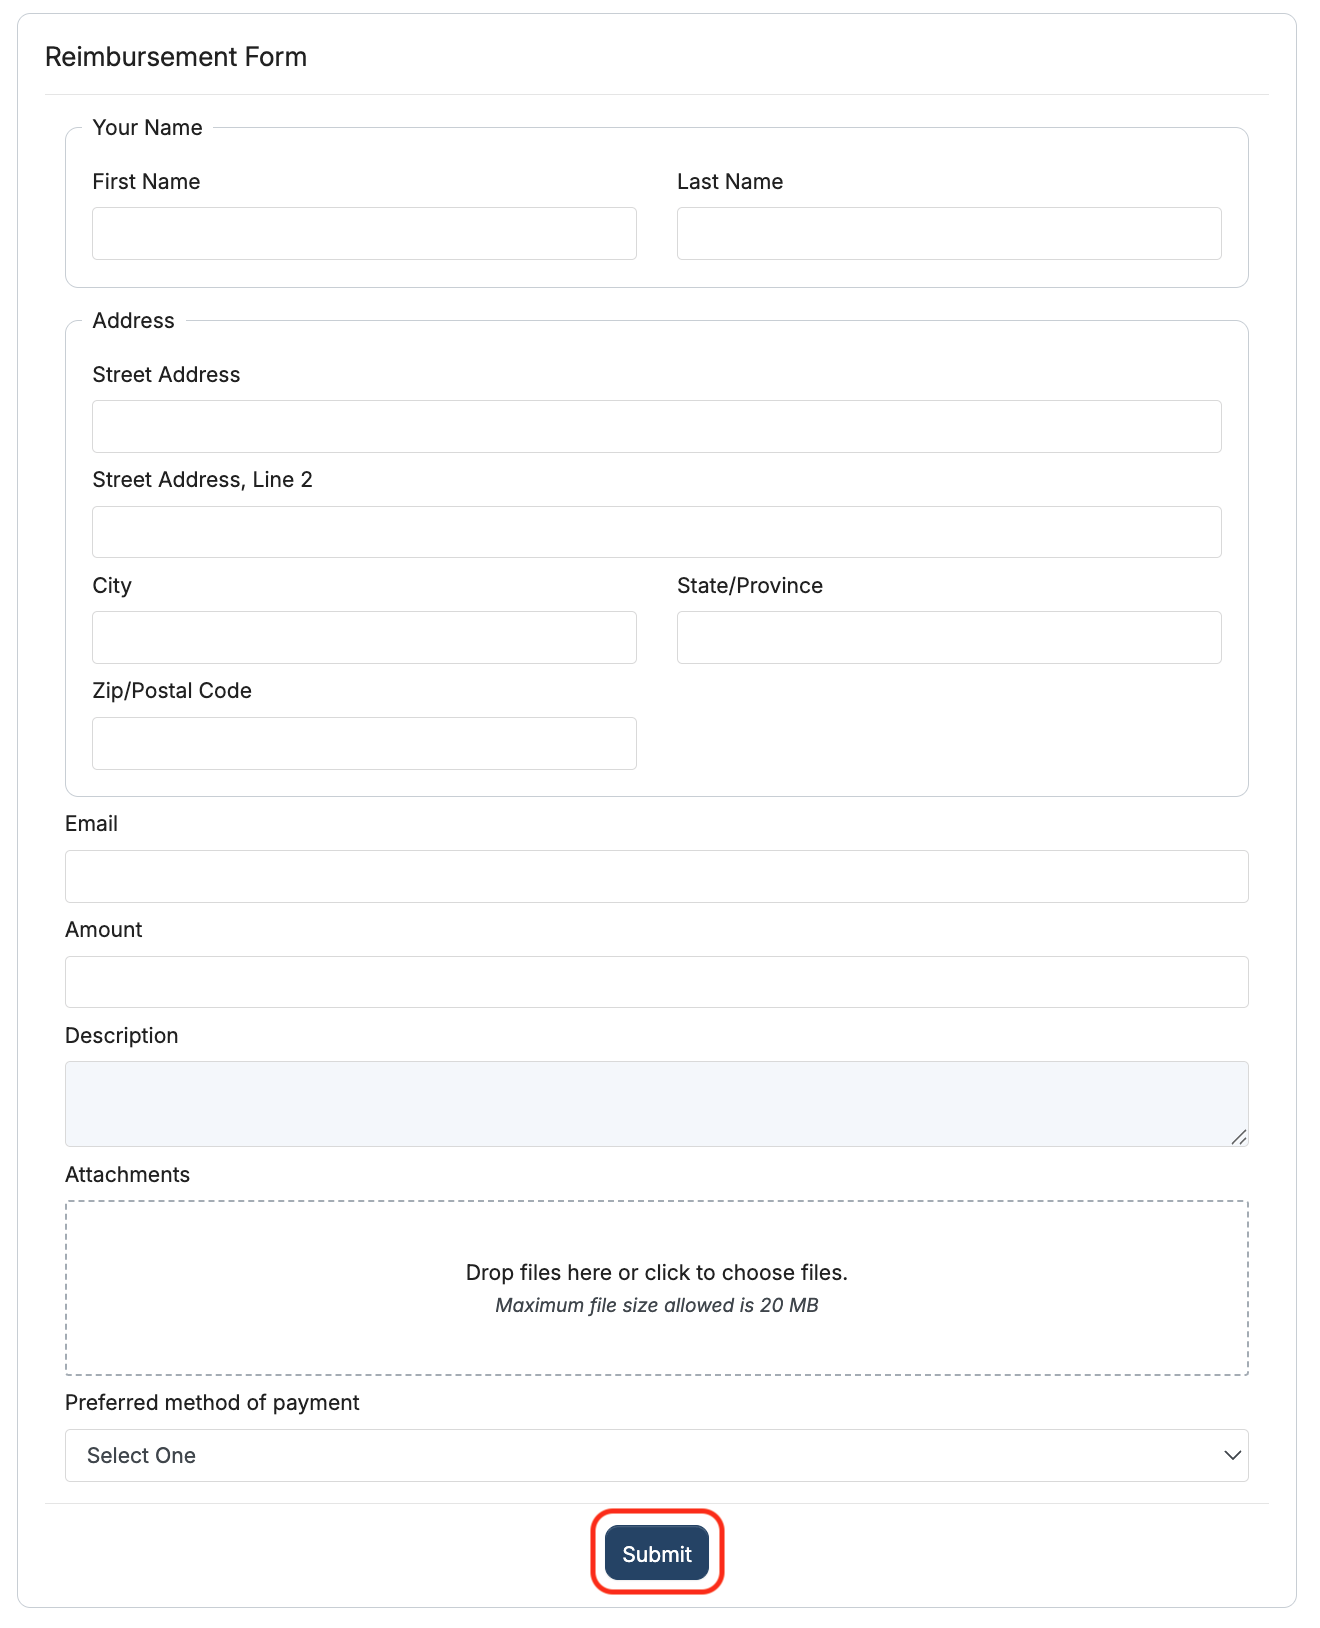
When the link is clicked, the form opens, and the requester can fill it out, attach a receipt, and create a reimbursement request by clicking Submit.
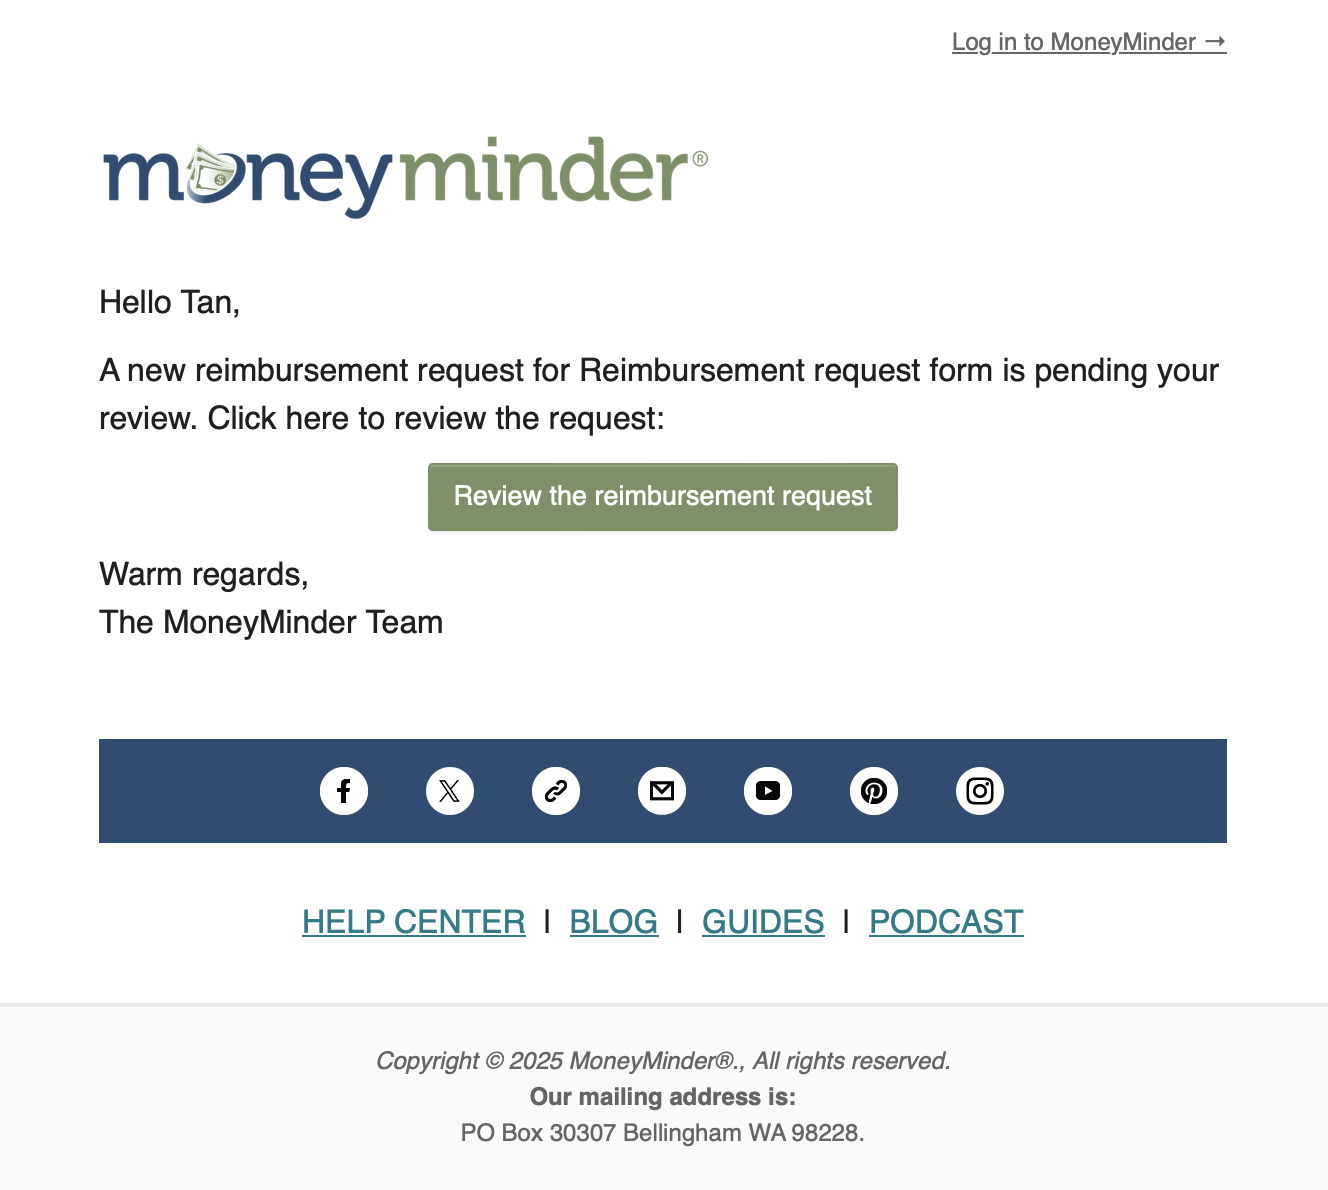
When the reimbursement request is submitted, each approver will receive an email alerting them that there is a pending reimbursement request.
The requester will also receive an email confirming the reimbursement request submission.
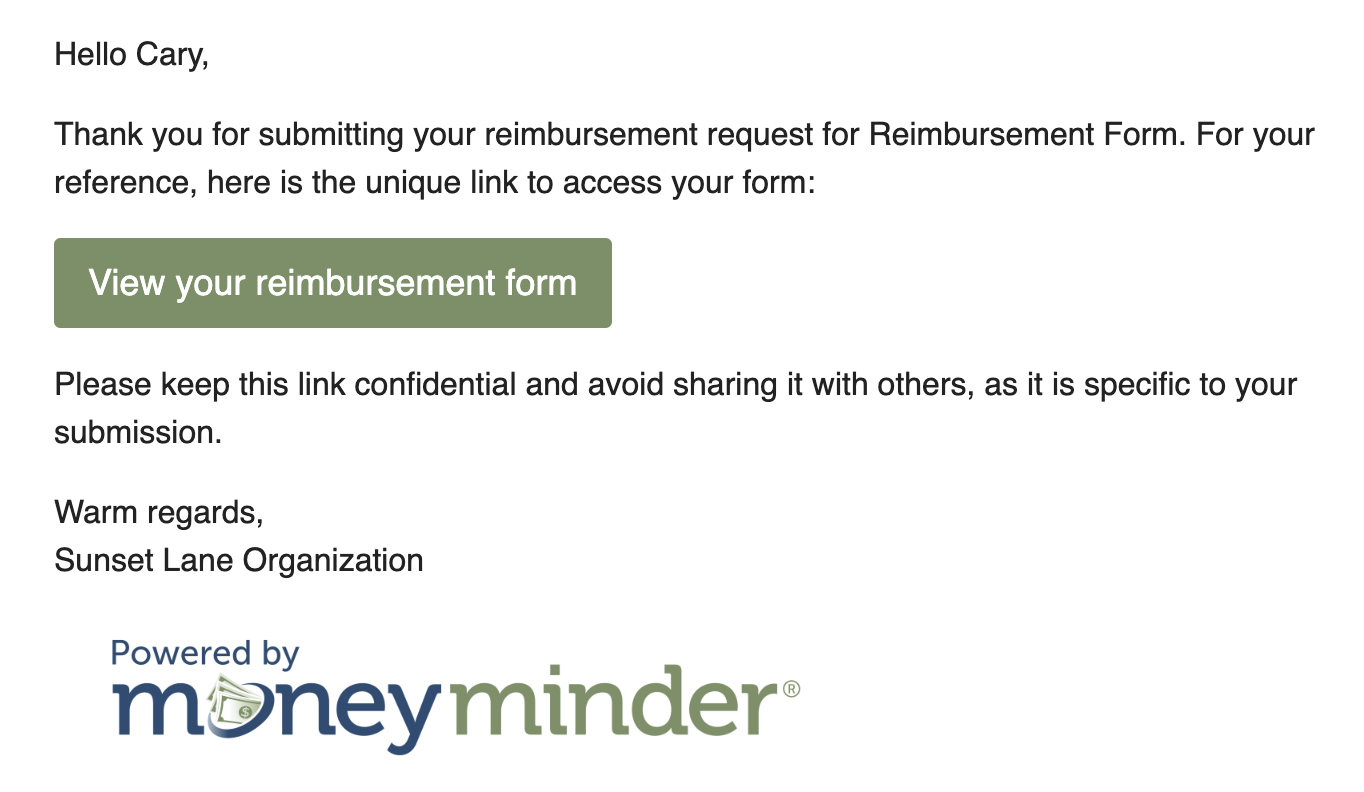
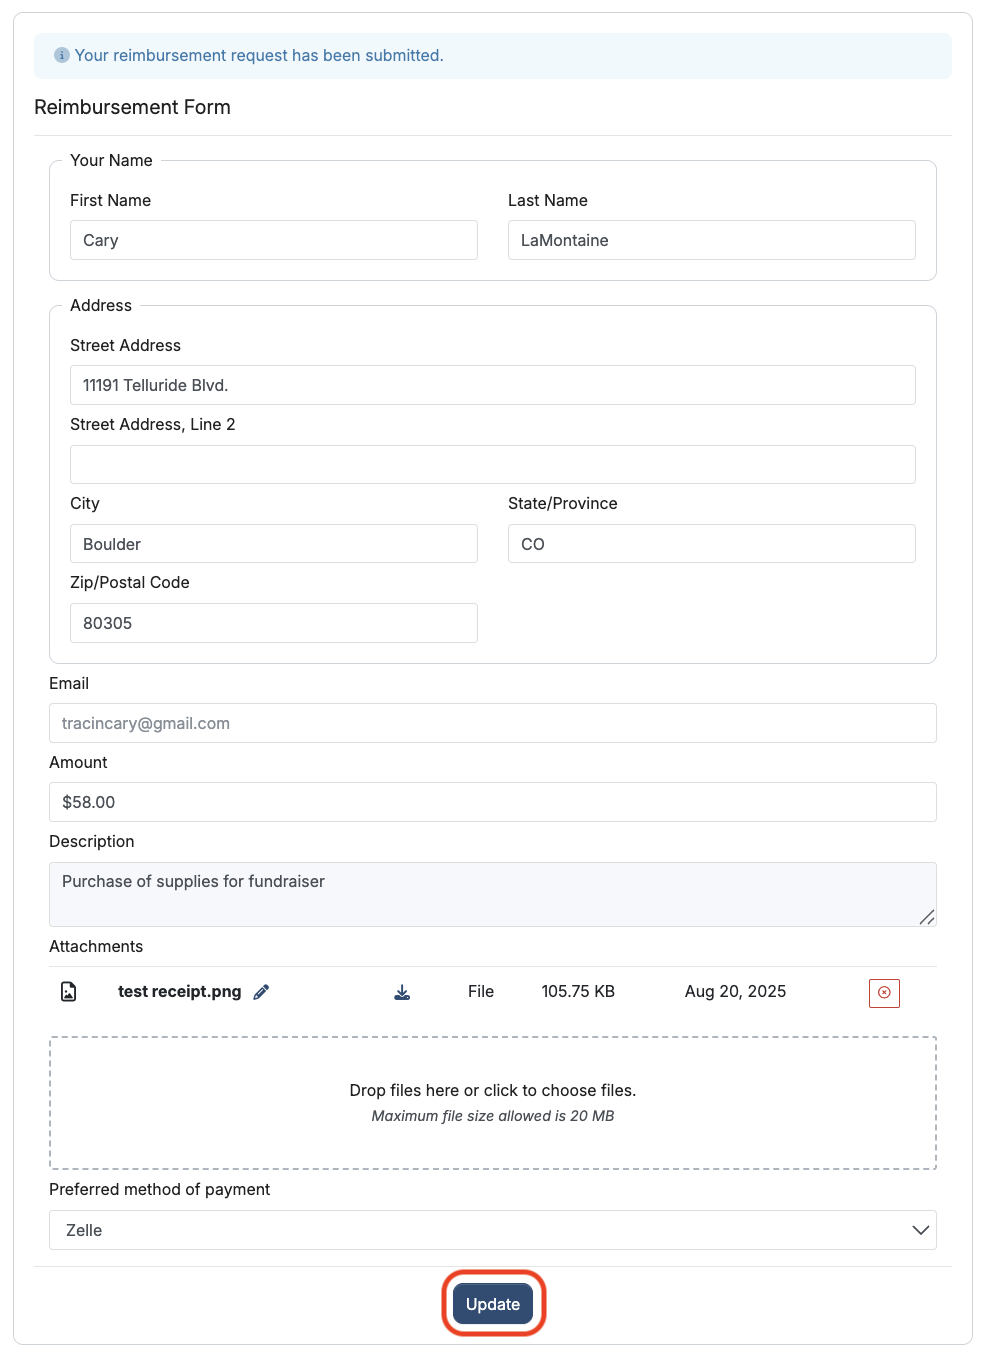
If changes need to be made, the requester can click View your reimbursement form in the email to open the form, make the changes, and update the request by clicking Update.
Review the reimbursement request
In MoneyMinder, click Reimbursements in the sidebar. You’ll see a notification that a reimbursement request has been submitted.

Click anywhere in the Workflow to see the list of submitted reimbursement requests.

Click Details to the right of the reimbursement request you want to view.

From here, you can Approve or Deny the request.
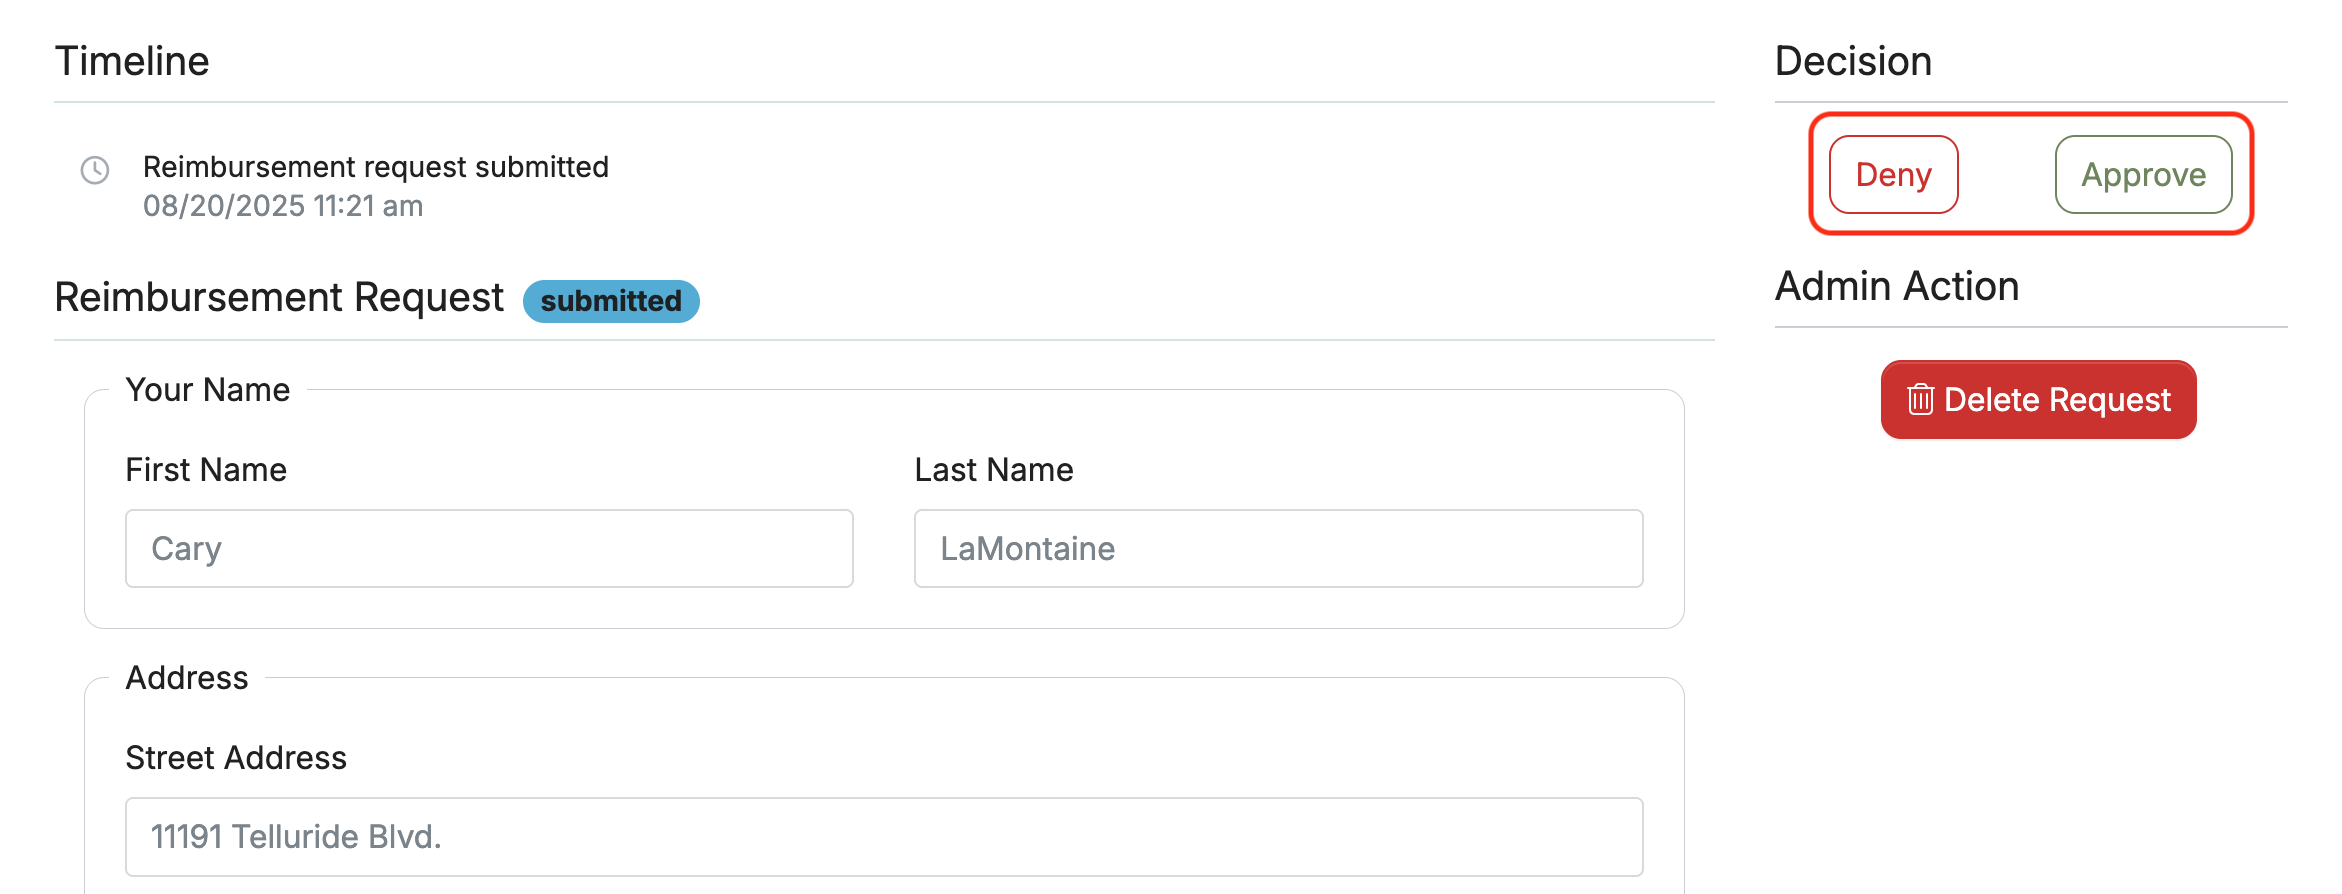
Once the set number of approvers have approved the reimbursement request, click Finalize Decision.

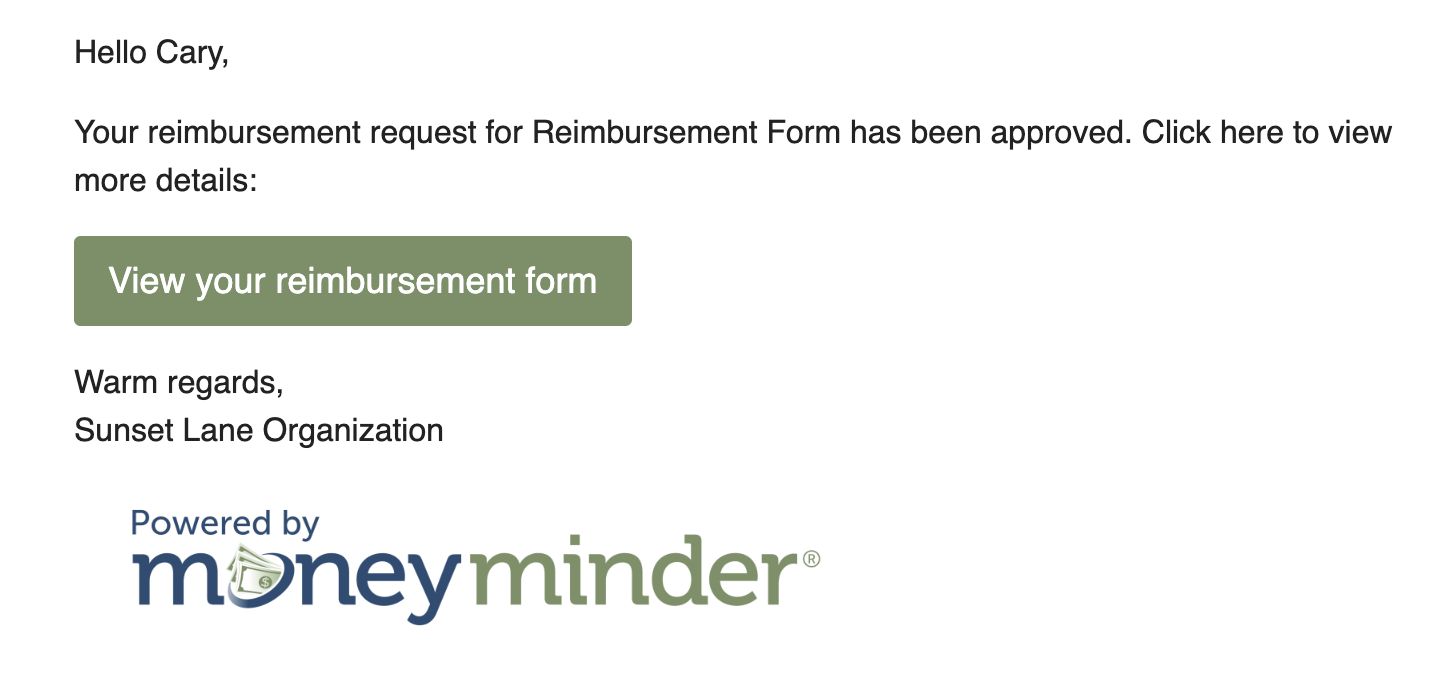
An email notification will be sent to the requester.
Record reimbursements in the bank register
To record the reimbursement in your bank register, click Import to Bank.
(Note: This records the withdrawal with the receipt in the bank register in MoneyMinder. If you use bank integration, you can import the cleared transaction or hide it in the import screen so it’s not recorded twice.)

Choose the bank account where you’d like to record the transaction, then click Next.

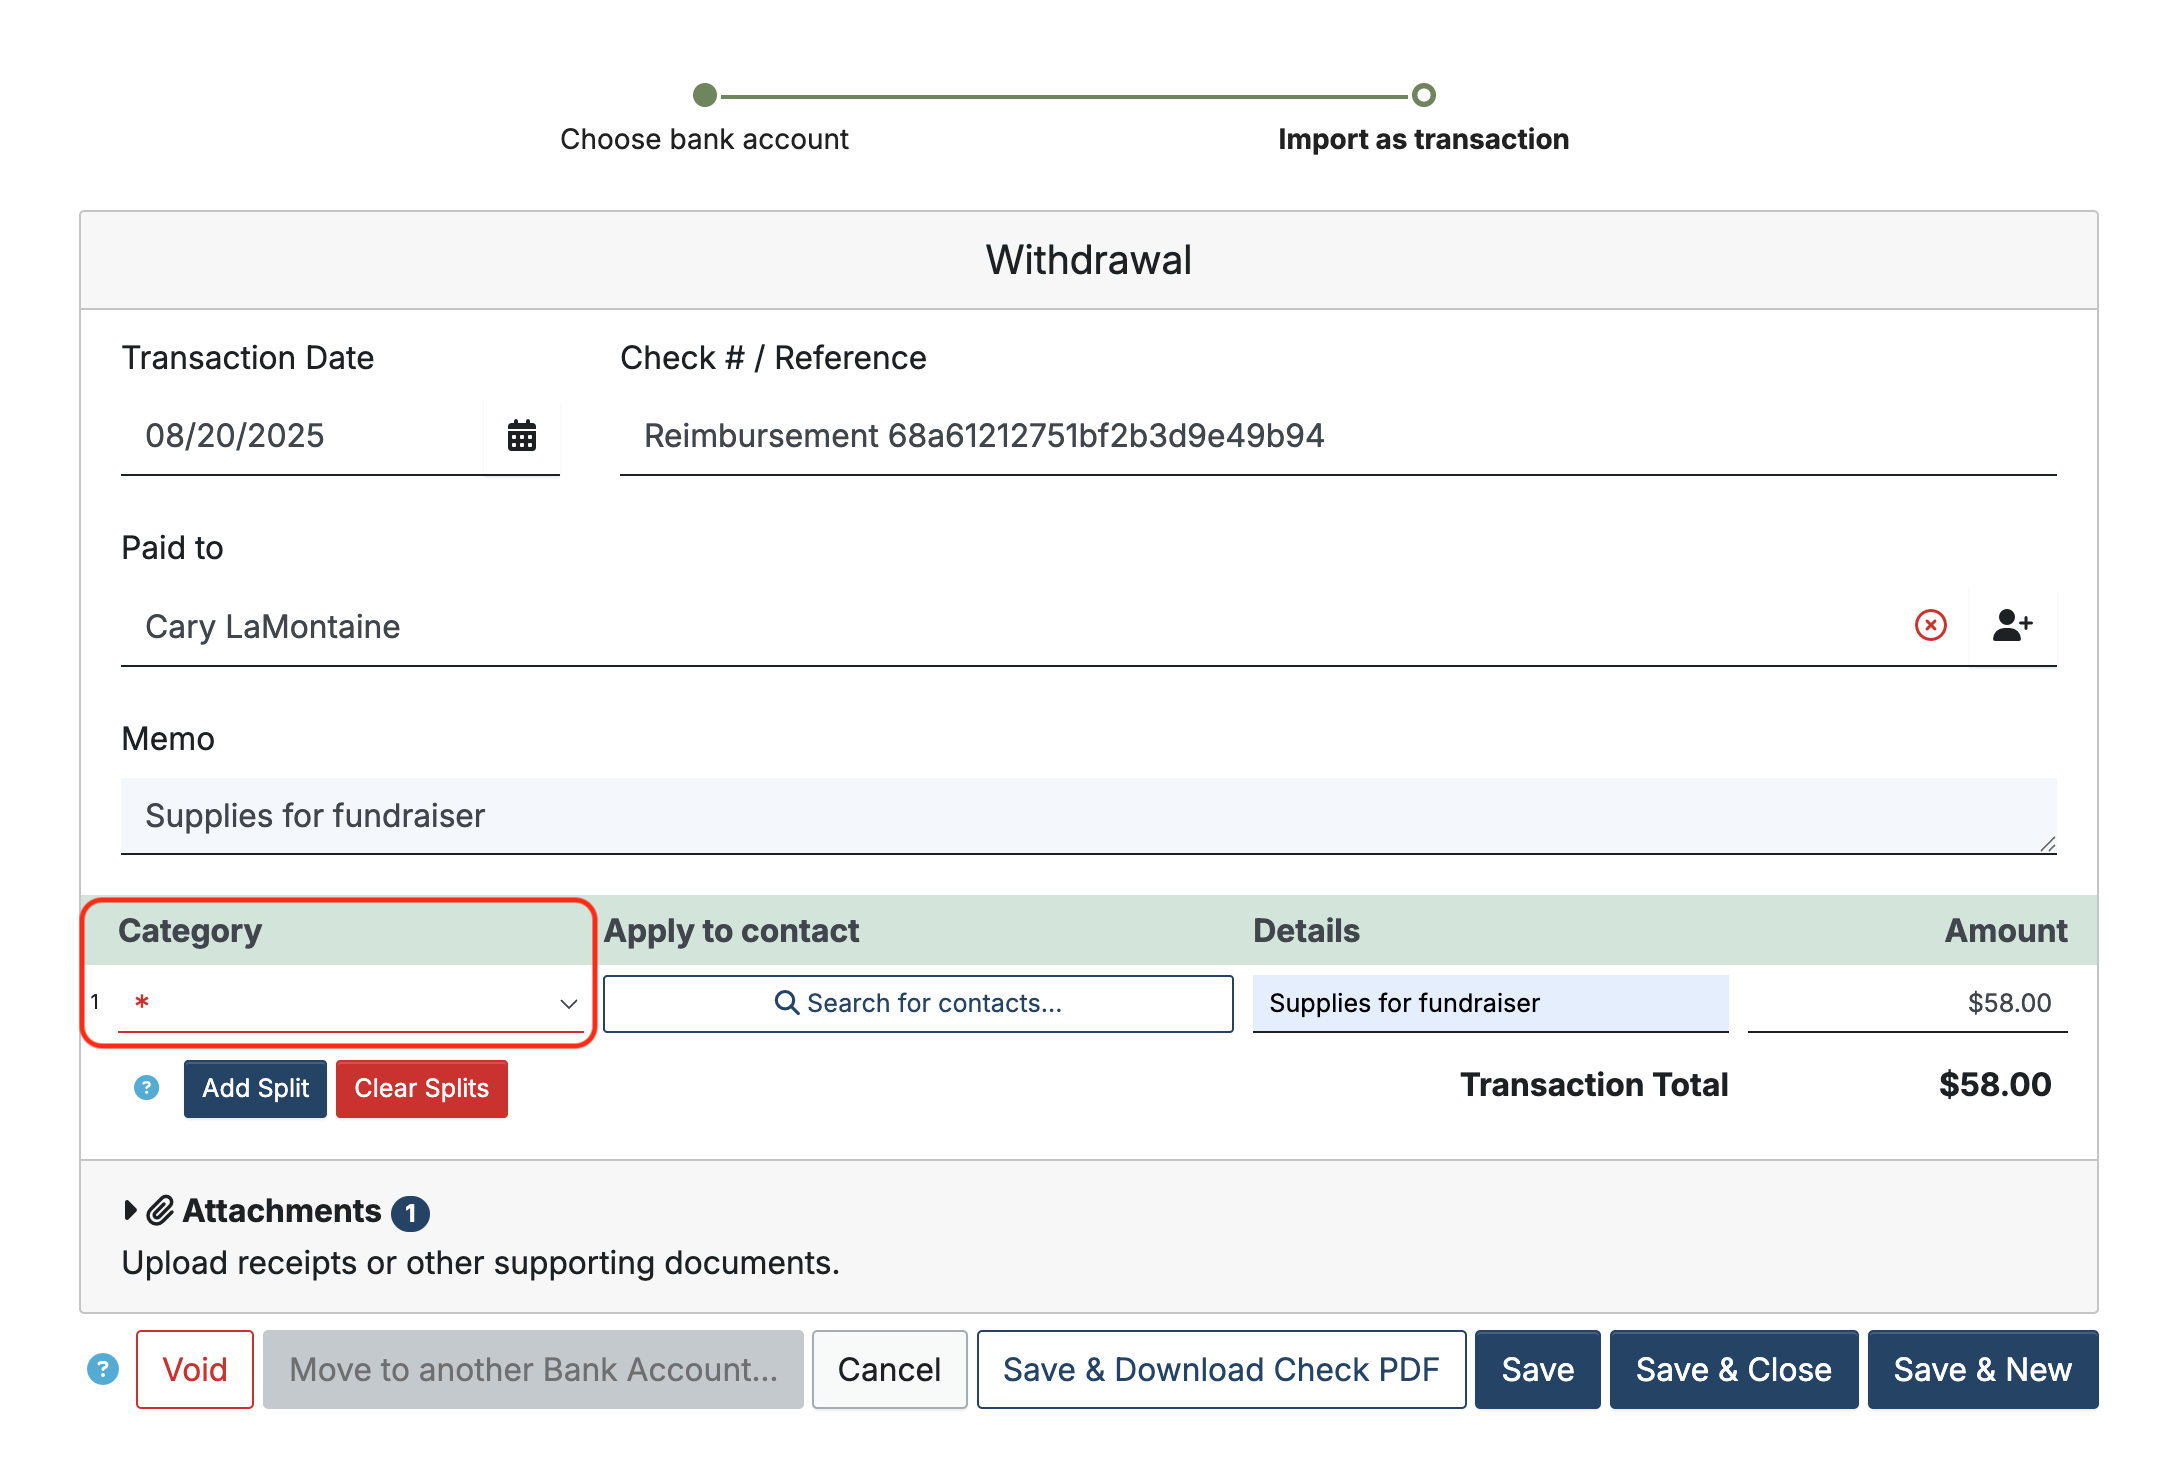
A withdrawal will open with most of the fields pre-filled and the receipt attached. Select the budget category and modify the information if needed. Click Save & Close.
Workflow status
To edit, archive, or delete a Workflow, click Actions to the right of the Workflow and choose from the dropdown. (Note: Workflows that have received requests can’t be deleted)

To block reimbursement requests from specific email addresses, click Settings and enter the email addresses.

Back to the top
Related Articles
- How to Track Team or Program Balances (e.g., Sports Boosters) in MoneyMinder
- Recording transactions from payment platforms like Givebacks, Givebutter, and Zeffy
- Tracking Contact Balances: The Basics
- Using the Compliance Log
- Using the Asset Log
- Guidelines for importing transactions from an Excel template
38 Comments
Leave a Comment Cancel Reply
This site uses Akismet to reduce spam. Learn how your comment data is processed.
 Connect your Venmo account to MoneyMinder PRO to directly download transactions, saving you time and effort. You just review the transactions to ensure they are properly categorized and fill out any required fields.
 Connect your Bank, Paypal and Square accounts to MoneyMinder PRO to directly download transactions, saving you time and effort. You just review the transactions to ensure they are properly categorized and fill out any required fields.
 Connect your Bank, Paypal and Square accounts to MoneyMinder PRO to directly download transactions, saving you time and effort. You just review the transactions to ensure they are properly categorized and fill out any required fields.
 Join It is a membership management service that helps businesses and nonprofits effectively sell, track, and grow their membership.
 Connect your Bank, Square and PayPal accounts to MoneyMinder PRO to directly download transactions, saving you time and effort. You just review the transactions to ensure they are properly categorized and fill out any required fields.
Can you tell me how to archive a reimbursement after it’s been paid? Thanks.
Doug Prince
Alexandria Masters Swim Team
Hi Doug,
If you import the reimbursement payments into your bank register by clicking the Import to Bank button, it will archive them from the list.
Thanks!
I would like to suggest adding the possibility of requesting addresses (for mailing checks)
Hi Jessica,
I will add that as a feature request. We always appreciate customer suggestions.
I second this!
I third!
If importing directly from a bank, is there any way to link info in the reimbursement request (ie the receipt) to the transaction for record keeping?
Hi Jessica,
There are two ways you could handle this. The first is that you could download the receipt from the reimbursement request to your computer and then upload it into the transaction when importing from the bank.
The second option would be to import the transaction to your bank register from the reimbursement request and not import it from the bank. That way, the receipt would already be attached. You would have to manually check off this transaction when reconciling if you do it this way since it wouldn’t be an imported transaction. You will also want to hide it in the import screen so it doesn’t get imported twice.
We have a few PTO debit cards, that people use to make purchases (and they aren’t the treasurer so they don’t have access to money minder)…
Could we make a “PTO Debit Card purchase” workflow under this “Reimbursement” feature as a way for our board members to upload their receipts after they make purchases so the treasurer doesn’t have to chase them down for the physical receipts?
One the request is entered, the treasurer would approve it, then import it as a transaction but obviously not write a check to “reimburse” anyone…
We just started playing around with this feature and I think it’ll work well but I’m not sure if it’ll bite us come tax time or something…thoughts?
Hi Ginny,
That sounds like a great way to handle it. It won’t affect your taxes as long as the transactions are only recorded in your bank register one time. So, if you import those transactions from the reimbursement workflow, make sure to hide them when they show up to be fetched in the import from your bank screen.
The Reimbursement workflows need the ability to add custom fields. The current fields are too limited to be effective for our use as we request more information from our submitted. In addition to the standard fields, we use the following:
1. phone number
2. expense category (dropdown)
3. check payable to (requester vs vendor) (dropdown with other option)
4. check distribution (i.e., mail to vendor, leave at school, etc.) (dropdown with other option)
5. payment notes (this allows for things like addresses to be entered when needed) (optional)
6. general notes (options)
Hi Seth,
Yes, we are planning to make custom fields an option in Reimbursement workflows. I will add your comments to the feature request.
Thank you for your suggestions.
We have a couple of volunteers who submit several receipts at once for reimbursement. It would be onerous to ask them to submit each receipt as a separate reimbursement request, and it would be onerous to combine multiple reimbursement requests into a single bank transaction.
Please consider adding the ability to split a reimbursement request so that someone could enter one reimbursement request with a list of receipts that are split into items. As part of this, have the system do the math to add the items up for a total reimbursement amount. I’d love to be able to avoid spending another evening chasing up a $3 discrepancy between the totals of receipts submitted and reimbursed.
thanks!
Hi Mary,
Thank you for this suggestion. We appreciate ideas from our users. I will enter this as a feature request, as we are planning updates to the reimbursement workflow.
This feature would be extremely helpful to us, as well!
On a future update, could it be possible to issue payments through MoneyMinder via ACH
Hi Tom,
MoneyMinder is accounting software, not payment processing software, so we aren’t planning any updates like that. However, if you need to receive payments from people, you can use the Store feature in MoneyMinder or connect your PayPal, Stripe, or Square accounts and import transactions directly into MoneyMinder.
Please please please can we just connect a reimbursement to an imported bank transaction?
Downloading the receipt and then attaching it back to the bank transaction is a pain.
And while I know that I can just import the reimbursement and delete the imported transaction from the bank, I like being able to reconcile the reimbursements to the transactions in our bank account.
Hi Sean,
We absolutely agree. We will be working on improvements to the Reimbursement feature, and I’ve added your comments to our feature requests.
Please consider adding the following to this feature:
1. Email Verification (two-step, type it twice) to prevent typos.
2. A messaging platform to communicate with the submitter if modifications need to be made to the request. This will reduce rejections in favor of corrections.
Hi Seth,
I will add your suggestions to our list of feature requests. We appreciate your input.
Is there any way to do monthly/quarterly/yearly reporting on all expenses submitted through the specific workflows? We currently have our Annual review that sifts through the paper copy reimbursement forms to validate against bank transactions…and although it would be imported to the register after final approval, Id be interested in reporting features to see the volume of reimbursements posted through MoneyMinder workflows.
Hi Matthew,
Currently, there is no specific reporting associated with the reimbursement feature. We are planning to add reporting in the future, but I don’t have a specific timeline for when.
If you know what budget categories those reimbursements have been applied to, you may be able to use the All Transactions by Category Report to get some of the information you are looking for in the meantime.
I will add your suggestion to our feature requests. We appreciate your input and ideas.
Hello,
I see in your comment replies that you are planning for reimbursement workflow upgrades. Do you have a timeline of when we can expect these to be released? Our elementary school PTC has been excited about having all of our record keeping in one place but we use reimbursements frequently with school staff and I’d love for additional features to be available asap to reduce the manual labor of keeping things organized.
Hi Dallas,
We plan to deploy custom fields in reimbursement workflows soon, probably within the next few weeks. It will include fields for address, phone number, and other types of custom fields.
Changes other than custom fields are scheduled for phase 3, and I don’t know when that will be complete.
Thank you for your confirmation. Do new updates get an email announcement? And, will we need to generate a new shareable link when the additional fields are added?
#1 feature request: approve a portion of the requested reimbursement amount. We have a budget of $300 per reimbursement and if someone incorrectly puts their receipt amount for $306.50, I’d want to be able to approve the request but modify the amount. Plus show in the activity area that “approver adjusted reimbursement amount”. Would save approvers and submitters hassle of re-submitting.
#2 Feature request: customize notification emails for reimbursement status updates / approvals. We’d like to direct them either to their physical mailbox or electronic payment channel.
Hi Dallas,
We deployed the custom fields update in Reimbursement Workflows today.
To use custom fields, you must create new reimbursement workflows, which will generate a new shareable link. It’s not possible to update old workflows with custom fields.
I will add your suggestions to our feature requests. We appreciate your input.
Is there a way to, or a plan to implement, an approval block for reimbursements submitted by an approved signatories? For an example, if I submit a reimbursement and then go in and sign/approve my own submission. My team has a two signatories requirement, but it would be cool to see a block created so I could not approve my own as one of the signatures. Just a safety measure to prevent issues from arising.
Thank you!!
Hi Matthew,
I will add that to our feature requests. We appreciate your input and ideas.
We have set up a reimbursement workflow for approvals for invoices from vendors. We require 2 signatures for approval and usually we get those via a wet signature on a paper check. However, we are increasingly using online bank bill pay or Venmo/Zelle as a payment method and there is currently no method to get 2 signatures for those types of payments. So, we have set up a “bill pay” workflow. Its not perfect, but it seems to work.
My request is this: 1) either add a specific method to collect signatures for payments that are not reimbursements or paper checks or 2) allow us to customize the required fields for use with companies/organizations. Right now, First and Last Name are required fields that are not editable.
Hi Dave,
We appreciate your suggestion. Other groups have also asked us to customize the required fields for use with companies/organizations. We will update the form with that capability within the next couple of weeks.
Would love to see the ability as an approver to add comments that the submitter and other approvers can see. Specific example is, I had a teacher submit a reimbursement with our administrators verbal approval, but I need to know which account to credit from the budget, and I found out, and would love to add that to my approval, but need an optional comment field for that.
Thanks!
Hi Matthew,
We’ve launched the ability to add custom fields to reimbursement workflow forms. To add custom fields, you would need to create a new workflow.
However, there isn’t a way, at this time, for an approver to add comments after a reimbursement has been submitted.
We appreciate your suggestion. I will add it as a feature request.
I agree with this feature request. As the treasurer, I would like to add additional details to the request after its been approved, such as check number, approved amount, and date check is written. This way I can track it with the bank statement.
Hi Kyleen,
I will add you to the feature request, but there is a way to track the check number, approved amount, and date by importing the finalized reimbursement request into your bank register.
Instead of importing the withdrawal from your bank, import the finalized reimbursement request as the last step in the reimbursement request process. There’s an Import to Bank button that allows you to do this after the reimbursement request has been finalized. This is where you will enter the check number, amount, and date so that you can reconcile with your bank statement. This transaction is then linked to the reimbursement request, allowing you to click the symbol and return to the request when needed.
We request the same information each time a person submits a reimbursement form. Can you create a feature where an administrator can create a template that can be used to generate each new workflow? Right now I have to add each required field each time I create a workflow, which is quite tedious.
Hi Sharon,
We appreciate your feedback. I will add your suggestion to our feature requests.