- Home
- Knowledge Base
- Banking
- Account integration / Importing transactions
- How to Import from QFX, QBO, or OFX bank transaction files or Venmo CSV Statements
How to Import from QFX, QBO, or OFX bank transaction files or Venmo CSV Statements
Watch Video
Uploading transaction files is another method of importing bank transactions into MoneyMinder. Some groups prefer this method because it often gives more detail.
- Export bank transaction files
- Export Venmo CSV statements
- Import transactions individually
- Bulk import transactions to the same budget category
- Bulk Delete transactions from a bank register
To import from transaction files, the bank must offer transaction file exports in QFX, QBO, or OFX format.
Account Integration must be activated to use this feature.
Export bank transaction files
All banks are different, so the steps for downloading transaction files will look different depending on the bank.
- Log in to the bank.
- Select the account from which to import transactions.
- Find the option to export transaction files.
- Select one of the three types supported: QFX (Quicken Web Connect .qfx), QBO (QuickBooks Web Connect .qbo), or OFX (ofx financial interchange files).
- Export the file to your computer.
Export Venmo CSV statements
To import Venmo transactions, upload a Venmo CSV statement.
The steps for downloading Venmo Statements can be found here: Venmo Help – Transaction History.
Next, log in to MoneyMinder.
Import transactions individually
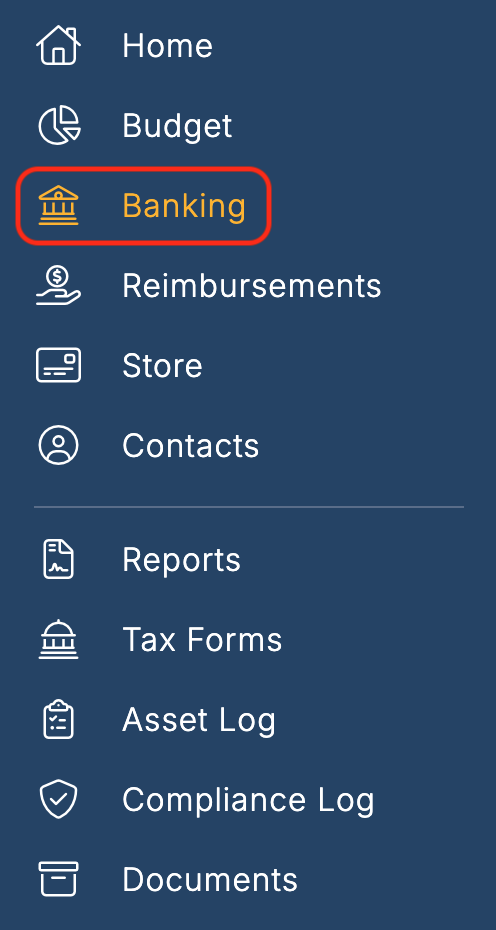
Click Banking in the sidebar.
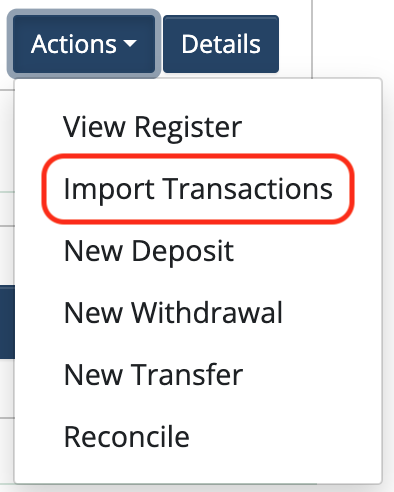
Click the Actions dropdown to the right of the bank account.

Choose Import Transactions from the dropdown:
Click the Import transactions from file instead button:

Drag & drop the export file from the bank or Venmo to the area that says, Drop an exported QFX, QBO, OFX or CSV (Venmo Only) file here or click to choose a file:

The following message will appear if the file was uploaded successfully:

Click the X to close this message.
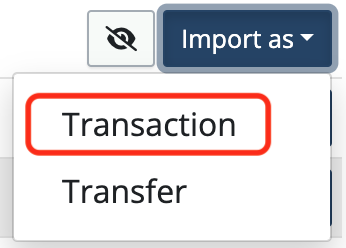
Click the Import as button next to the items you’d like to import.

Withdrawals and deposits can be imported by choosing Transaction from the dropdown.
Check that all fields are filled correctly and assign a category from the dropdown. You can also attach a receipt at this point.
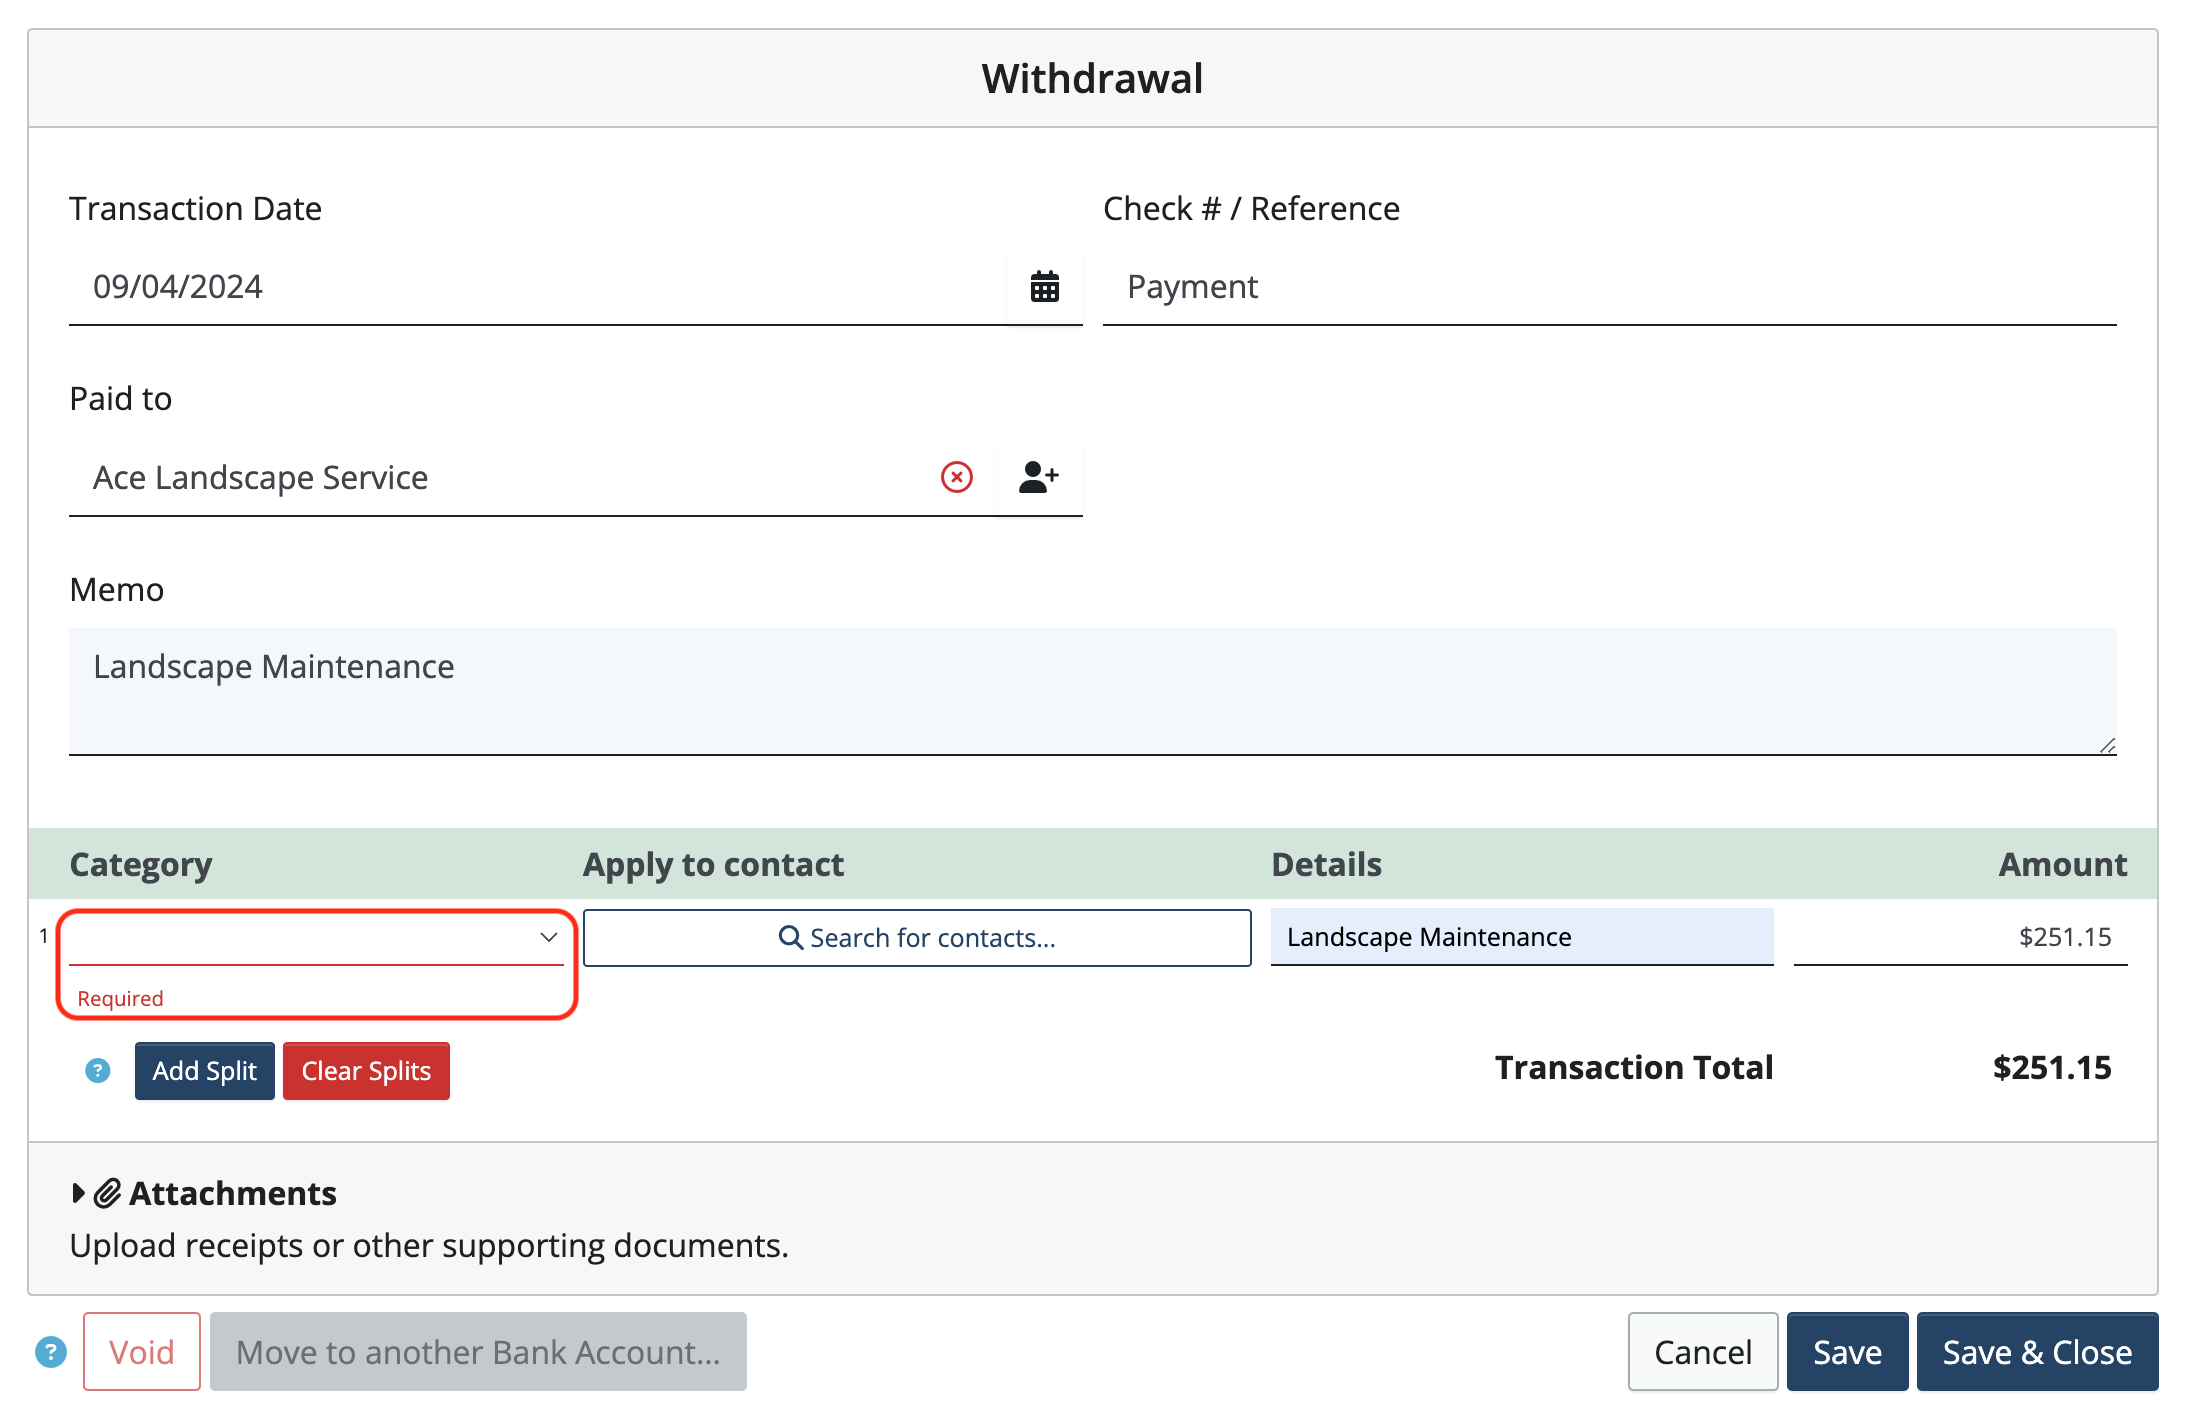
Click Save & Close.
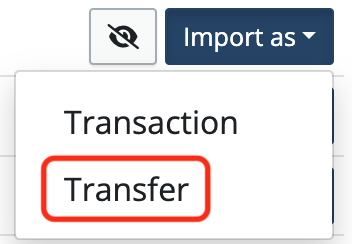
Transfers between bank or merchant accounts can be imported by clicking Import as and choosing Transfer from the dropdown.
Check that the From bank account and the To bank account are selected correctly. If not, click the dropdown and select the correct bank account for each.
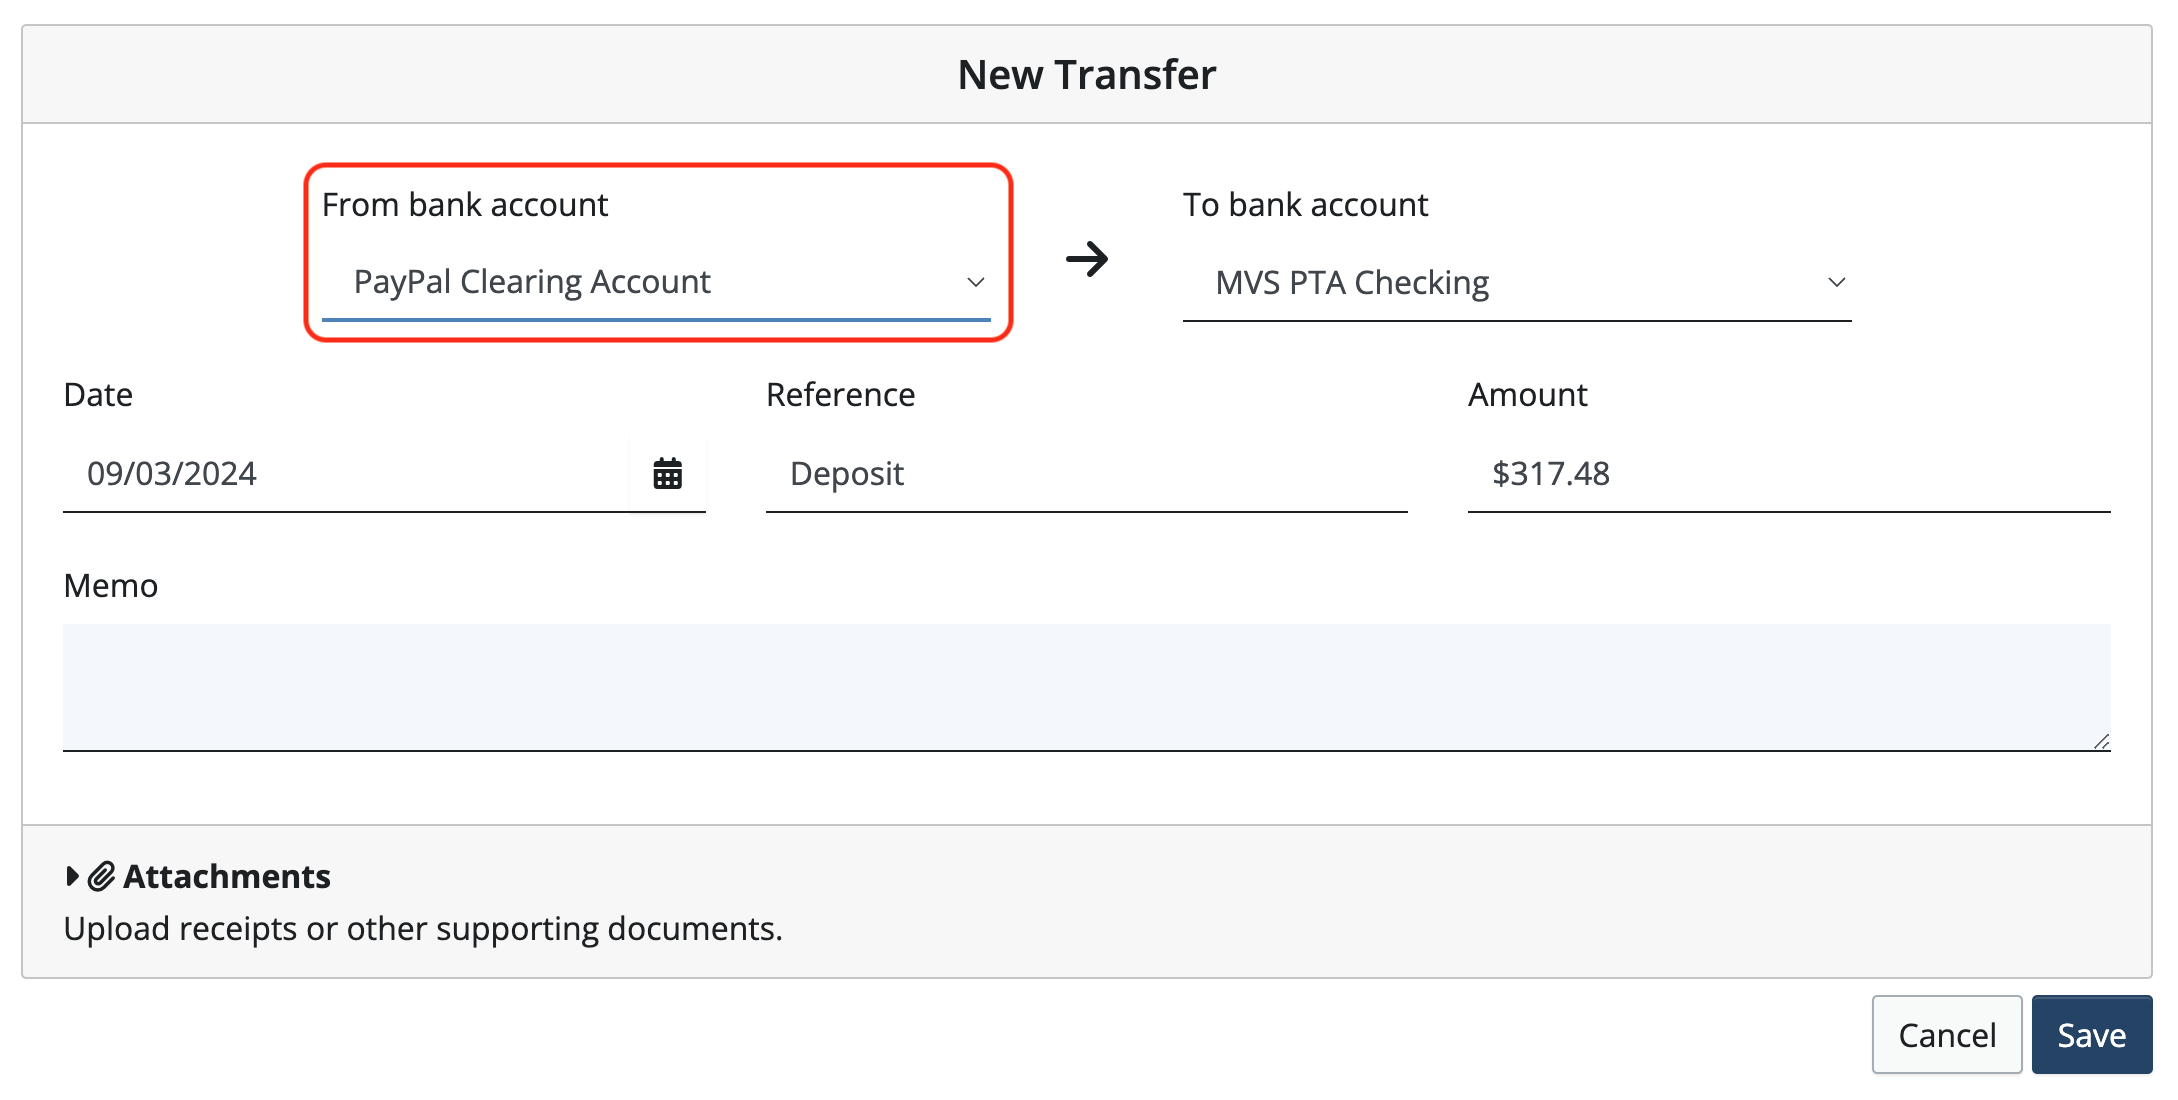
Fill in the details and click Save.
To hide a transaction so that it doesn’t get imported, click the “eye” icon.
![]()
Bulk import transactions to the same budget category
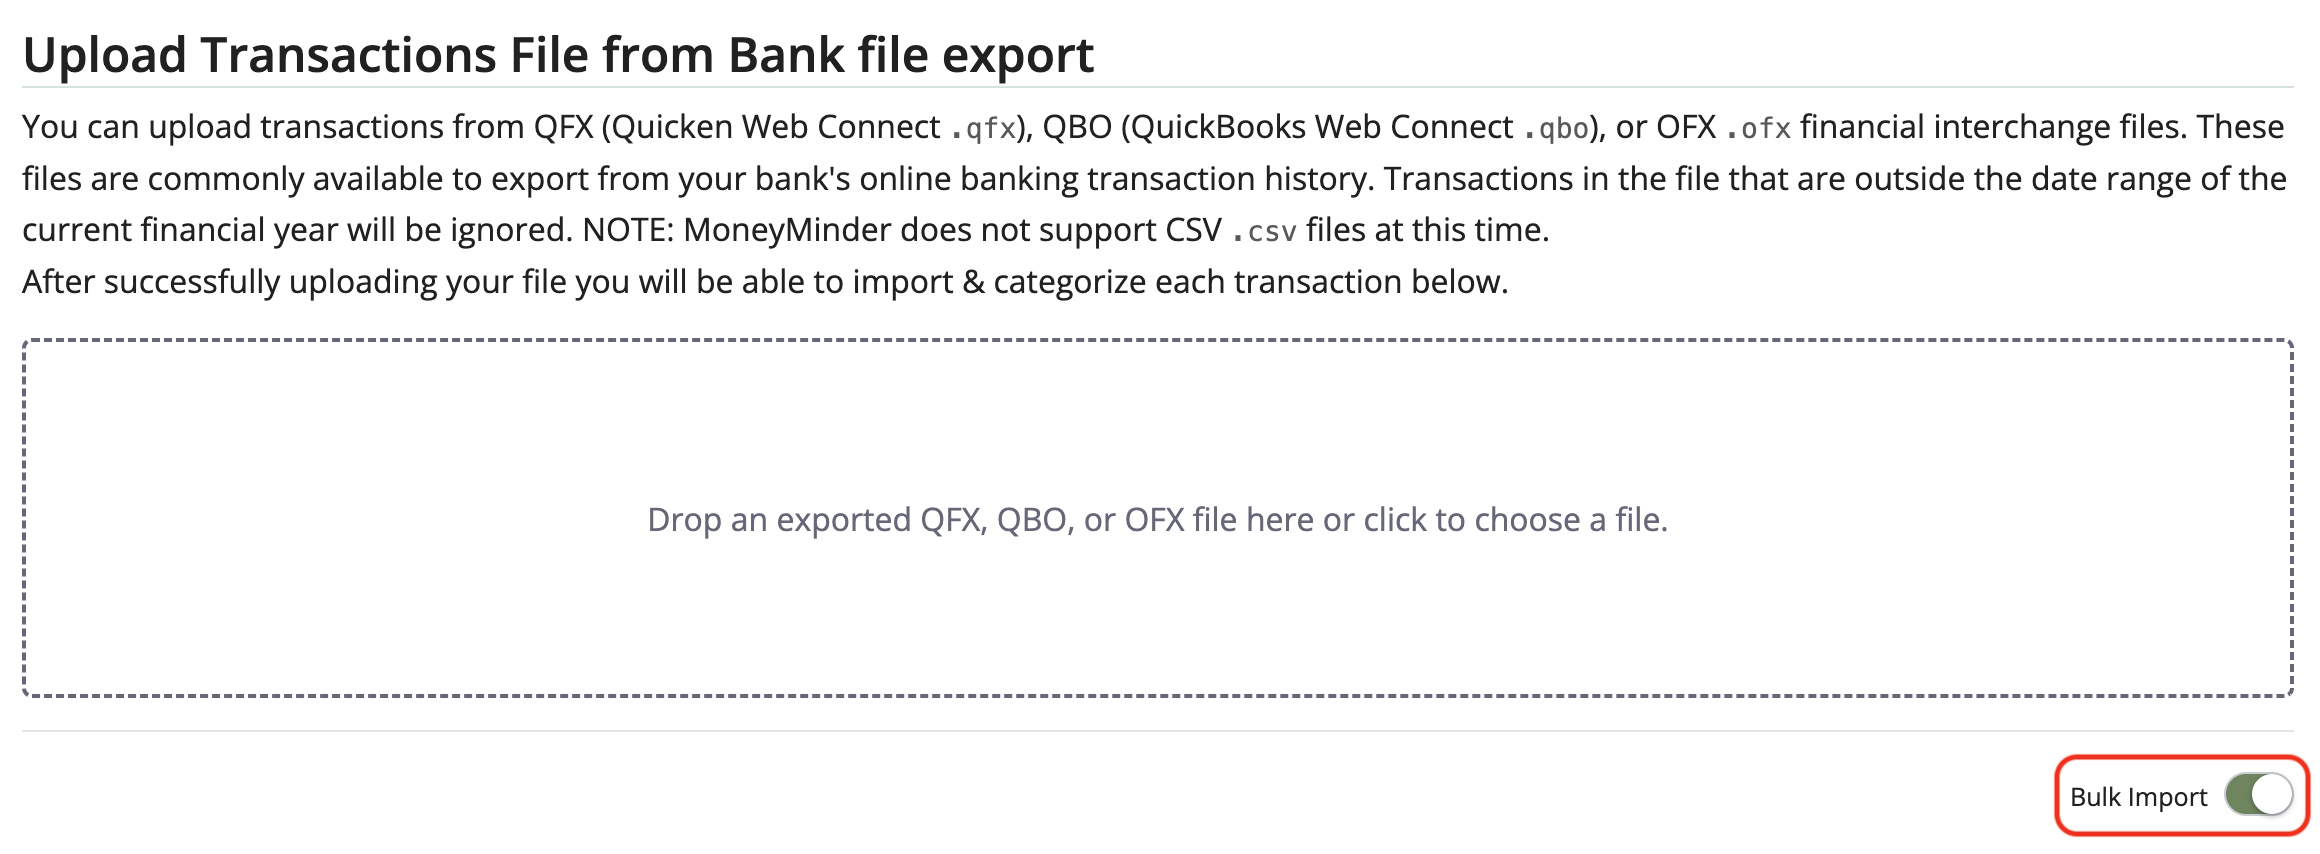
In the import screen after the transaction file has been uploaded, toggle Bulk Import on.
Select the transactions to be imported into the same budget category.
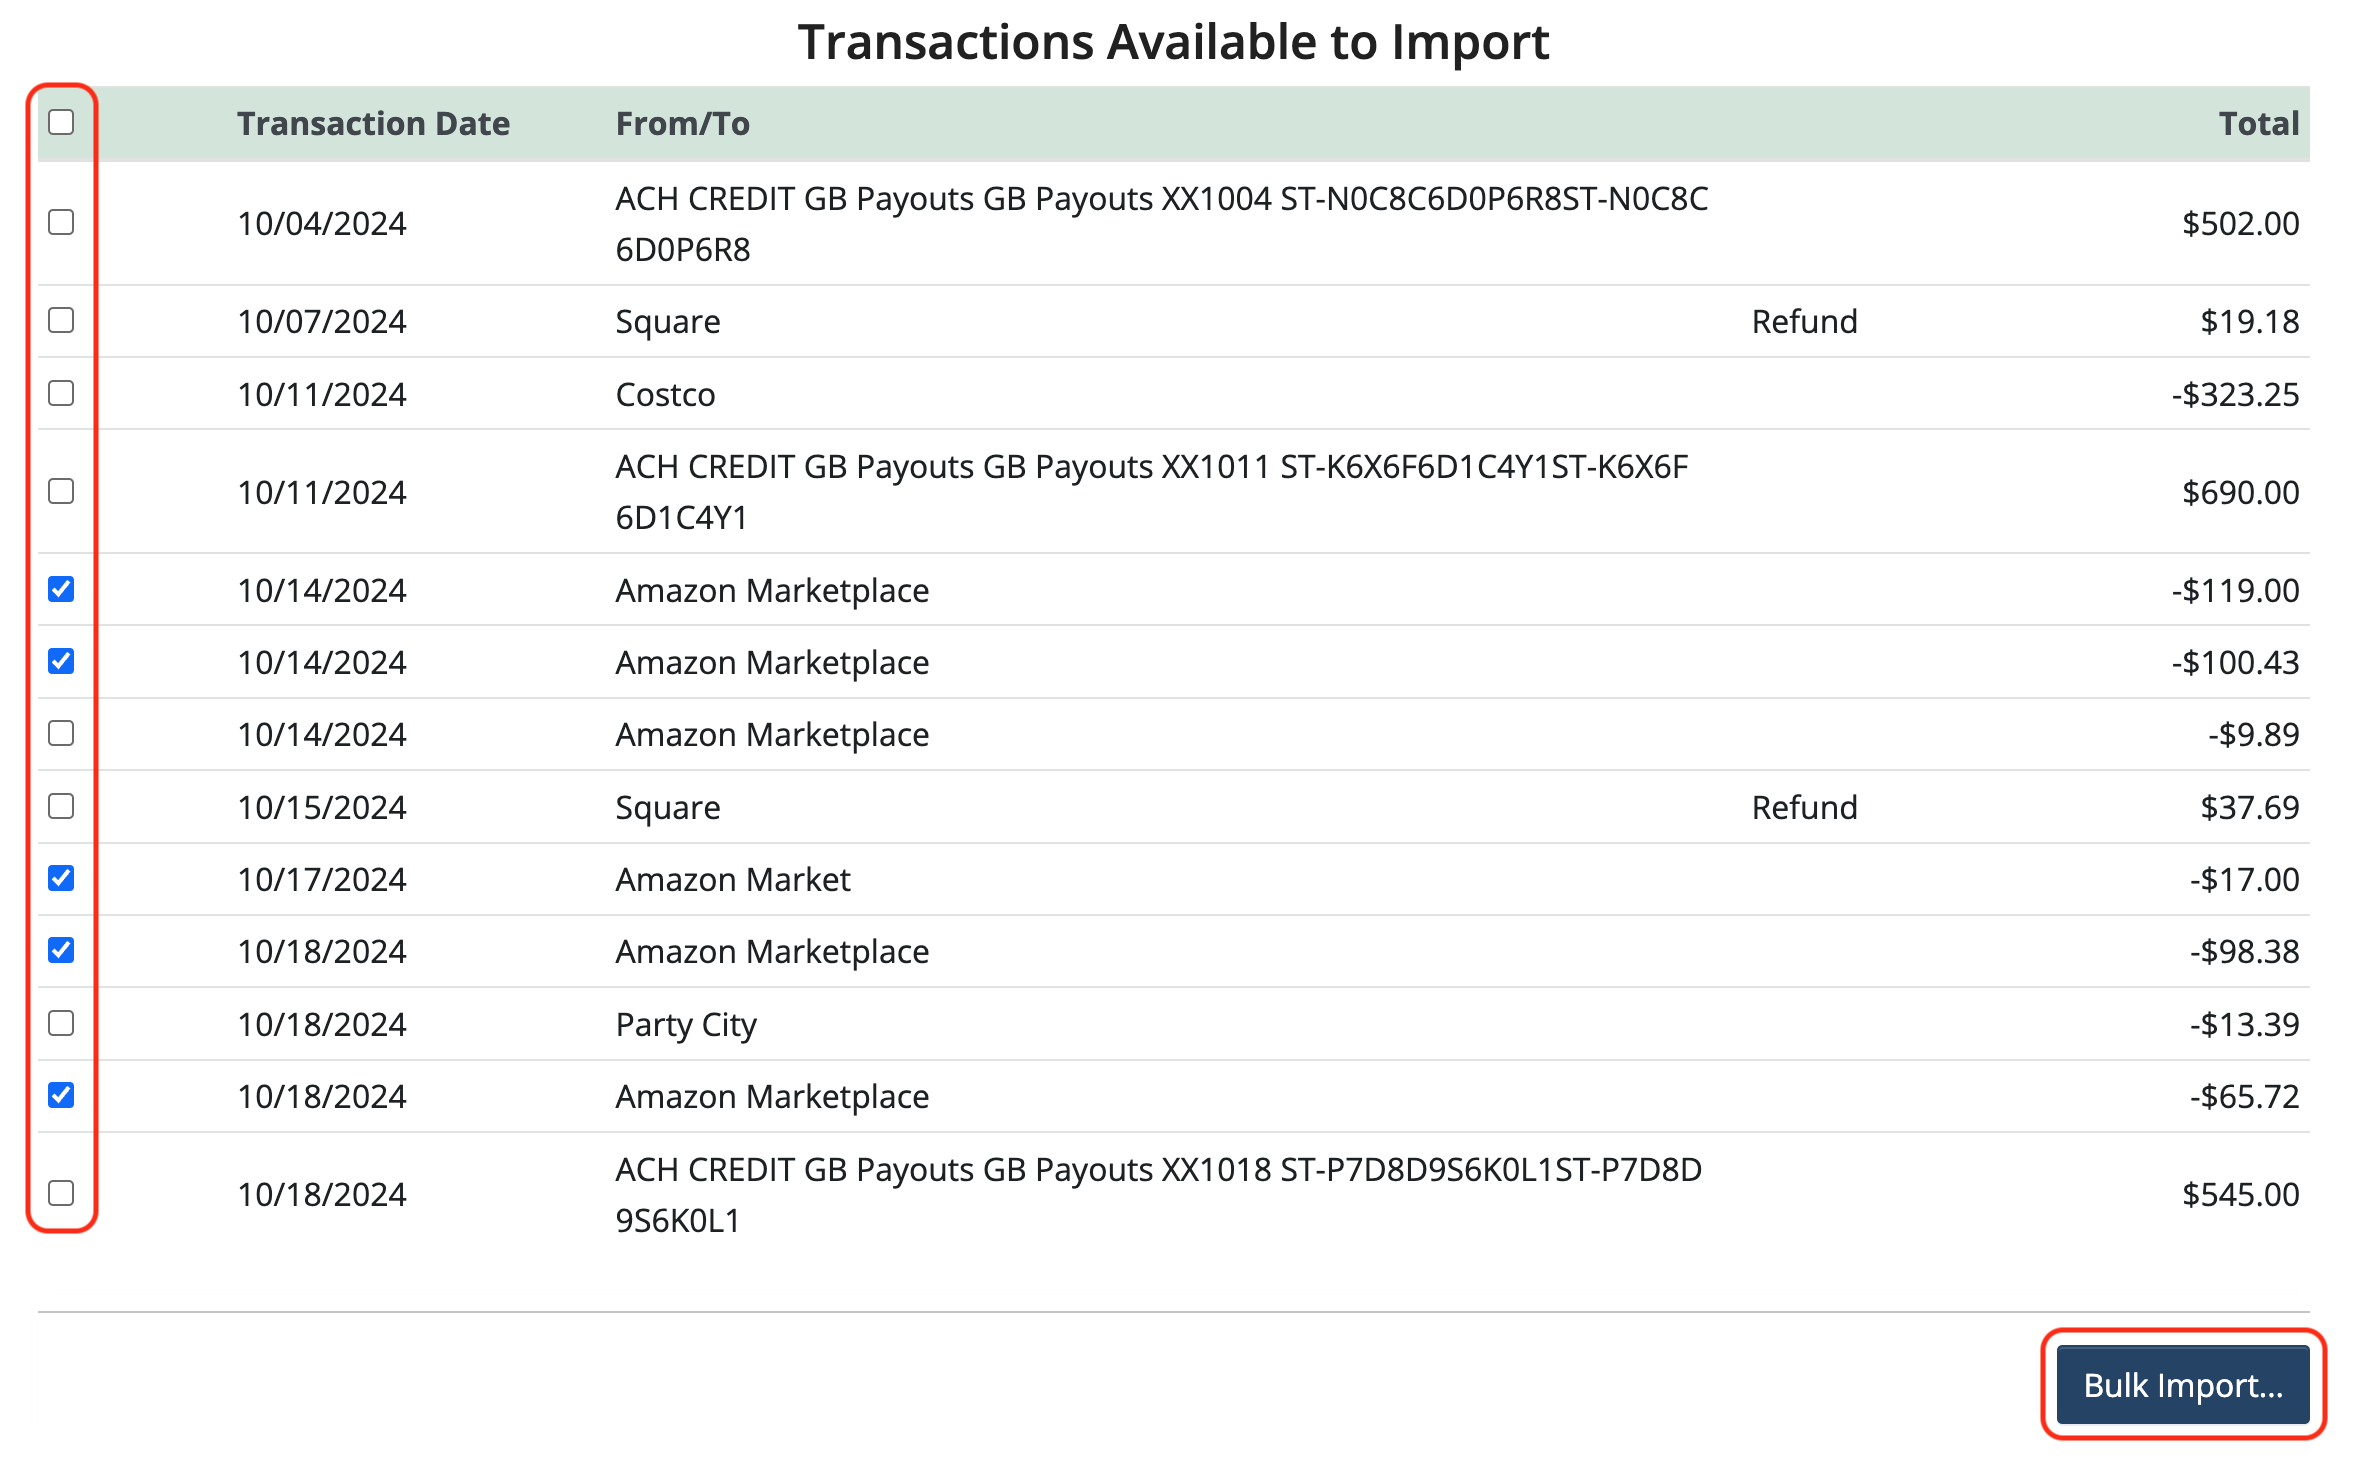
Click Bulk Import.
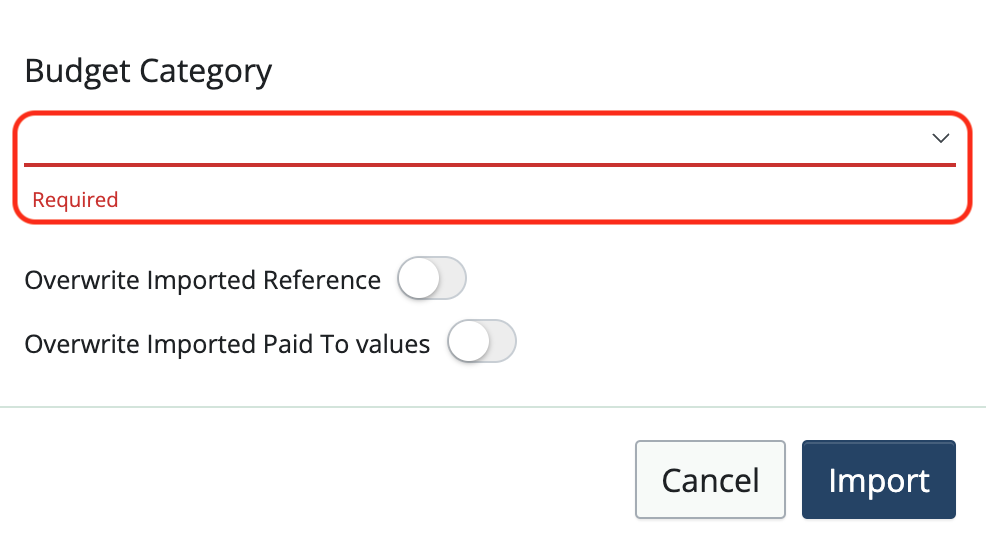
Choose a Budget Category from the dropdown
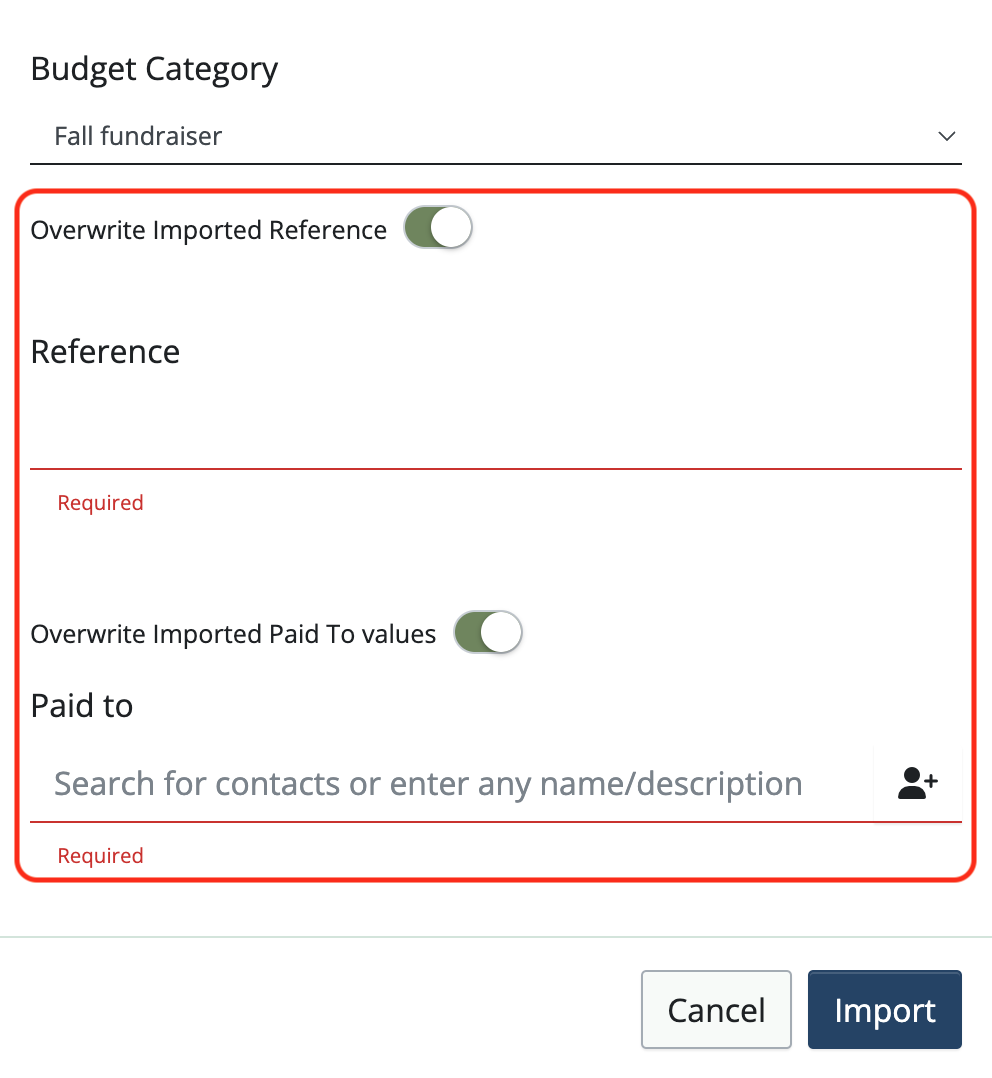
To change the Reference and/or Paid To information to something other than what was brought in from the bank, toggle either or both on and enter the information. Changing these fields will change it for all of the selected transactions.
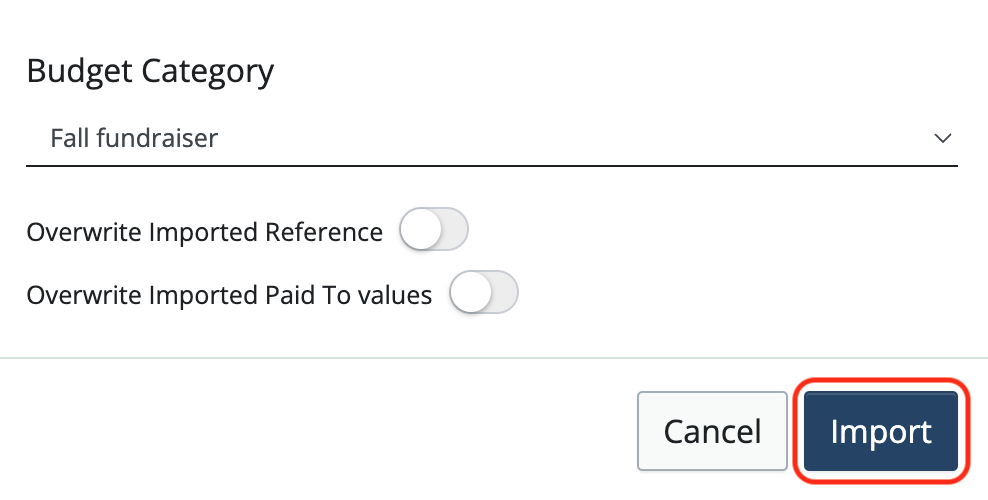
Check that all of the information is correct. Click Import. This will import all of the selected transactions at once.
Bulk Delete transactions from a bank register
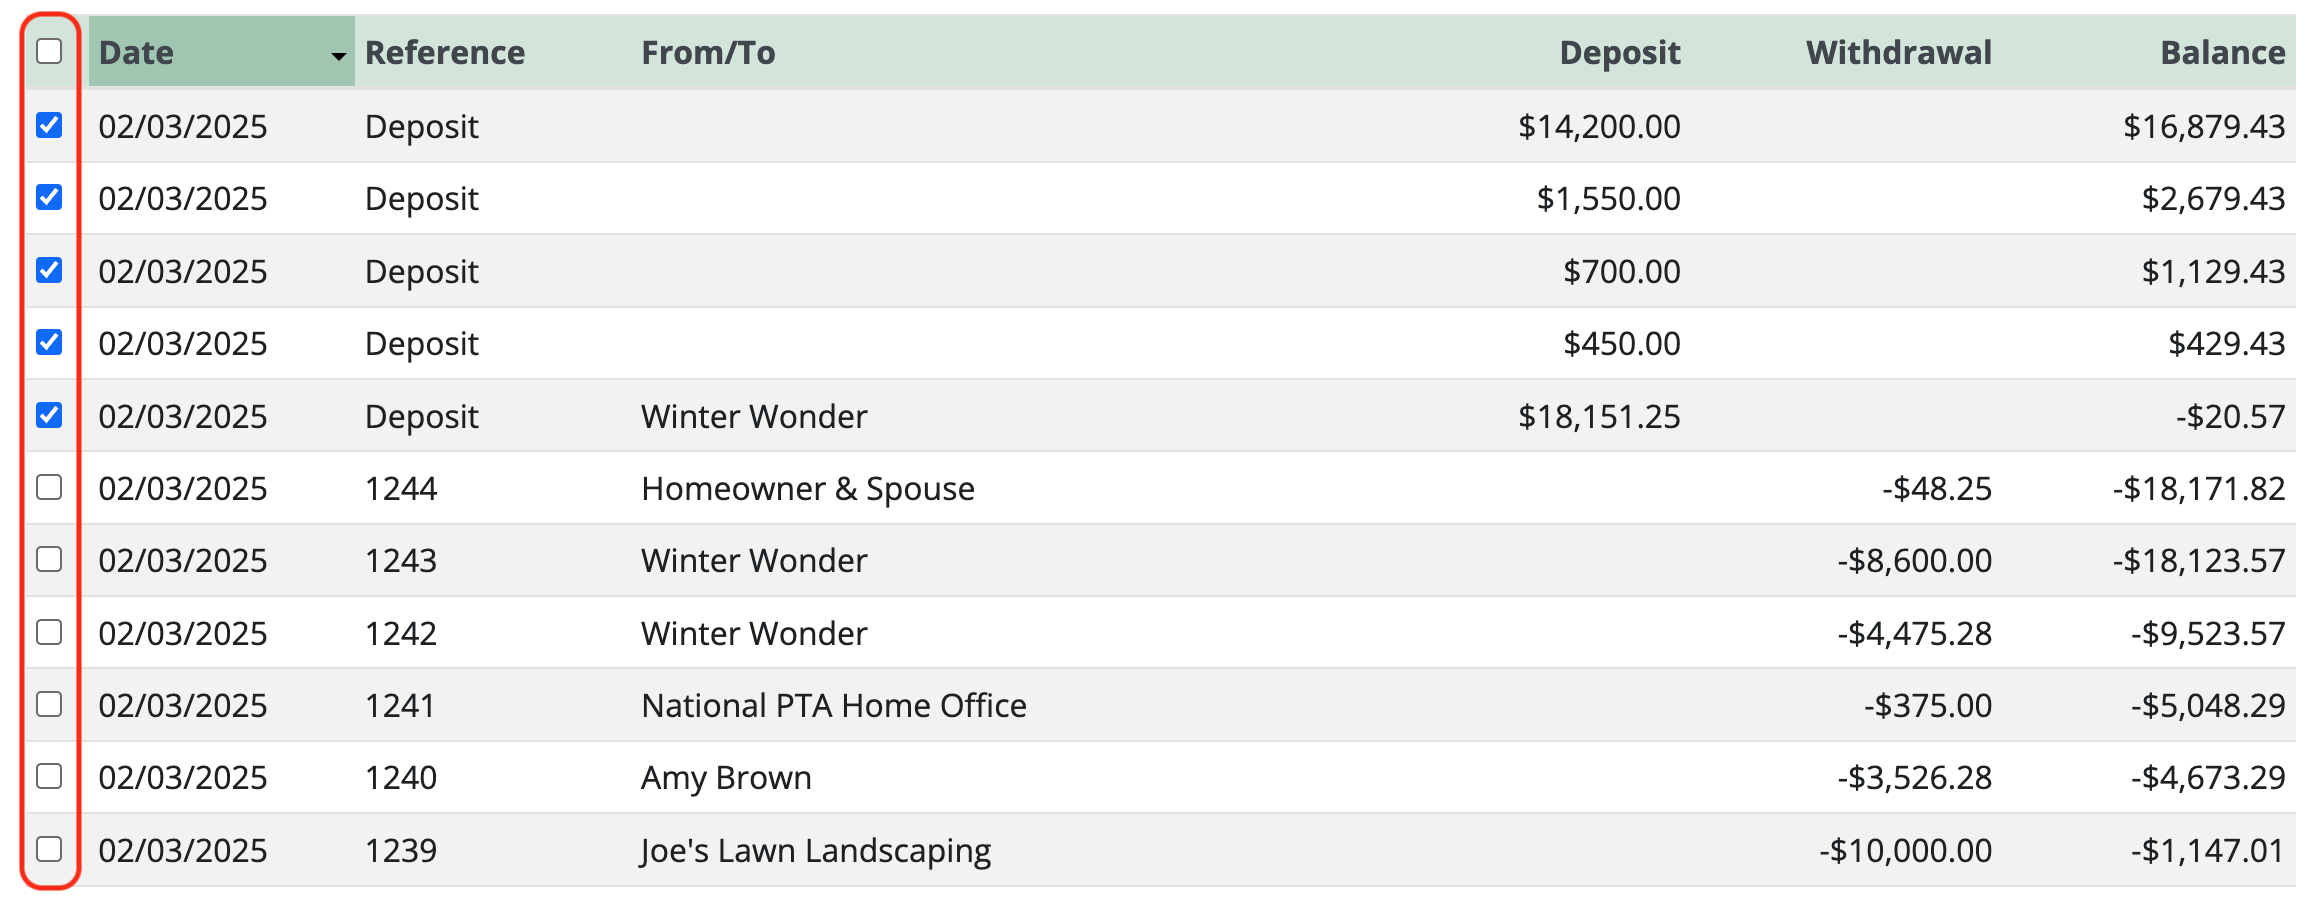
To bulk delete transactions, navigate to the bank register and toggle on Bulk Delete.

Select the transactions to be deleted. (Note: only transactions that are not reconciled can be deleted)
Click Delete selected transactions at the bottom of the page.
![]()
Note: After being deleted, imported transactions will reappear on the import page, where they can be reimported or hidden.
Back to the top
Related Articles
2 Comments
Leave a Comment Cancel Reply
This site uses Akismet to reduce spam. Learn how your comment data is processed.
 Connect your Venmo account to MoneyMinder PRO to directly download transactions, saving you time and effort. You just review the transactions to ensure they are properly categorized and fill out any required fields.
 Connect your Bank, Paypal and Square accounts to MoneyMinder PRO to directly download transactions, saving you time and effort. You just review the transactions to ensure they are properly categorized and fill out any required fields.
 Connect your Bank, Paypal and Square accounts to MoneyMinder PRO to directly download transactions, saving you time and effort. You just review the transactions to ensure they are properly categorized and fill out any required fields.
 Join It is a membership management service that helps businesses and nonprofits effectively sell, track, and grow their membership.
 Connect your Bank, Square and PayPal accounts to MoneyMinder PRO to directly download transactions, saving you time and effort. You just review the transactions to ensure they are properly categorized and fill out any required fields.
How can I match an imported bank transaction to something I already entered? For instance I never checks as they are written and then when I import them it creates a duplicate entry and I have to delete my first one. Is there a way to match to an entry?
Hi Janet,
Great question! MoneyMinder does not automatically match a duplicate, but it does indicate duplicates. On your import screen, if you have a duplicate, you can use the ‘eyeball’ and hide those imports.