Entering deposits & withdrawals; attaching receipts; viewing the bank register
Table of Contents
To enter a DEPOSIT
Click Banking in the sidebar.
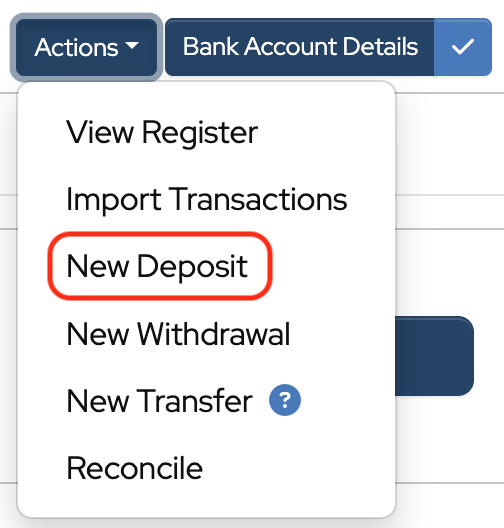
Click Actions to the right of the bank account.

Choose New Deposit from the dropdown.
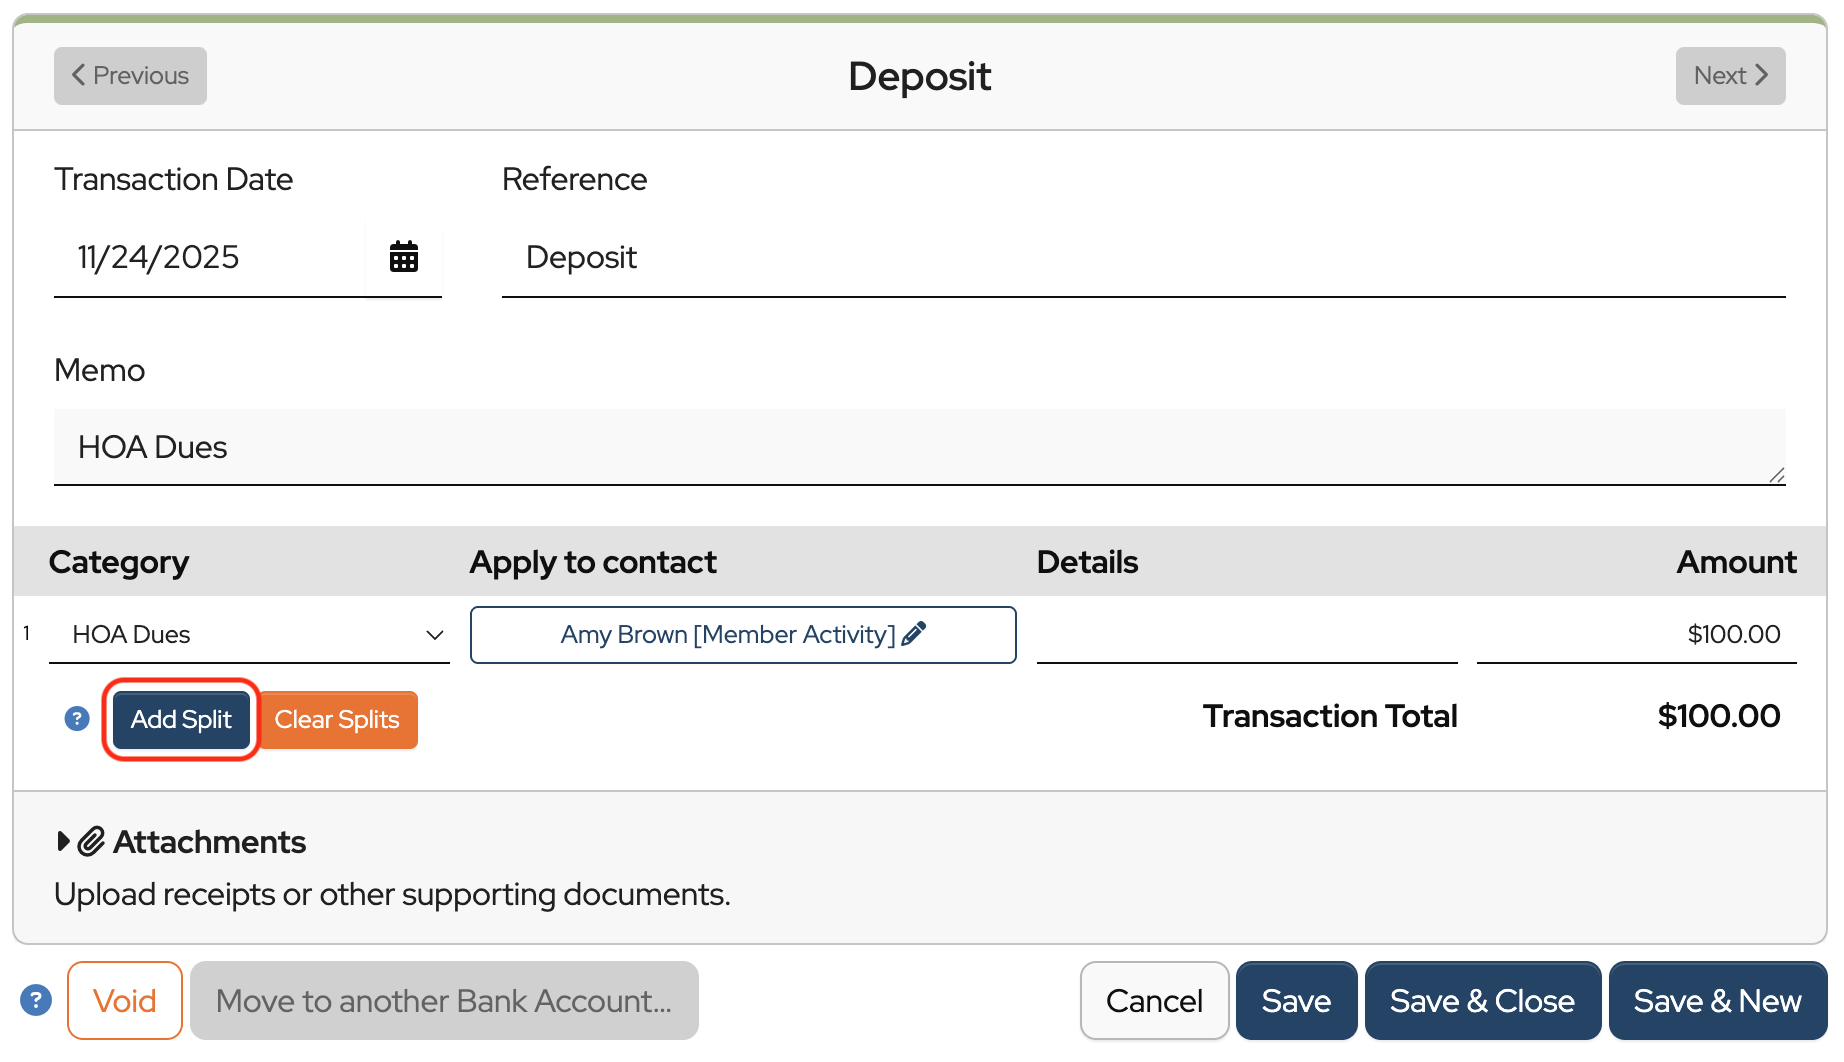
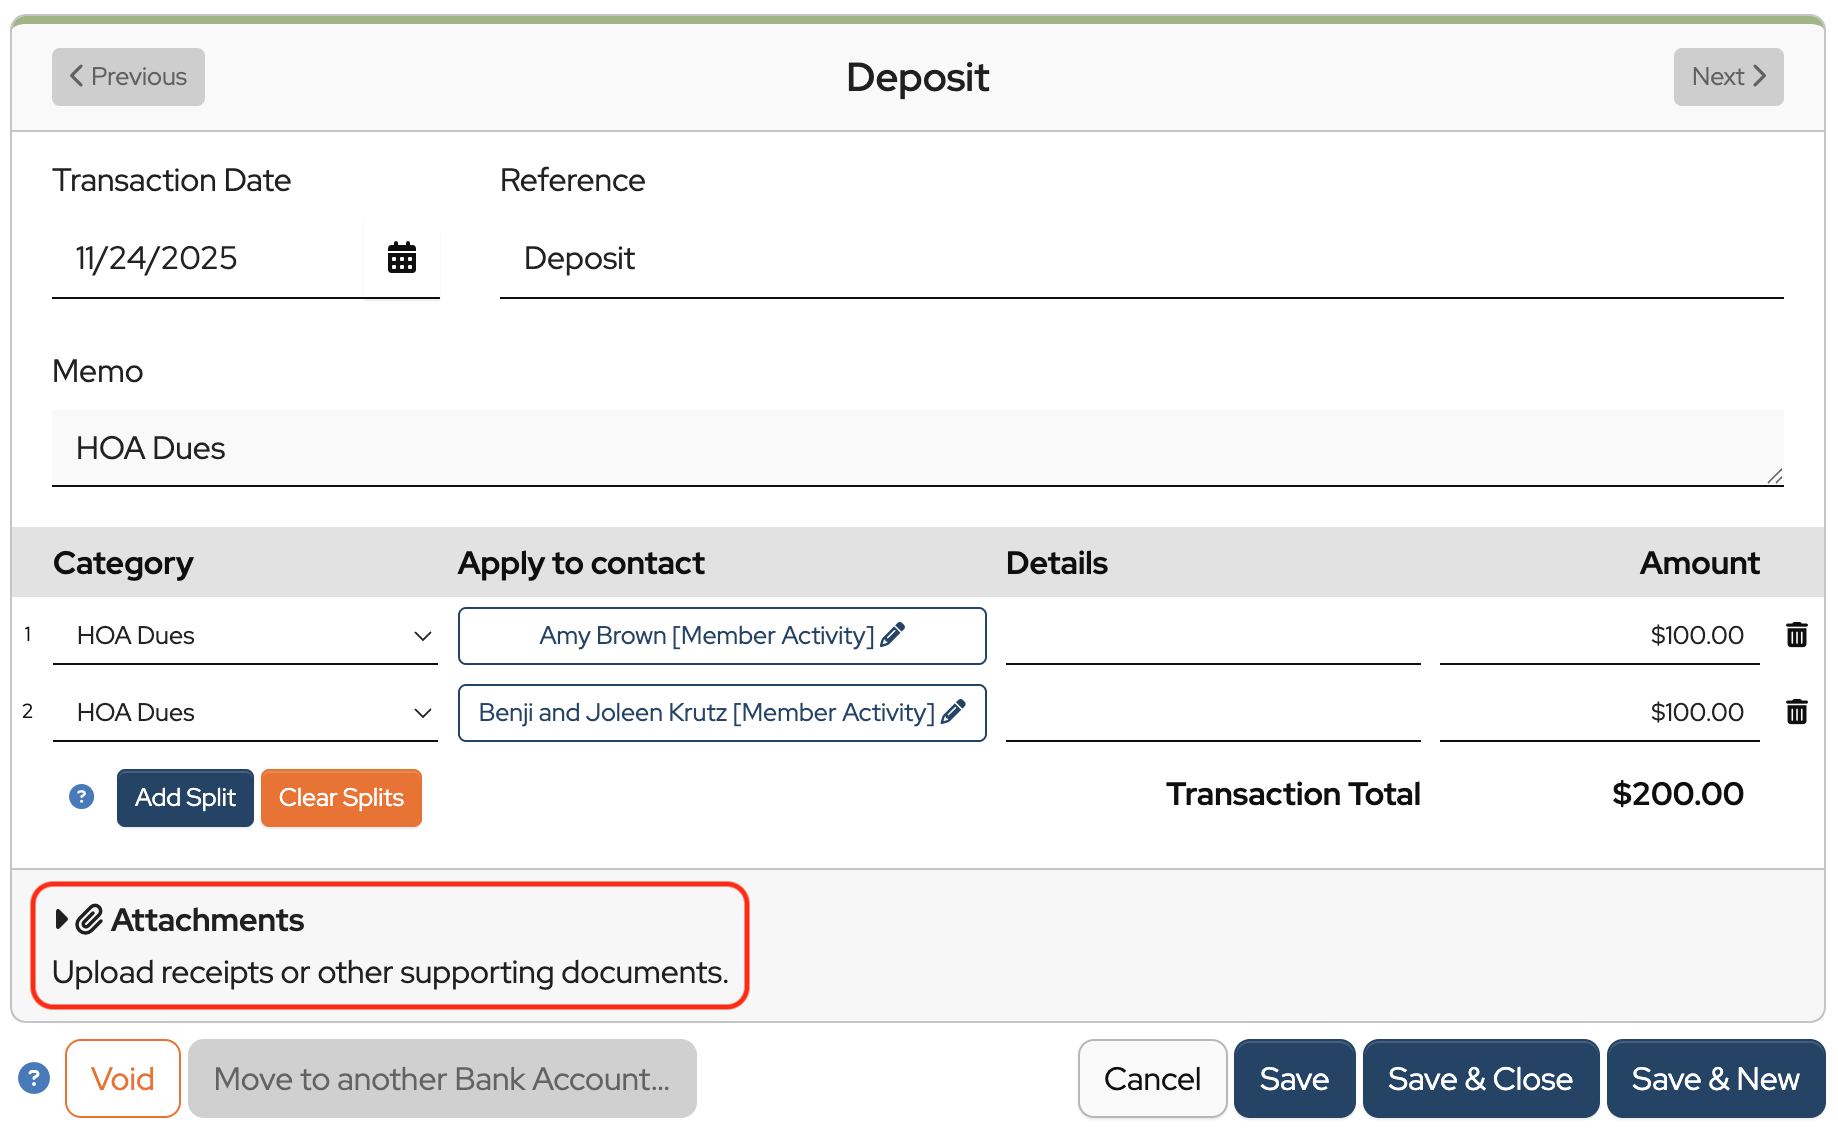
Fill in the required fields:
- Date: Enter the date the deposit was made.
- Reference: Enter the identifying reference number or words, or choose from the dropdown.
- Memo (optional): Use up to 512 characters to create a reminder about this deposit. The memo will show in the register.
- Category: Select a category from the dropdown list or add a new one. These are the budget items that were entered in the Budget screen.
- Apply to Contact (optional): This can be used if contacts pay for things like dues, team fees, or donate to the organization and you want to keep track of contact balances.
- Details (optional): Use up to 255 characters to create details about this deposit.
- Amount: Enter the amount for this portion of the deposit.
![]()
Click Add Split to add more lines to allocate various parts of a deposit to different categories or different contacts. These split amounts must equal the Transaction Total.
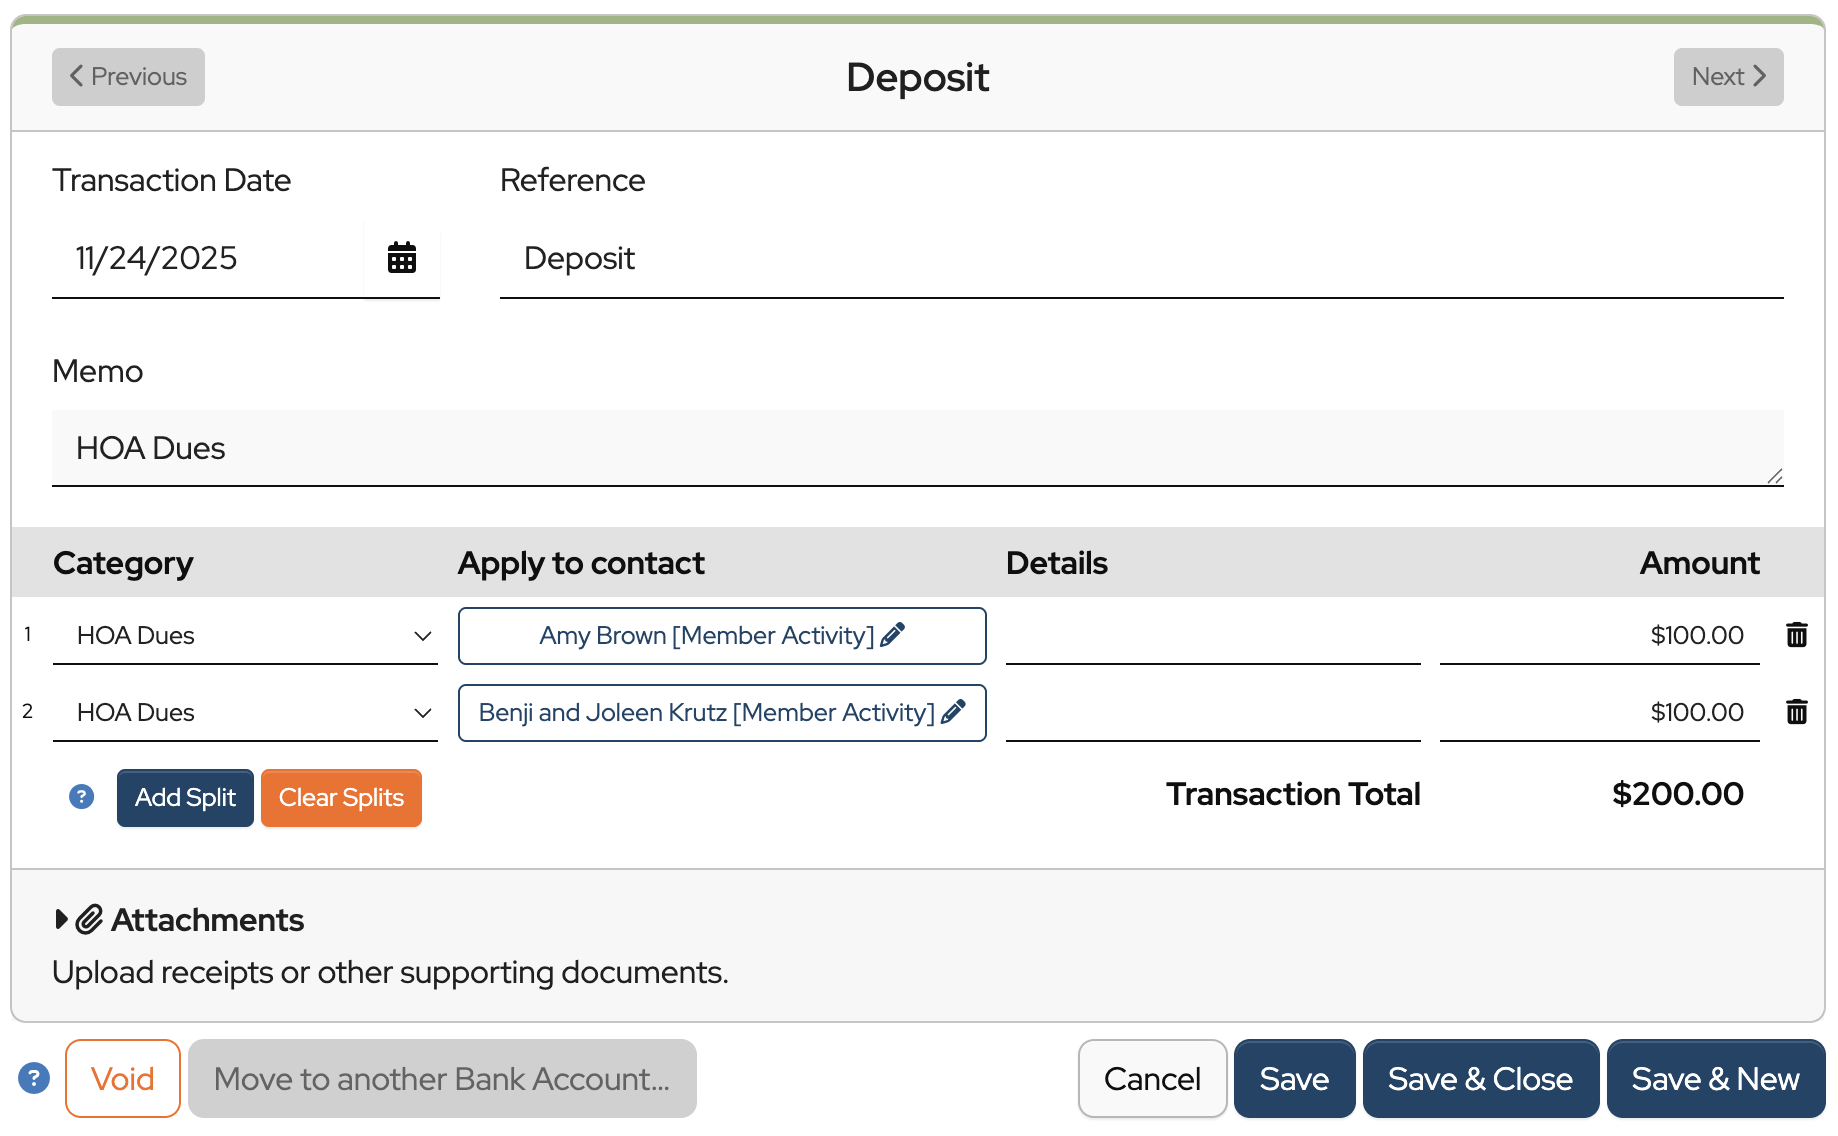
Click Clear Splits to delete information entered in all split lines for a transaction.
Click the garbage can to the right of a split if you want to delete only one split.
To attach a receipt to a deposit click Attachments.
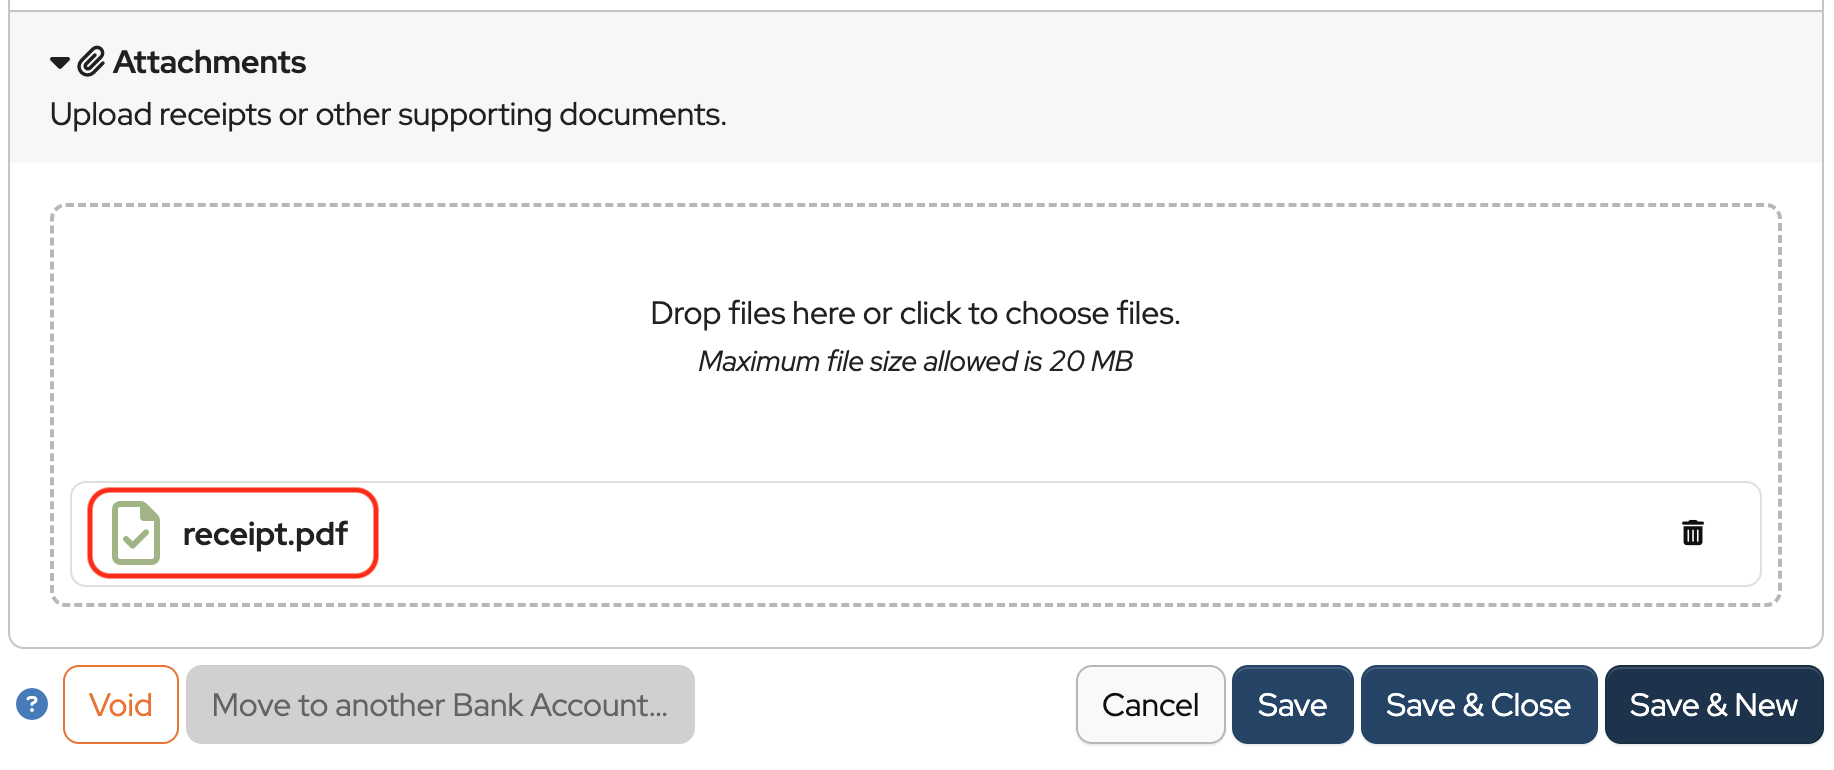
Drag & drop a file inside the dotted line OR click the words to choose a file.
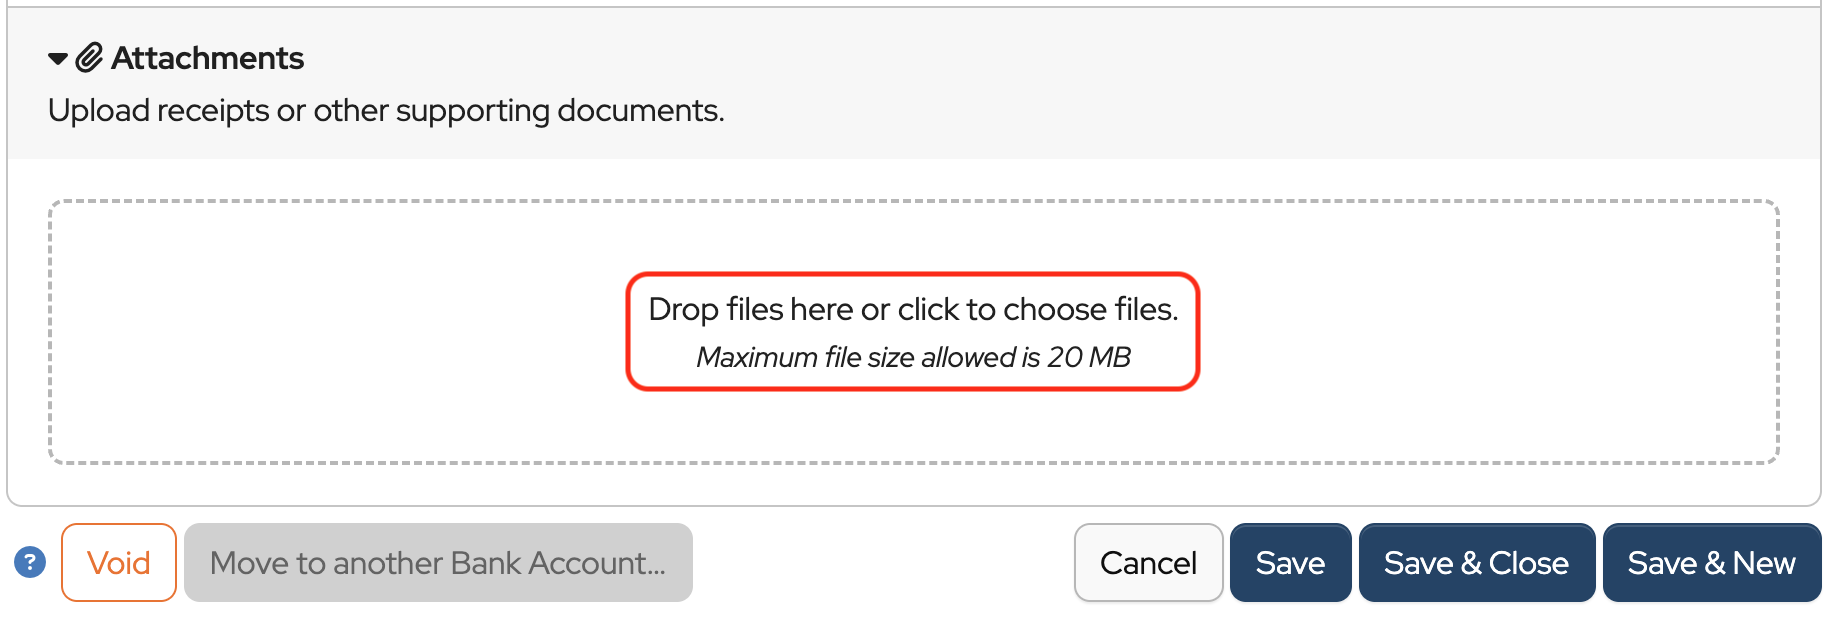
Confirm that it’s been successfully uploaded.
When finished click one of the following:
- Cancel to cancel the deposit in progress and return to the bank register.
- Save to save an in-progress transaction.
- Save & Close saves the transaction and closes the window taking you back to the bank register.
- Save & New saves the transaction and opens a new window to enter another deposit.
To enter a WITHDRAWAL
Click Banking in the sidebar.
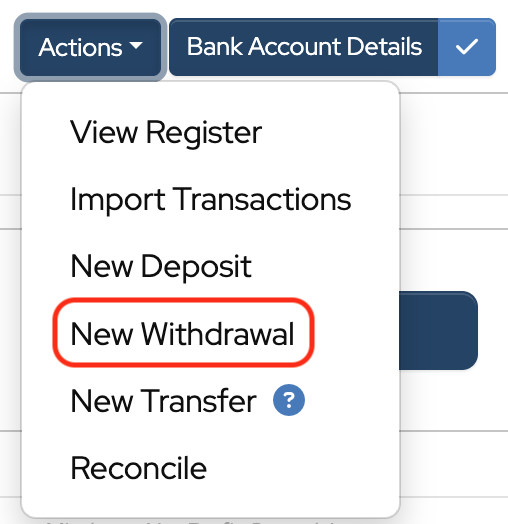
Click the Actions to the right of the bank account.
Choose New Withdrawal from the dropdown.
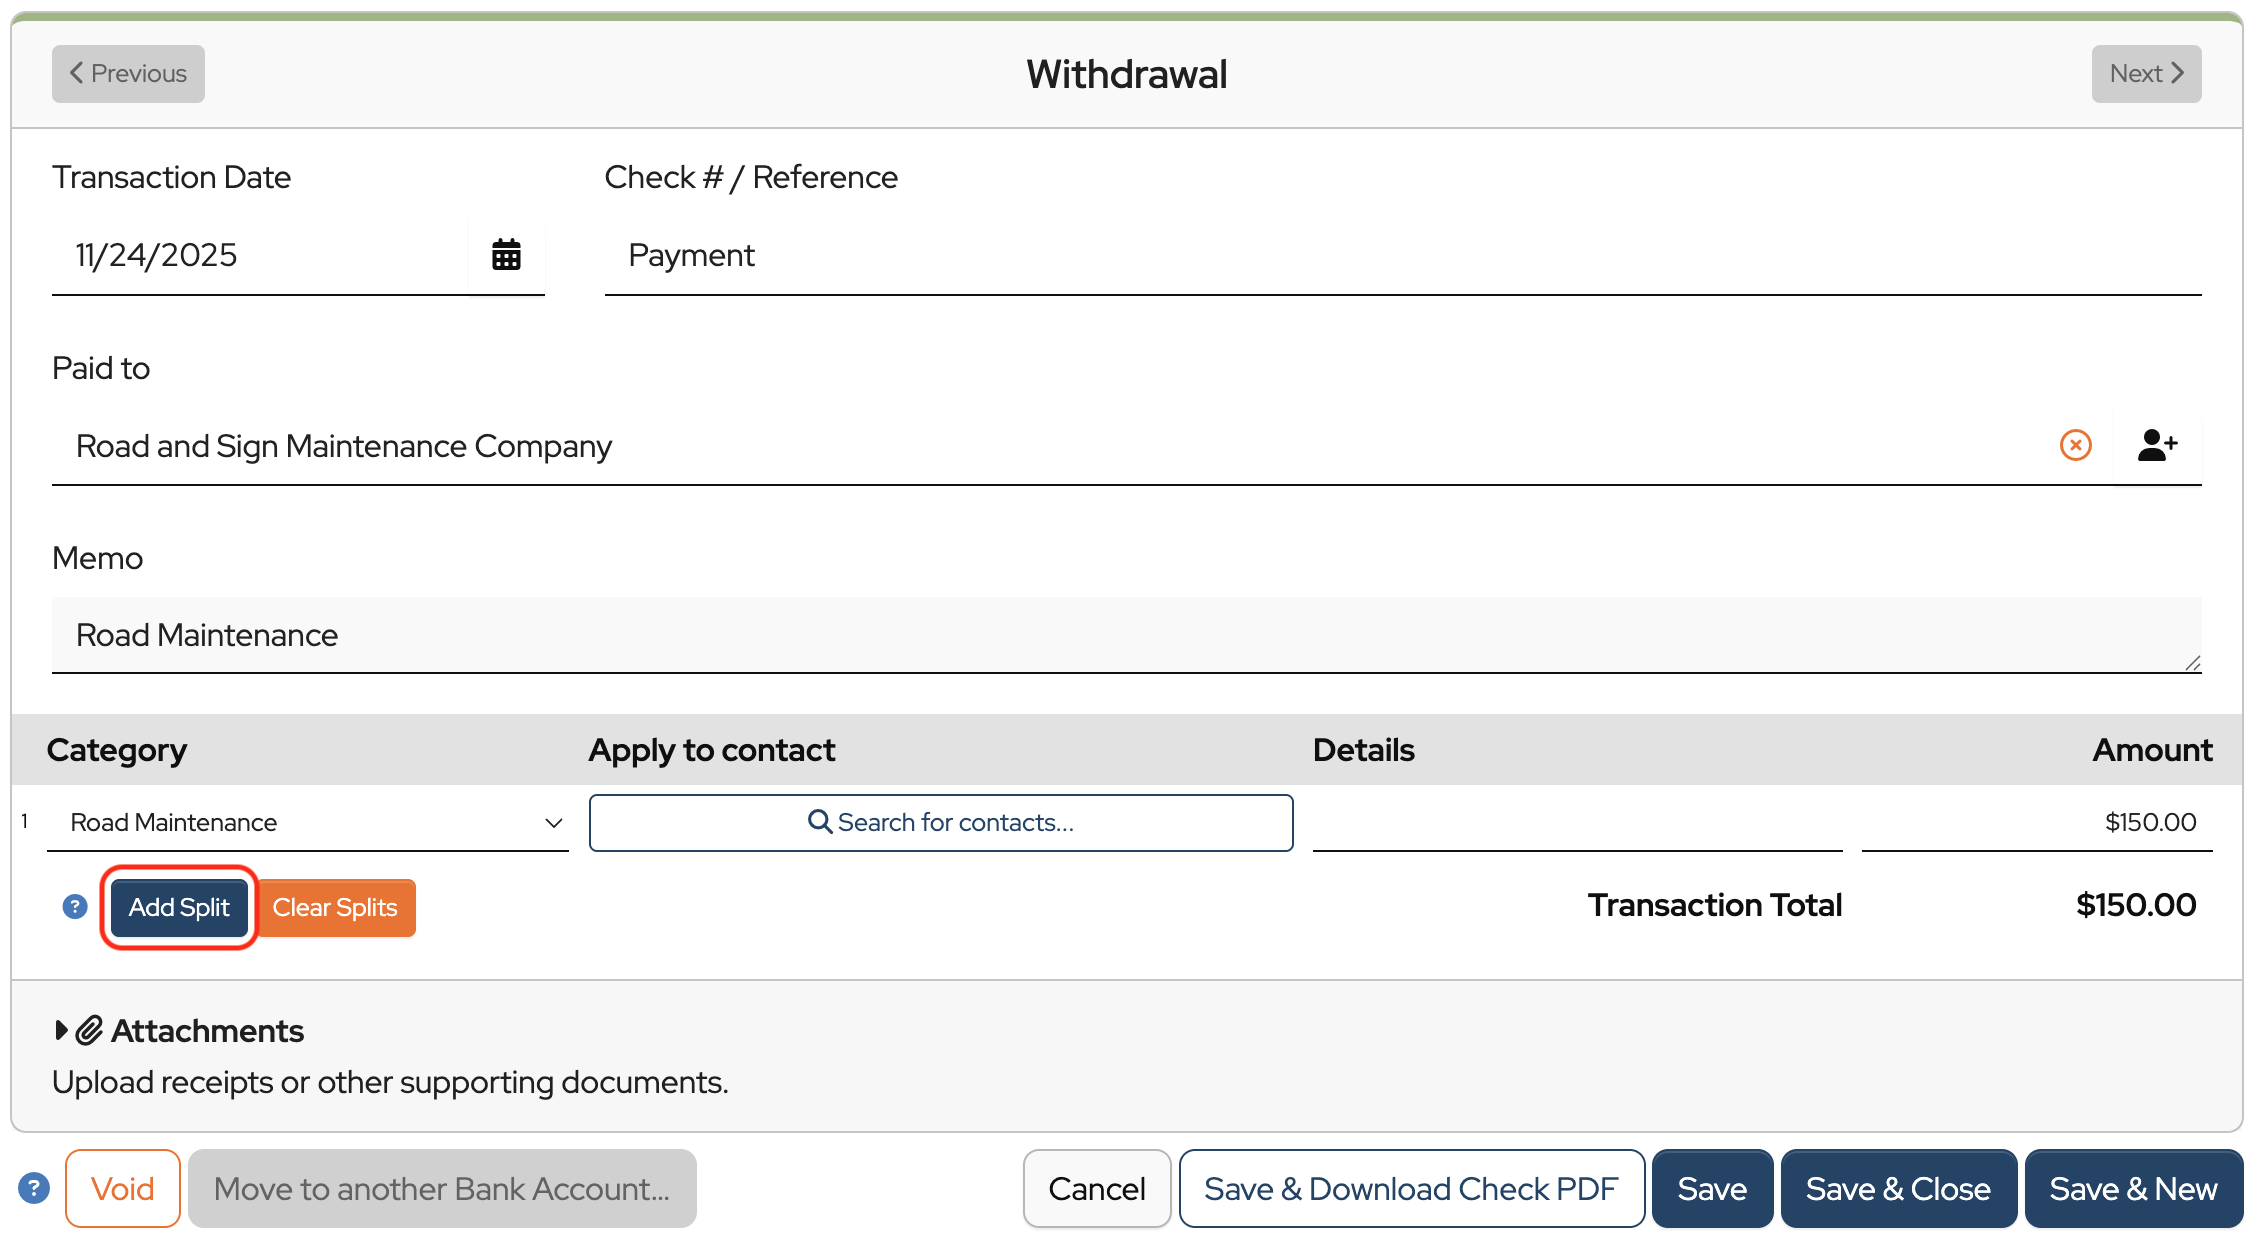
Fill in the required fields:
- Date: Date of withdrawal.
- Check #/Reference: Enter a check number or identifying words, or choose from the dropdown.
- Paid to: Select a name from the dropdown or enter the name of the person/organization the withdrawal is payable to.
- Memo (optional): Use up to 512 characters to enter notes and extra details about this withdrawal. The memo will show in the register.
- Category: Select a category from the dropdown list or add a new one. These are the budget items that were entered in the Budget screen.
- Apply to Contact (optional): This can be used if the organization reimburses a contact or pays a vendor or contractor and wants to apply the payment to the contact’s record in MoneyMinder to track it.
- Details (optional): Use up to 255 characters to create details about this withdrawal.
- Amount: Enter the amount for this portion of the withdrawal.
![]()
Click Add Split to add more lines to allocate various parts of an expense to different categories or different contacts. These split amounts must equal the Transaction Total.
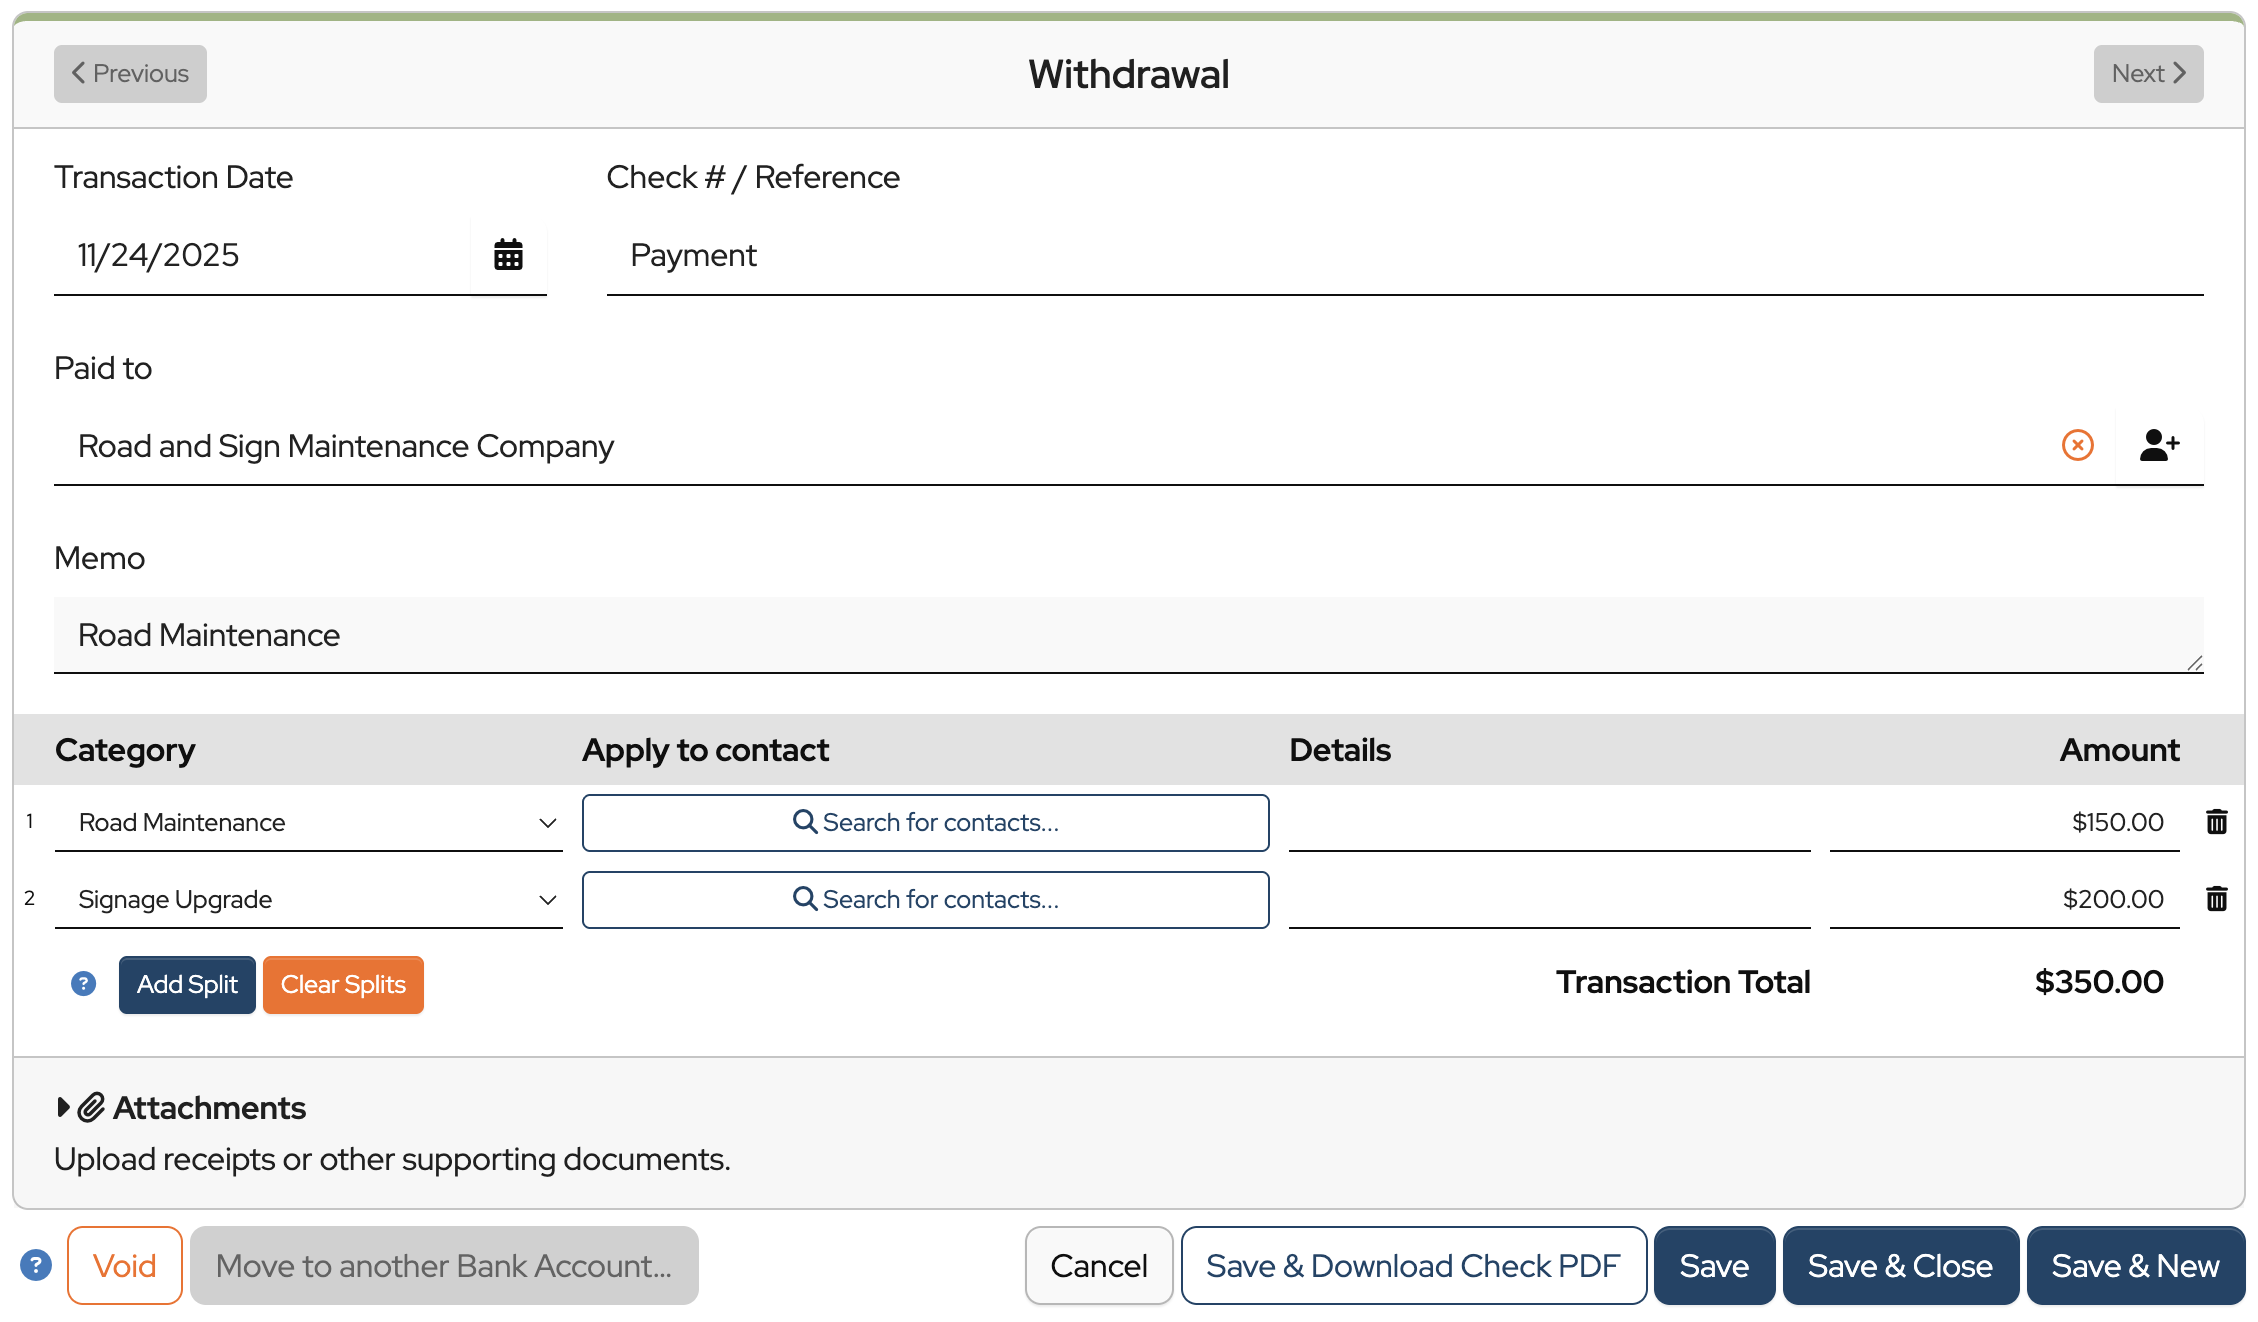
Click Clear Splits to delete information entered in all split lines for this transaction.
Click the garbage can to the right of a split if you want to delete only one split.
Click Void to save a check that is not disbursed, maintaining the check sequencing. This also keeps record of the check since it will not clear the bank.
To attach a receipt to a withdrawal click Attachments.
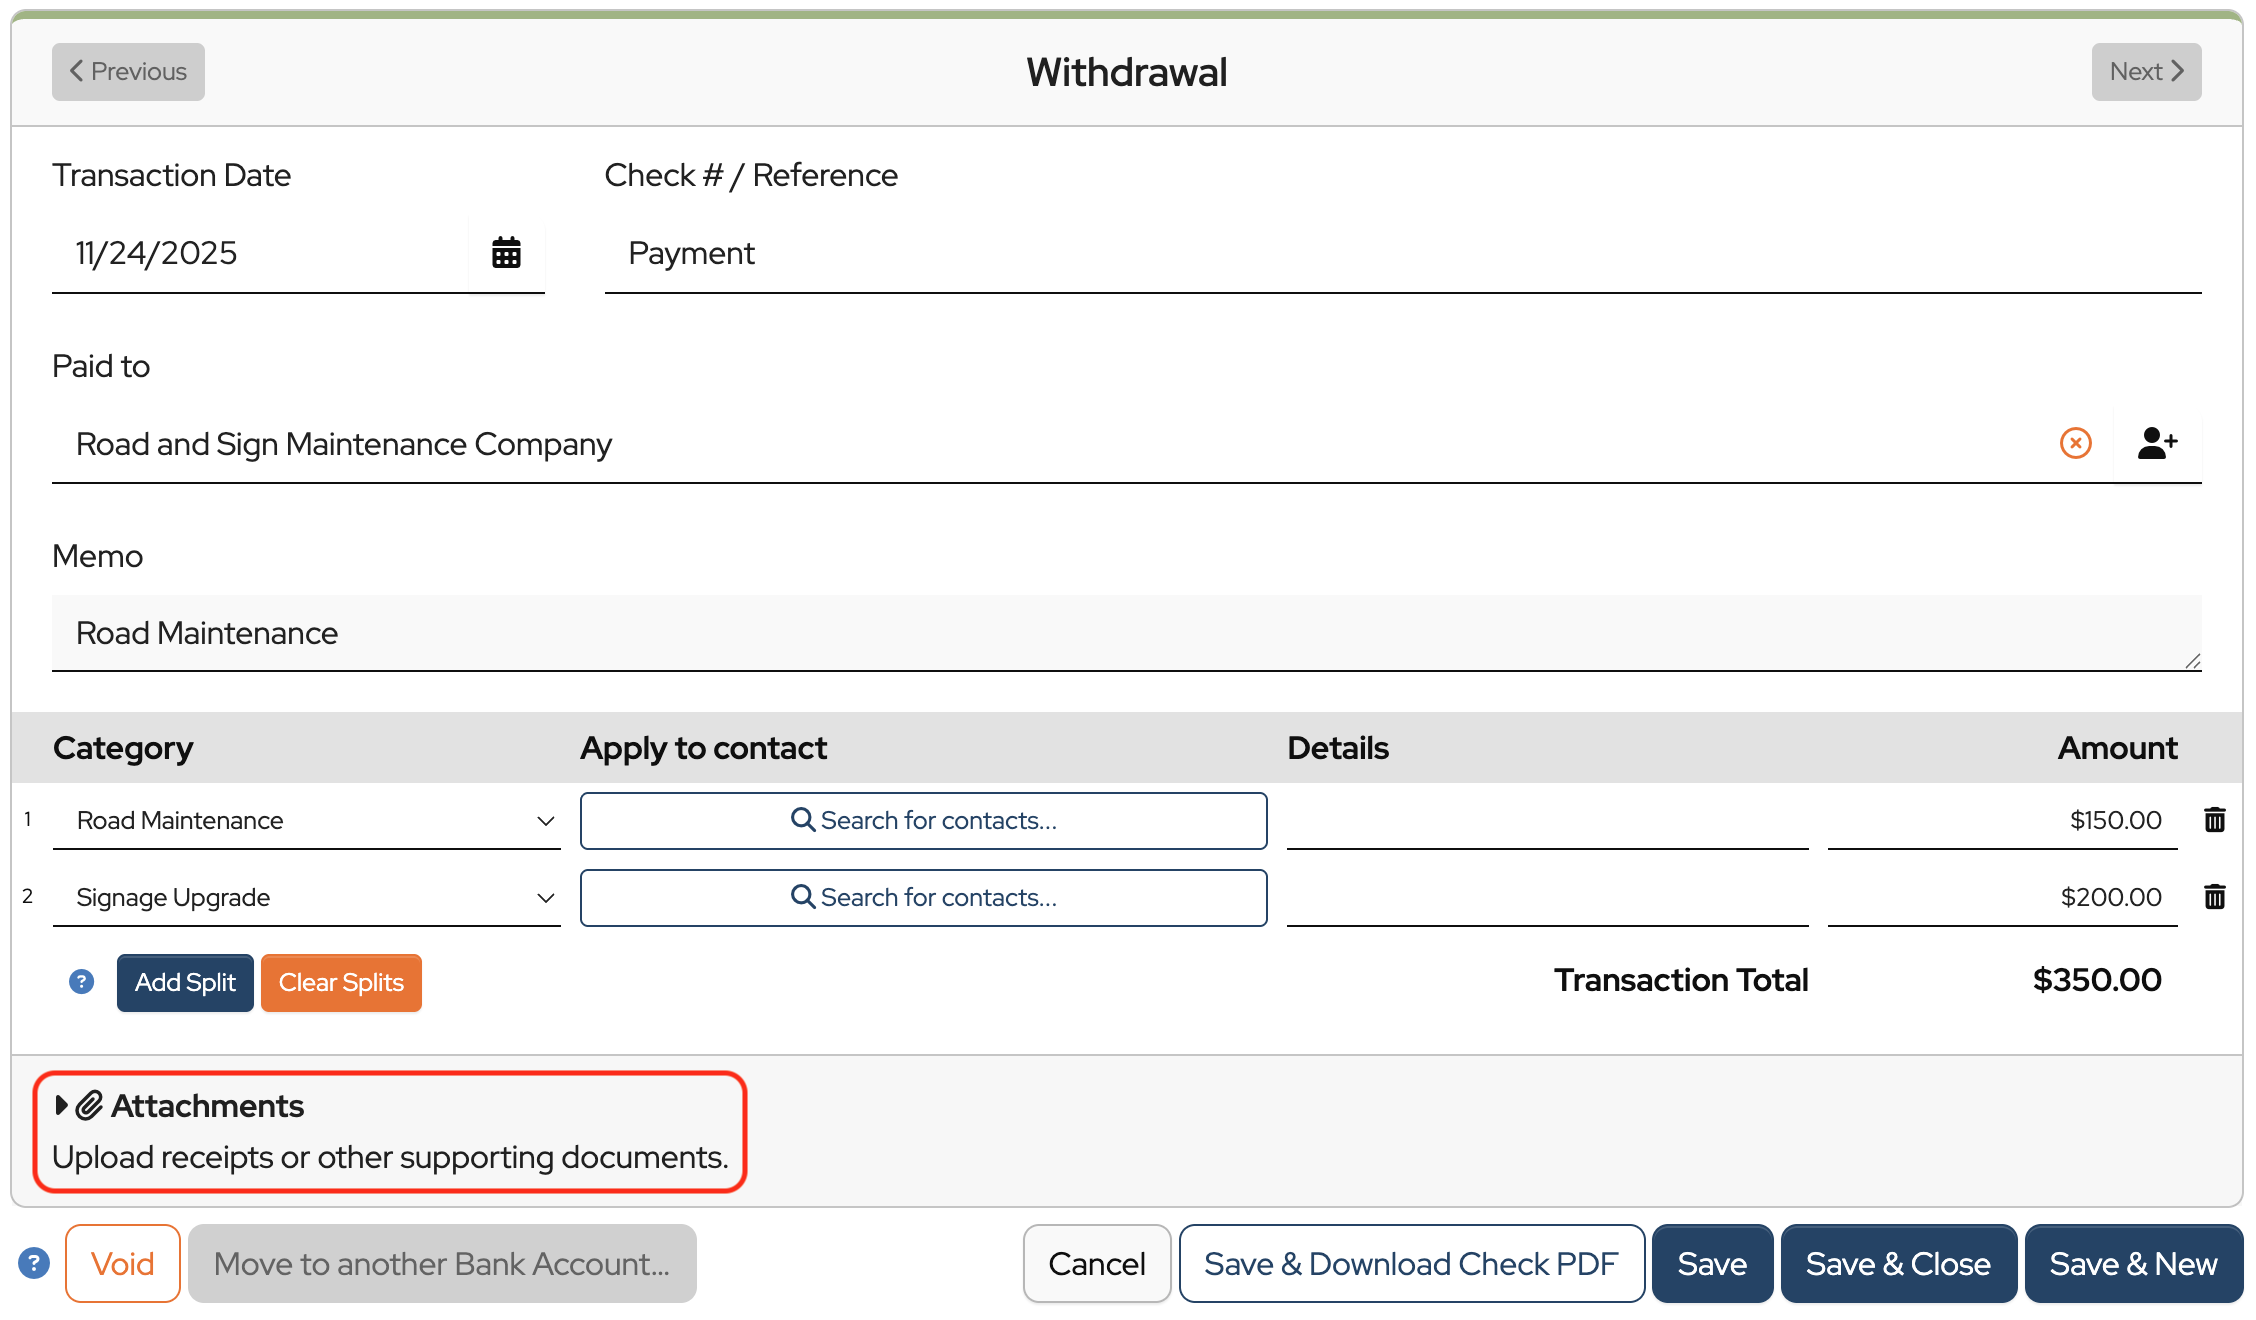
Drag & drop a file inside the dotted line OR click the words to choose a file.
Confirm that it’s been successfully uploaded.
When finished click one of the following:
- Cancel to cancel the withdrawal in progress and return to the bank register.
- Save & Download Check PDF saves the entry in MoneyMinder and simultaneously downloads a PDF to your hard drive so a check can be printed.
- Save & Close saves the transaction and closes the window taking you back to the bank register.
- Save & New saves the transaction and opens a new window to enter another withdrawal.
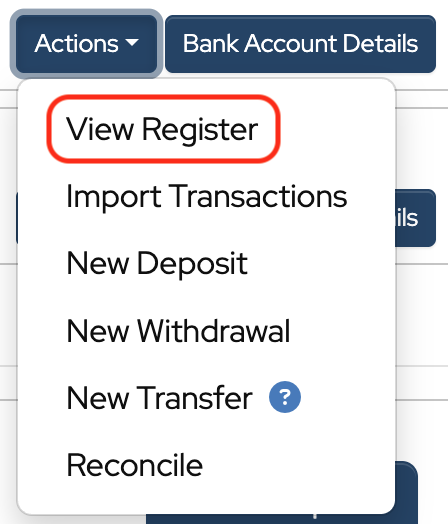
Viewing your bank register
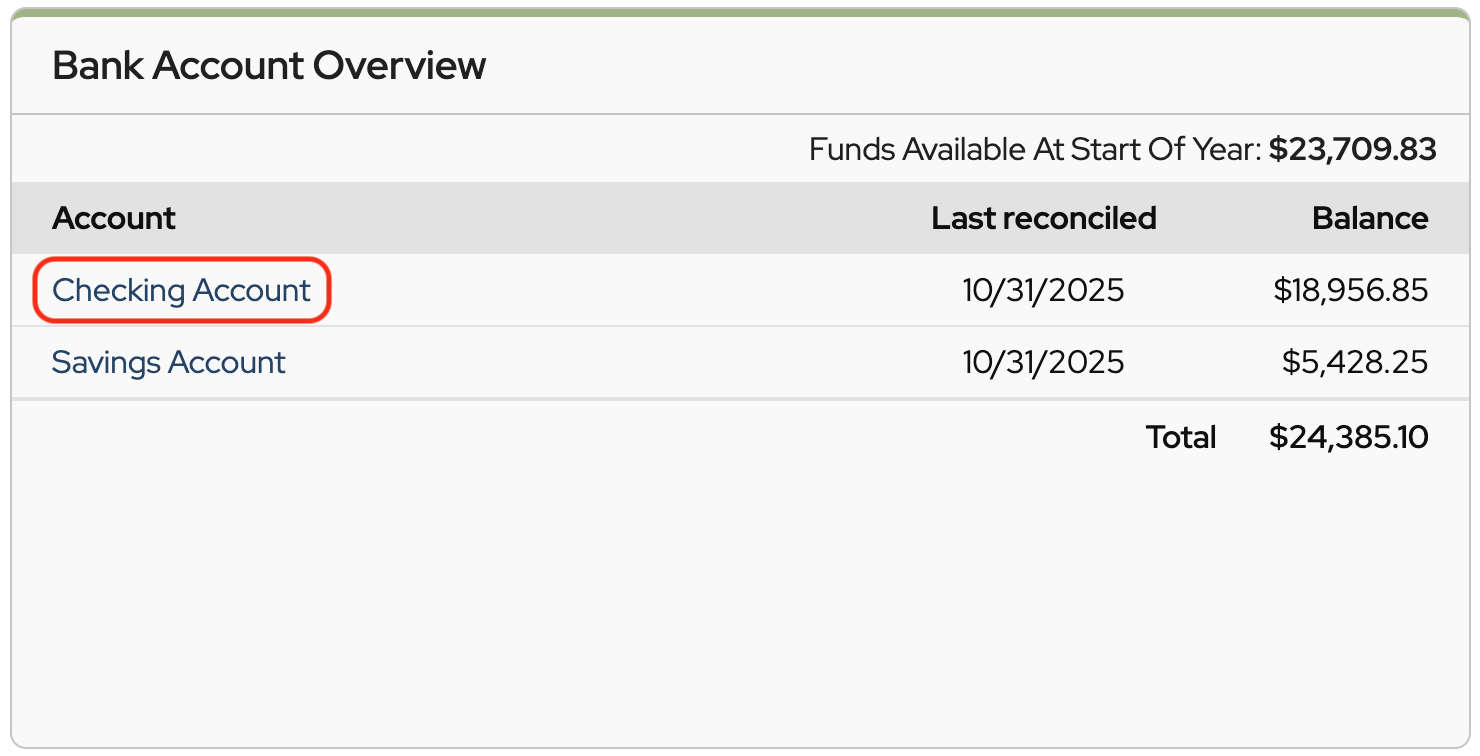
There are two ways to view the bank register in MoneyMinder.
From the Home Page, click the name of the bank account. This will open that bank account register.
OR Click the Banking icon in the sidebar.
Click Actions to the right of the bank account.
Choose View Register from the dropdown.
Why can’t I see the Category field in the Bank Register View? I have to click on the Details of a transaction to see the category, but I want to also see it in the Register View (for an unsplit transaction). Thanks.
Hi David,
Yes, the category doesn’t show in the bank register without clicking into Details. I agree that would be handy. I can add that as a feature request.
In the meantime, if you run the All Transactions by Bank Account Report, it will show you each transaction, including the budget category.