

Have you been elected treasurer? Somebody handed you a bank card, a folder, or possibly nothing at all — and the first fundraiser is just a few weeks away.
Or perhaps you’re in your third year and you want to make sure you get your systems in place for a new fiscal year before the money starts moving.
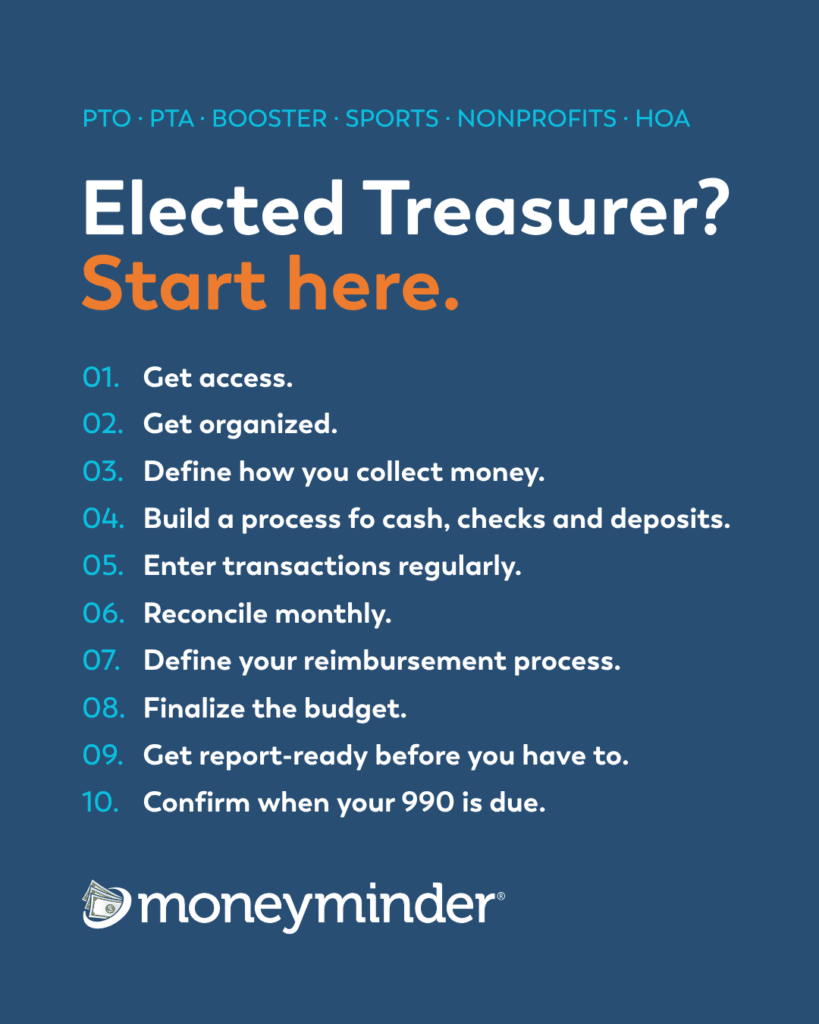
Here are the ten things to work through in your first three months as volunteer treasurer.
1. Get Access
You can’t do this job without access. Make sure you have:
- Signer authority on the bank account. Your name on the account, with the previous treasurer removed. Call the bank and ask what they require — most want board meeting minutes naming you, plus ID, and some want every signer present.
- Online banking credentials in your own name, not a shared login inherited from someone else.
- Your EIN, and copies of the last three years of tax filings.
- Logins for anything financial — payment platforms, your bookkeeping software, the group’s email, any online store.
- Governing documents — bylaws, insurance policies, state registration or corporate filings, and any current vendor contracts.
Changing bank signers can take longer than anyone expects. Some banks require an in-person appointment. Start this today.
Left with nothing? If the person before you left without handing anything over, you’re not stuck. Your bank can help you regain account access with board documentation. The IRS can confirm your EIN and provide prior filings. Your state’s business registry has your incorporation needs. Not having a good treasurer transition will slow you down, but with a little work, you can recover and get started on the right foot.
Returning treasurers: think about how this might apply to you. Do you still have this access? Board turnover means signer lists go stale. Shared logins accumulate people who’ve moved on. Check who currently has access to your accounts and remove anyone who shouldn’t.
2. Get Organized
Set up somewhere to keep records before receipts start accumulating on your kitchen counter. The system we recommend is three containers:
- A daily operations binder, organized by month in reverse order. Receipts and check requests go in as they happen, most recent on top. At the end of the month, add the bank statement, the reconciliation and that month’s treasurer’s report, then start a fresh divider. Reverse order is the trick — the thing you need is always on top.
- A critical documents binder for what you’ll be asked to produce on short notice: your budget and any amendments, proof of insurance, bank correspondence, your annual report, 990 filings, and any W-9s or 1099s.
- A treasurer’s bin to hold both binders plus the physical supplies — deposit slips, endorsement stamp, receipt book, checks. This takes an afternoon and saves you all year. It’s also the single kindest thing you can do for whoever follows you.
Returning treasurers: archive last year cleanly and start fresh binders rather than letting one continuous pile roll forward. And restock while you’re at it — checks, deposit slips, a new receipt book.
MoneyMinder’s Documents and Compliance tabs help you stay organized throughout the year and make the transition easier when it’s time to hand things over to the next treasurer.
3. Define How you Collect Money
Before you start planning your first fundraiser, you should have a clear head on payment collection.
This is hard to fix later if you don’t go in with a plan. If your first spirit wear sale or dues collection happens before you’ve picked a system, you’ll end up with payments scattered across one person’s Venmo, a stack of checks in a folder, and cash in an envelope, with no reliable record of who paid for what. Sorting that out in October takes hours. Deciding now takes twenty minutes.
What to weigh: the fee structure, whether supporters need to download an app or create an account, whether you need in-person card processing, and whether the platform connects to your financial management system where you keep your books (i.e. MoneyMinder).
Go deeper: Compare the most popular nonprofit payment platforms and choices.
One caveat on payments
A payment platform is not a bookkeeping system. It’s easy to confuse the two. You set up Cheddar Up or Square, start collecting money, and see totals in the dashboard. It can feel like your finances are taken care of.
But payment platforms only track the money that comes through them. They don’t track checks, cash, reimbursements, or expenses. They also can’t give your board a budget-to-actual report or help you keep complete records for tax time.
You need both: a tool to collect money and a tool to manage your books. Ideally, they work together so you don’t have to enter everything twice.
Go deeper: Payment tools vs. financial management tools explains what each type of tool does and where the line falls.
4. Build a Process for Cash, Checks and Deposits
Electronic payments are the easy part — there’s a record whether you create one or not. Cash and checks are where groups lose money, and almost never on purpose. Put these practices in place before your first event:
Count cash with two people present. Both count, both sign a simple count sheet, and that sheet goes with the deposit. This isn’t about distrust. It’s about protecting the volunteers handling money, including you — if a number is ever questioned, two signatures end the conversation.
Never leave cash in a car, a classroom, or someone’s house overnight. Deposit the same day when you can, and use a locked bag and a night drop when you can’t.
Endorse checks immediately with a “for deposit only” stamp and your account number. An unendorsed check is negotiable by anyone who picks it up.
Give a receipt for every cash payment. A duplicate receipt book costs a few dollars — they get one copy, you keep the other, and you never have to guess later where cash came from.
Require two signatures on checks above a threshold your board sets, and never pre-sign blank checks.
Separate duties. The person who collects money shouldn’t be the only person who records it. In a small group with three volunteers, that’s still workable — one counts, one deposits, one reviews the statement.
The volunteers running your events change every year, so these practices need re-explaining every year. Walk through them at your first meeting even if the policy hasn’t changed.
Go deeper: Accepting checks as a small nonprofit covers endorsement, bounced checks and record retention.
5. Enter Transactions Regularly
The single habit that separates an easy year from a miserable one: enter every transaction within a reasonable amount of time from when it happened. Two months of unentered receipts means guessing at what a $47 charge was for, chasing volunteers for details they’ve forgotten, and discovering a discrepancy long after anyone remembers the context.
Aim for a weekly pass: enter income and expenses, file receipts, deposit anything on hand. Fifteen minutes a week beats four hours in November.
Make the entry useful rather than just tidy. Categorize as you go, so transactions group into something you can actually report on. And apply each one against a budget line, so you always know where you stand against what your board approved.
Entries with less work
MoneyMinder works with popular payment platforms like Stripe, PayPal, Square, and Cheddar Up, making it easier to bring your transaction information into one place. You review and confirm the information instead of entering everything by hand, helping make your weekly bookkeeping faster and more manageable.
6. Reconcile Monthly
Reconciliation is commonly skipped. But it’s the step that tells you your records are accurate. If your books don’t agree with your bank statement, every report you produce is fiction — and you won’t know by how much. Do this every time a statement arrives, and always before you generate reports for your board.
Four steps:
- Confirm you and the bank start from the same opening balance. Until that matches, nothing else is worth doing.
- Make sure everything on the statement appears in your records. This is where you catch the $5 service fee and the $75 bounced check nobody told you about.
- Check that the amounts are right. A check entered as $250.50 instead of $25.50 is the kind of error that hides for months.
- Account for what the bank doesn’t know yet — the deposit you made after their cutoff, checks that haven’t cleared.
Beyond accuracy, monthly reconciliation is your best fraud deterrent. Comparing check images against your records catches a payee that doesn’t match what you approved. Nobody expects to need this. Groups that skip it are the ones who find out too late.
7. Define your Reimbursement Process
Reimbursements generate more friction than anything else on this list, because traditionally it involves a lot of back and forth paper shuffling.
Example: A volunteer spends $80 on classroom supplies, submits a photo of a receipt three weeks later, and expects a check by Friday. Without a written process, you’re negotiating every time.
Define and share these five things:
- What needs approval in advance, and above what dollar amount.
- What documentation you require — itemized receipt, purpose, budget line.
- How to submit a request, and to whom.
- When reimbursements are paid — a set day each month is easier to defend than “when I get to it.”
- The deadline — how long after a purchase a request can be submitted. Thirty days is common.
Require a reimbursement form for every request, with receipts attached. If some expenses need approval before they’re purchased, make that part of the process too.
Then, put the process in writing and share it with everyone who might spend money for the group. Review it at the start of each year so everyone knows the rules.
The goal isn’t bureaucracy—it’s having a clear, consistent process that everyone follows.
MoneyMinder customers: Our reimbursement feature lets volunteers submit requests with receipts, keeping approvals and payment tracking in one place.
8. Finalize the Budget
Your budget is the document that lets you answer the question you’ll get all year: can we afford this?
If a budget was already approved, review it before you operate off it. Check that the revenue assumptions match what your group actually raised last year, that recurring expenses are all accounted for, and that nothing was left out.
If there’s no budget, build one:
- Start with what you plan to spend — your key activities, programs and operating expenses.
- Then measure what’s coming in — fundraisers, membership or dues, donations.
- Balance the two. If there’s a gap, either the programs shrink or the fundraising grows.
- Set some aside. Reserve enough to carry into next year so your successor doesn’t start at zero.
- Get it approved, following whatever your bylaws require about board and membership votes.
Don’t forget the unglamorous recurring costs
Insurance, dues to a state or national organization, software, a PO box, banking fees. These are the lines most often left out, and they’re the ones that don’t go away.If you ran the books last year, your own actuals are the best data you’ll ever have for this. Compare budget to actual by category and adjust where you were consistently off.
Go deeper: Our budgeting guide includes a sample budget and an experience-backed process for building one.
9. Get report ready before you have to
Reporting is the visible part of this job, but you can prepare for it well before you have anything to report.
Get the meeting calendar on your own calendar. Find out when your board meets and whether your bylaws require anything on a set schedule. Then work backward — if the board meets the second Tuesday, reconciliation happens the week before, which means transaction entry stays current the week before that. One recurring deadline sets the rhythm for everything else.
Ask what your board expects. Every group has a house style. Some want a one-page summary, some want line-item detail, some want it emailed three days ahead. A returning board member will tell you more in five minutes than any template.
Run the reports before you need them. Open your bookkeeping tool and look at what it produces, even against empty data. Find the one that shows budget versus actual. Discovering a report exists is easier now than at 8pm the night before a meeting.
A useful treasurer’s report shows the name of your group, the period covered, the balance you started with, income and expenses for the period, and the balance you ended with. But your board needs interpretation, not recitation. Not “we have $5,402.37 in the bank, everything’s fine,” but “the auction came in $1,200 under what we hoped, so we’ll either need another fundraiser or a smaller scholarship pool.” Numbers, what they mean, what decision follows. One habit to set now: reconcile before you report. Presenting numbers you haven’t verified is how errors become board minutes.
Go deeper: our guide to giving the treasurer’s report has examples, scripts and more.
10. Confirm When Your 990 is Due
Nearly every tax-exempt organization has to file an annual return with the IRS, including small volunteer-run groups that owe nothing. Being a 501(c)(3) means you don’t pay tax — it doesn’t mean you don’t file.
Your 990 due date is the 15th day of the 5th month after your fiscal year ends. For a fiscal year ending June 30 — the most common setup for school-year groups — that’s November 15.
Which form depends on your gross receipts. Most small groups file the 990-N, a short electronic notice. Larger ones file the 990-EZ or the full 990.
Missing it matters. Three consecutive years of not filing means automatic loss of tax-exempt status, and getting it back is expensive and slow. This happens to volunteer groups regularly, usually because each year’s treasurer assumed the last one had it handled.
MoneyMinder customers:
990-N filing is included with your subscription, and 990-EZ filing is available for $99.

The First Three Months as Treasurer
Month 1 — Access confirmed. Records organized. Payment platform set. Cash process in place before your first collection.
Month 2 — Transactions entered weekly. Reimbursement process written and shared. Budget approved. Meeting calendar set and reports explored.
Month 3 — First reconciliation complete. First board report delivered. 990 filed ahead of the deadline. Rhythm established.
It’s a real commitment, but it isn’t complicated, and the work compounds in your favor — the systems you set up now are what make February easy.
Where MoneyMinder Fits In
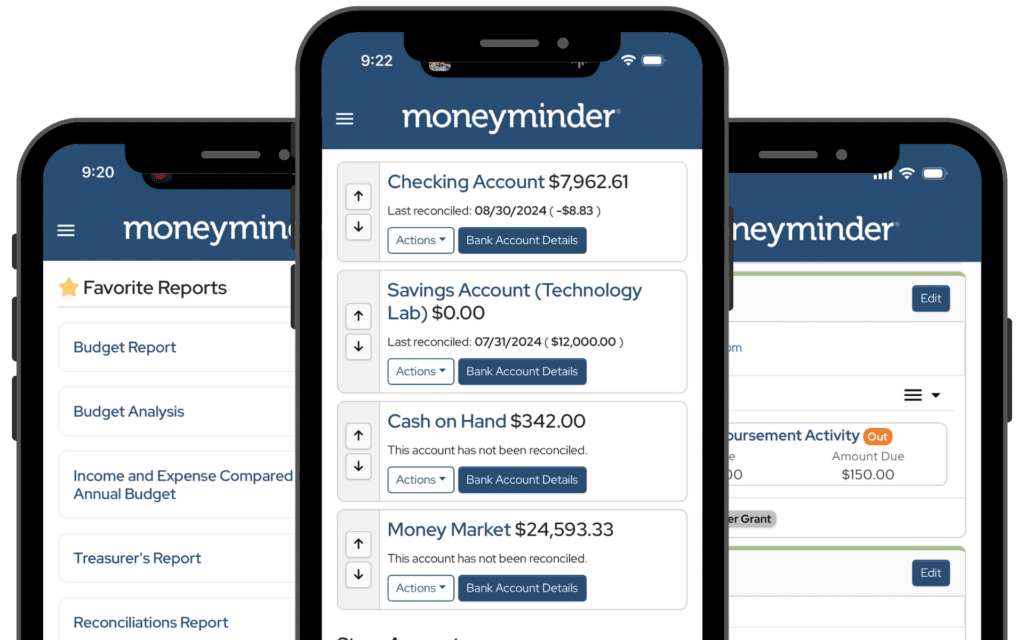
MoneyMinder is bookkeeping software built for volunteer treasurers, not accountants. It handles the budget, transactions, reconciliation, reimbursements and board reports in one place, connects to the payment platforms your group already uses, and includes 990-N filing.

thank you for the tips. as a new tresurer i find these to be a helpful check list.
You are welcome. Glad they were helpful — and note that we have a ton of other content for treasurers on our website and social media accounts!