Setting up a Budget at the beginning of your 30-day free trial
Watch Video
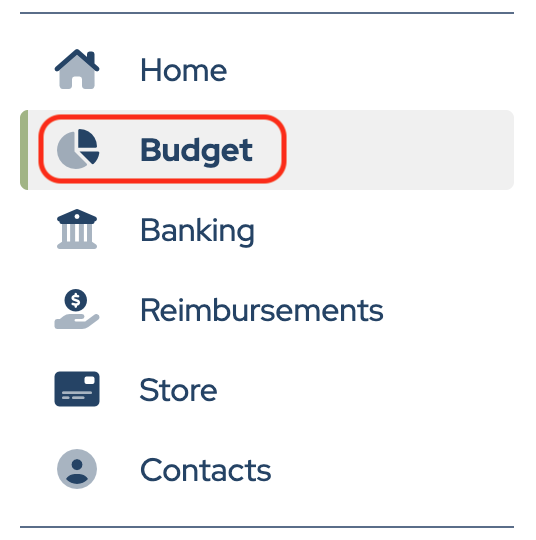
Click Budget in the sidebar.
Choose one of the following to create a budget:
- Select one of MoneyMinder’s templates.
- Add a budget from scratch.
To select a budget template:
Select a budget template from the Choose a MoneyMinder budget template to start with drop-down.
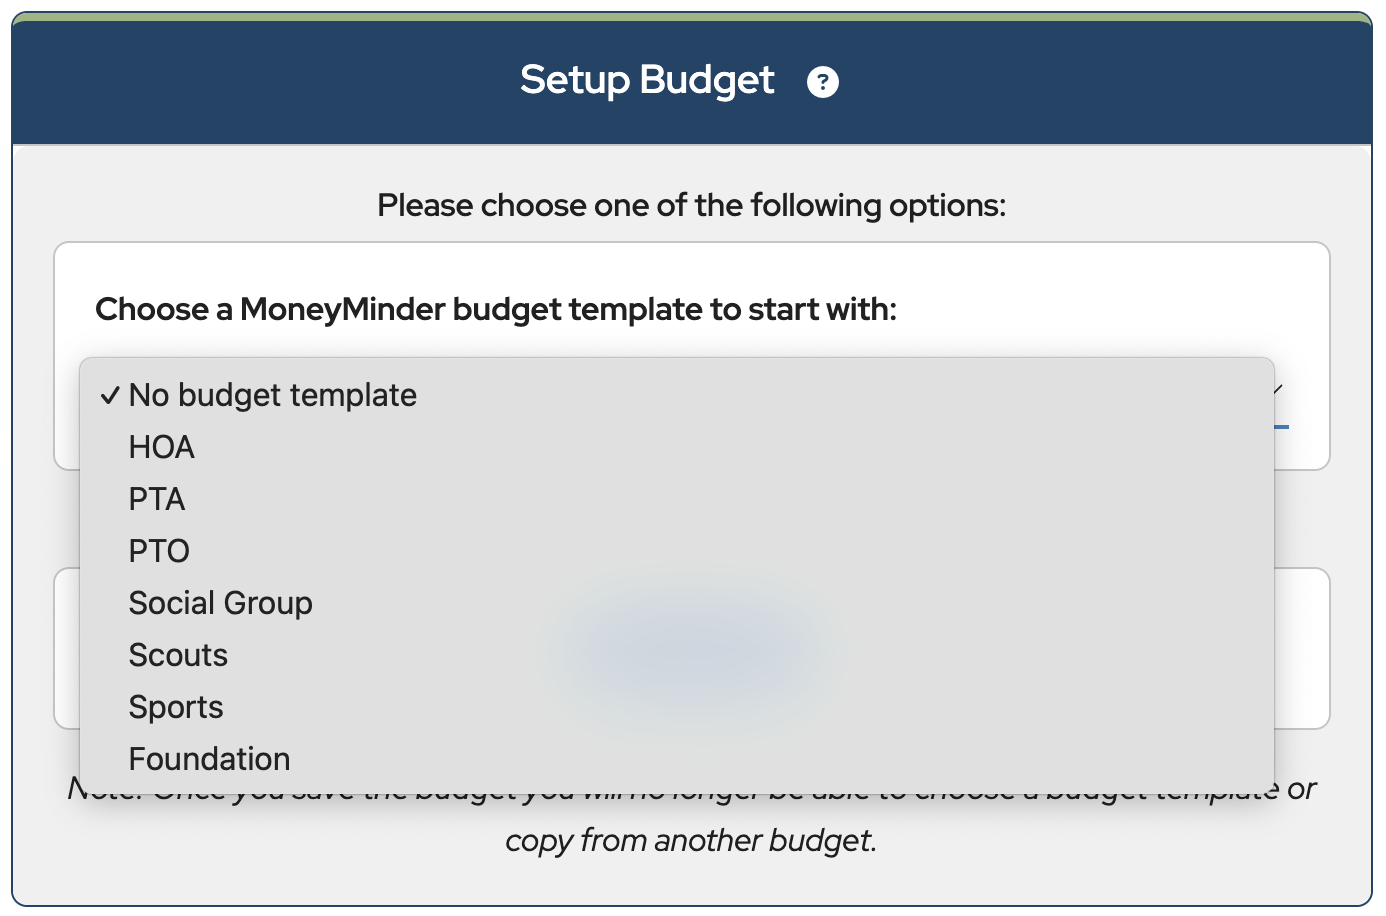
A sample budget will auto-populate. Changes to the template can be made to modify the budget for your group.
When finished, click Save Changes.

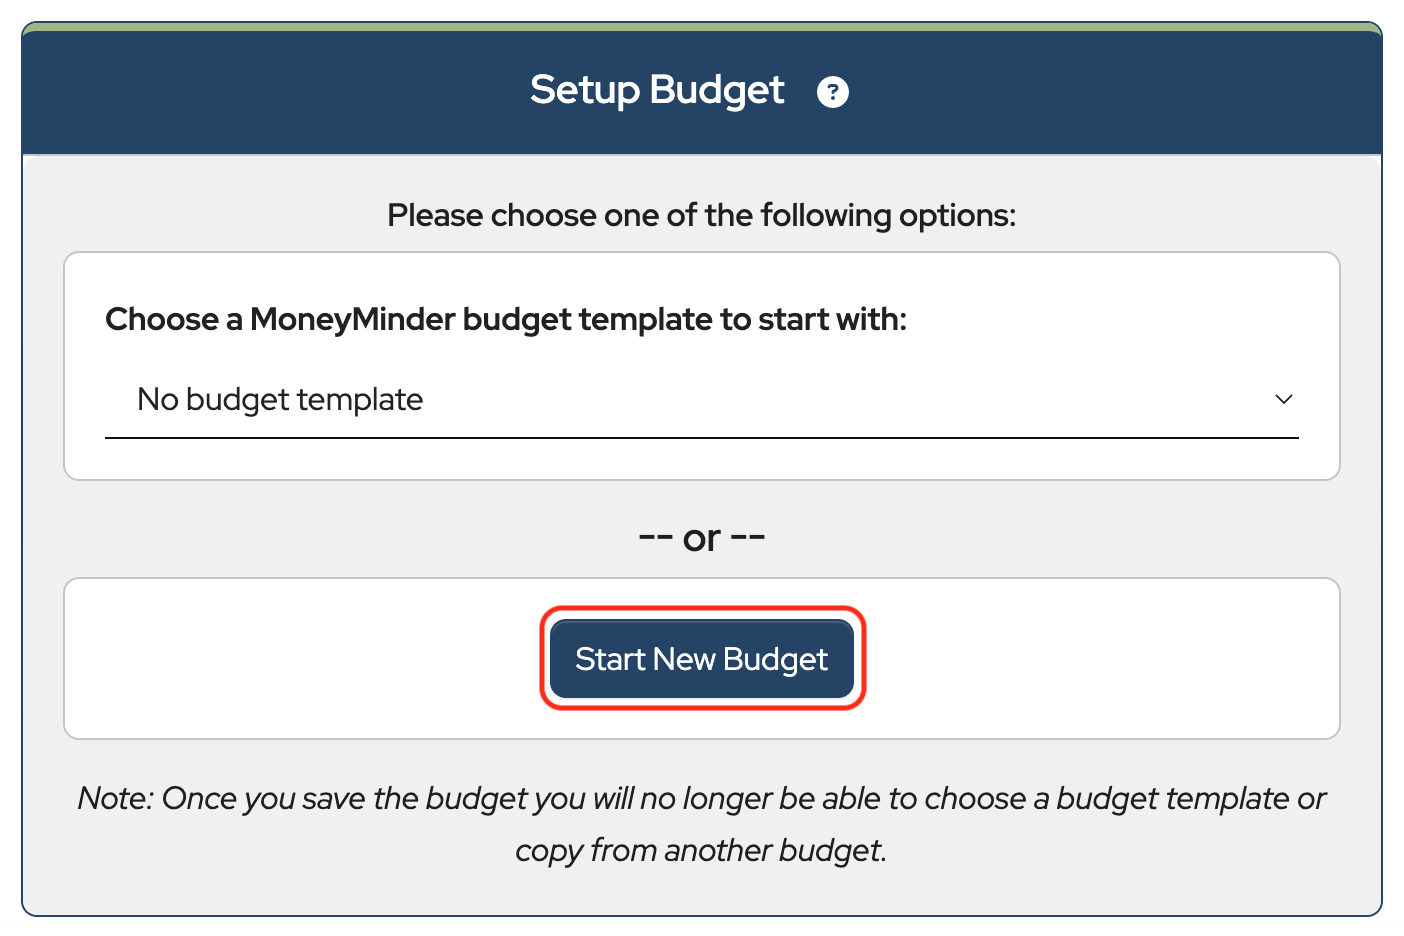
To add a budget from scratch:
Click Start New Budget to begin creating a new budget.
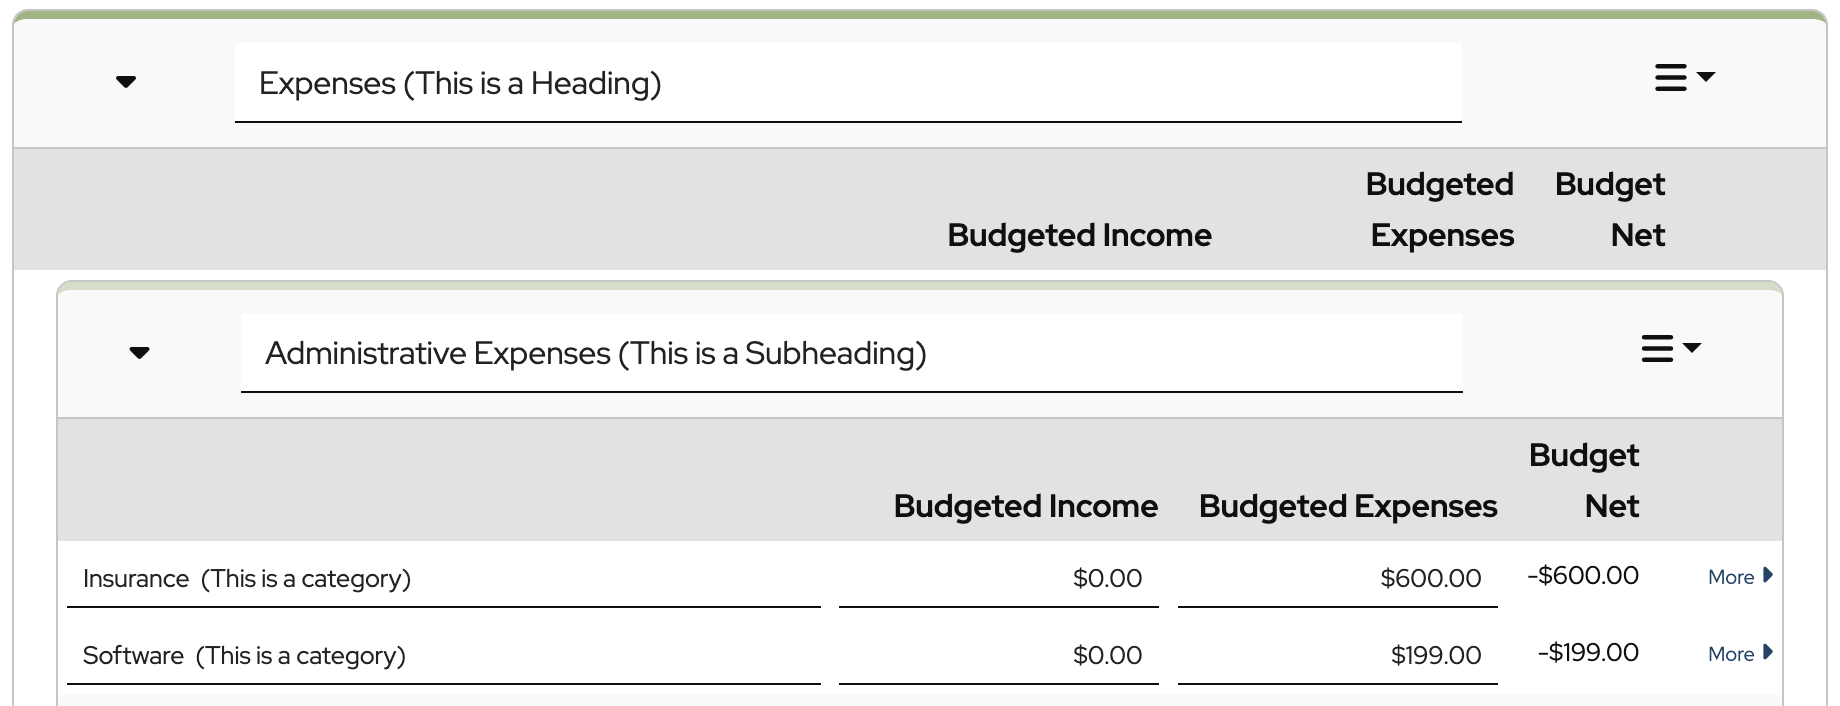
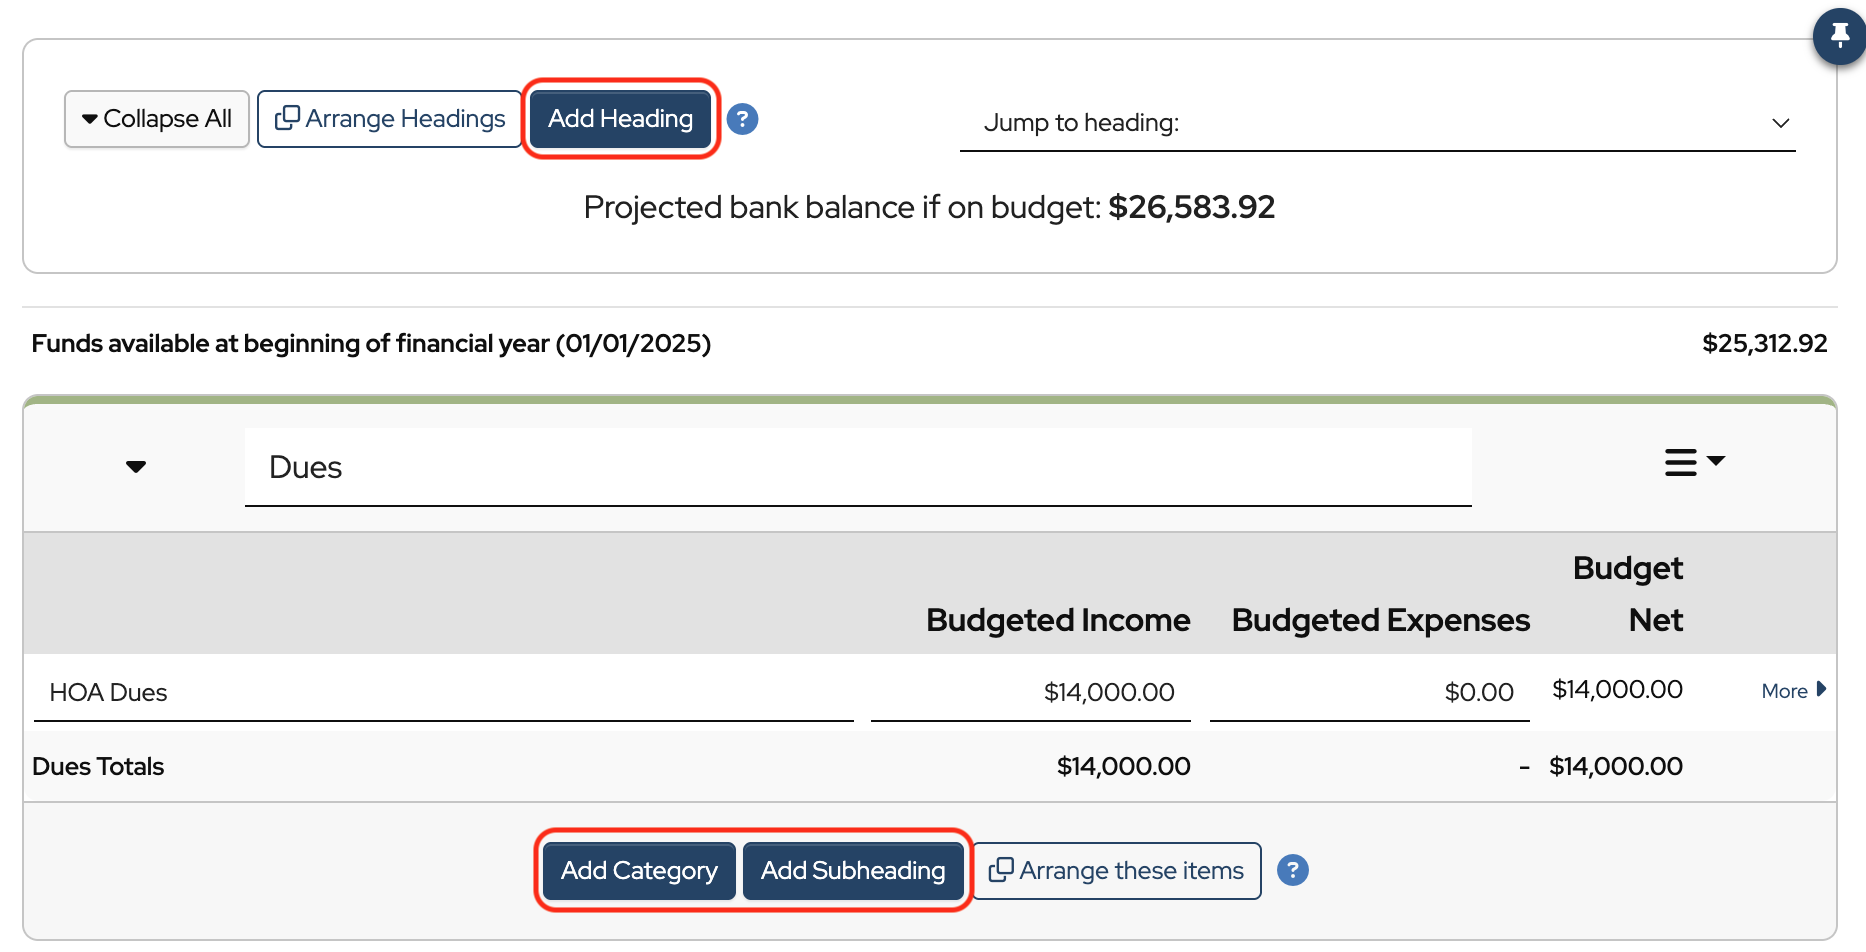
When entering a budget, keep in mind that Headings and Subheadings are a way to organize the budget, and Categories are what transactions are applied to and what is tracked on reports. Categories are organized below Headings and/or Subheadings and have dollar amounts that can be entered under Budgeted Income and/or Budgeted Expenses. See the example below:
Enter the name of the first Heading.

Continue creating the budget by adding Headings, Subheadings, and Categories.
When finished, click Save Changes.
To delete a Category:
- Click the More> button to the right of the category.
- Click the red Delete button. Note: You can only delete a Category if there are no transactions applied to it.
- Click Save Changes.

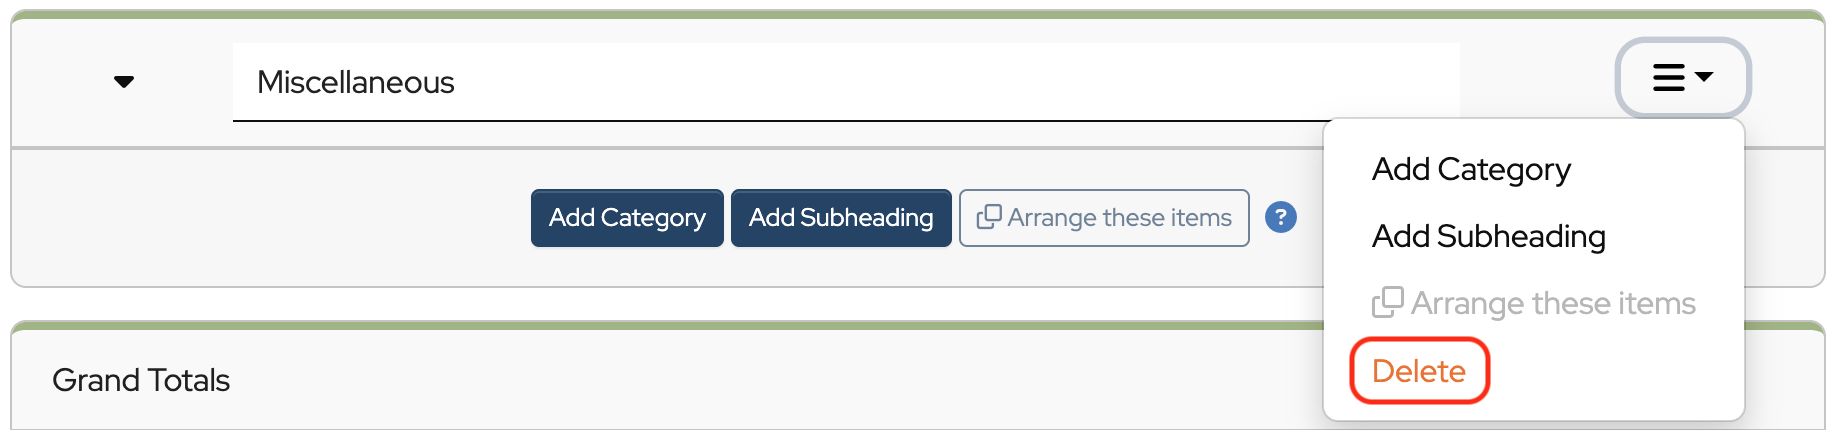
To delete a Heading:
- Click the three lines (“hamburger”) to the right of the Heading name to open the dropdown.
- Click Delete. Note: You can only delete a Heading if there are no Categories or Subheadings listed beneath it.
- Click Save Changes.
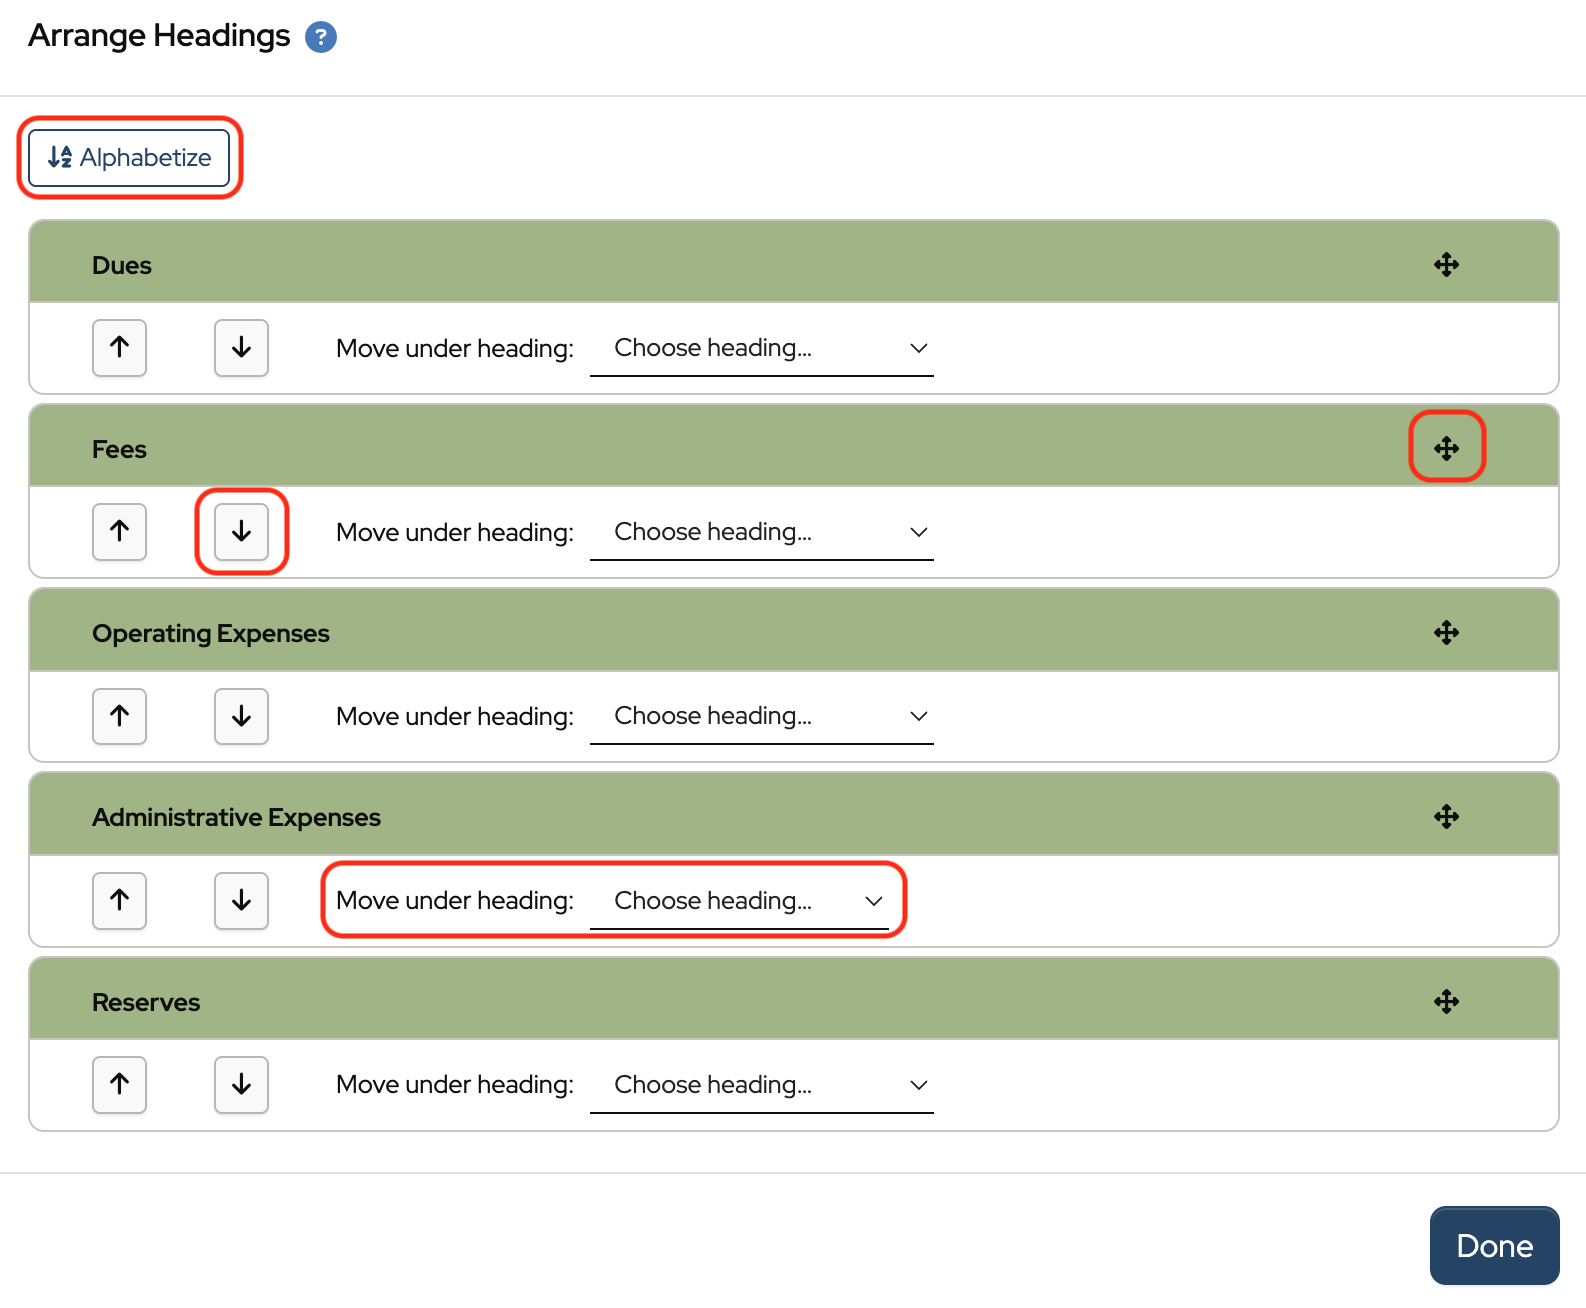
To move a Heading:
Click Arrange Headings in the static toolbar at the top of the screen.

- Use the Alphabetize button or the up/down arrows to re-order the Headings, or click and drag to change a Headings position.
- To move a Heading under a different Heading, click the Choose heading dropdown and select the Heading.
- Click Done and then Save Changes.
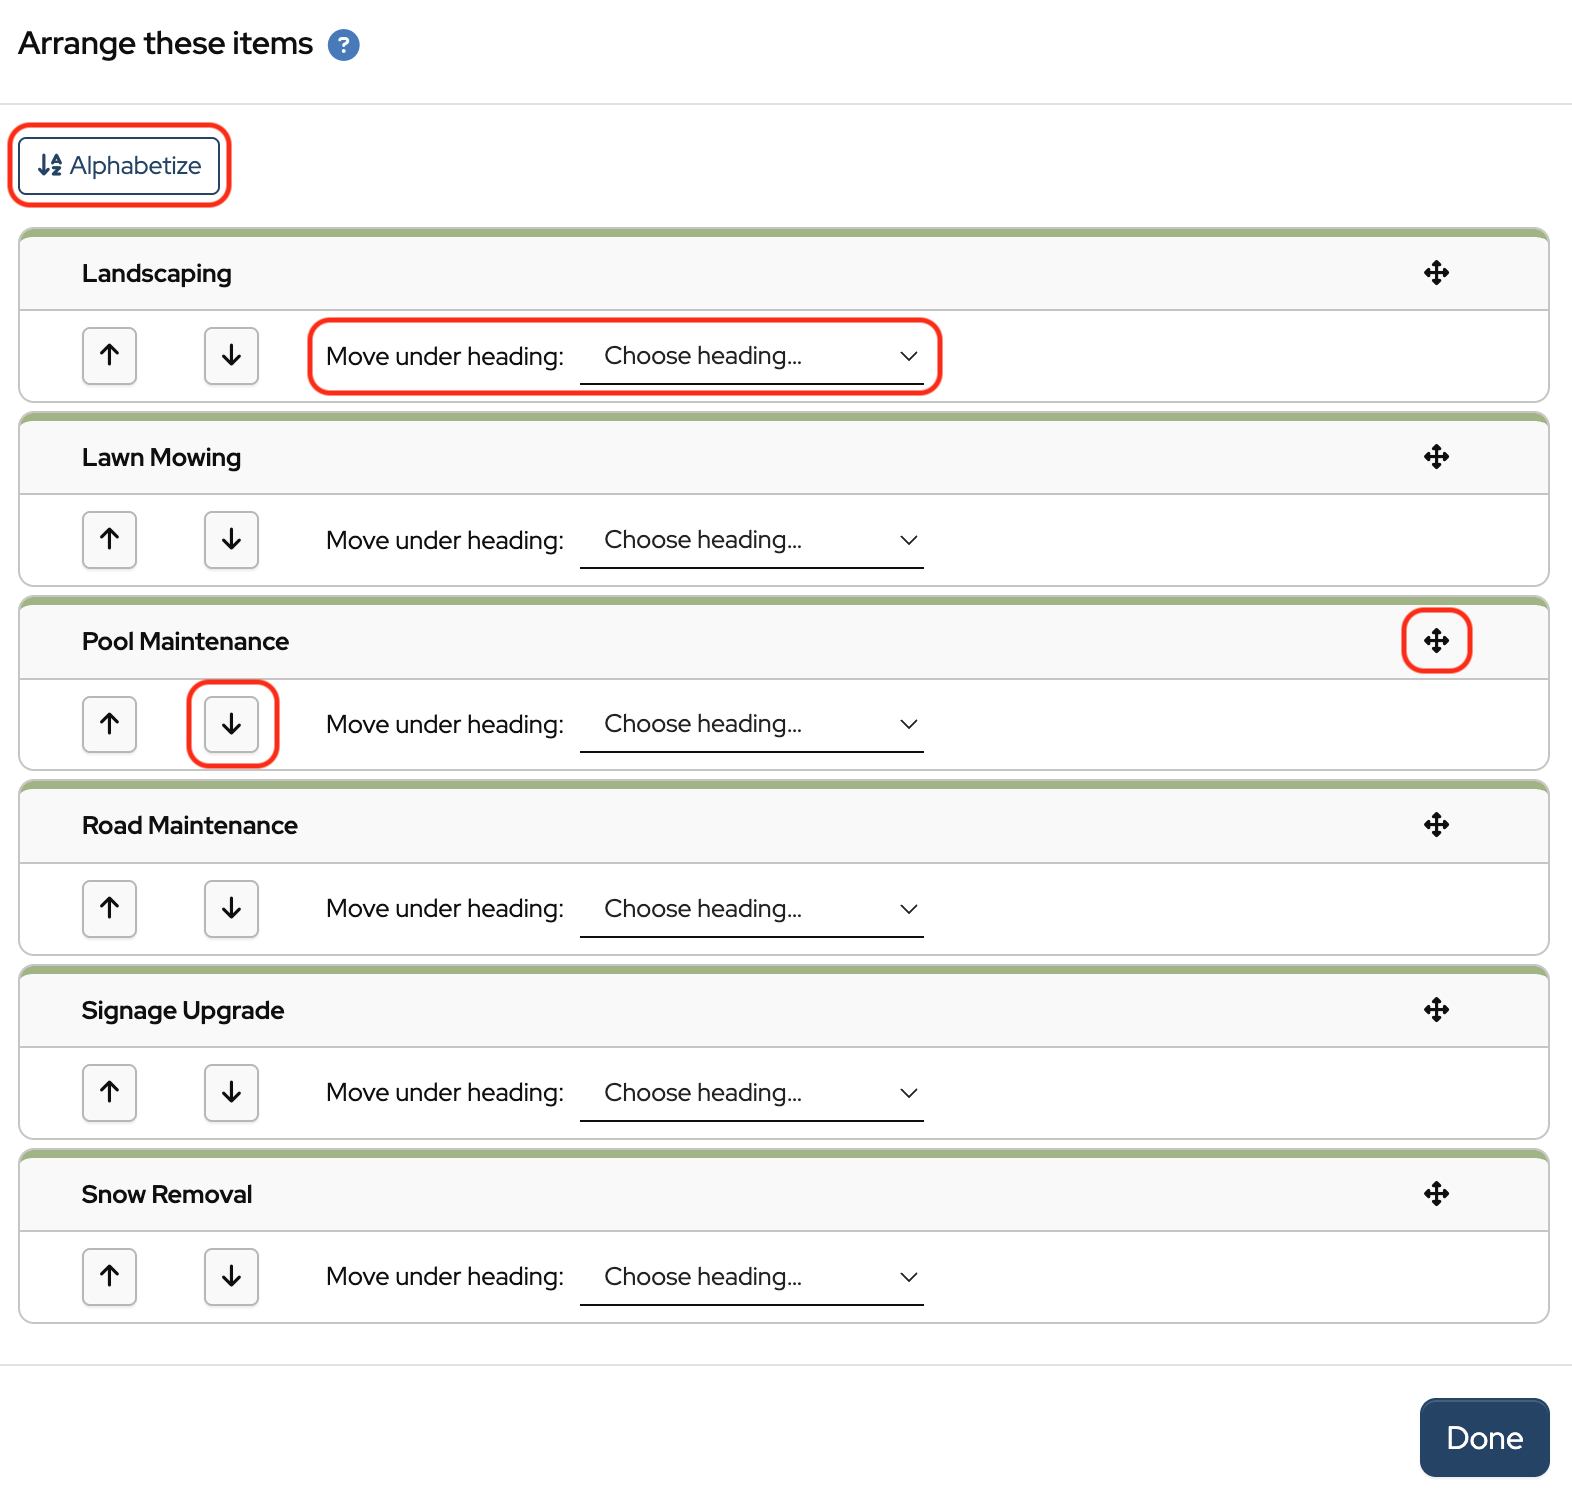
To move a Category:
Click the Arrange these items button at the bottom of the Heading or click the “hamburger” to open the dropdown and choose Arrange these items.
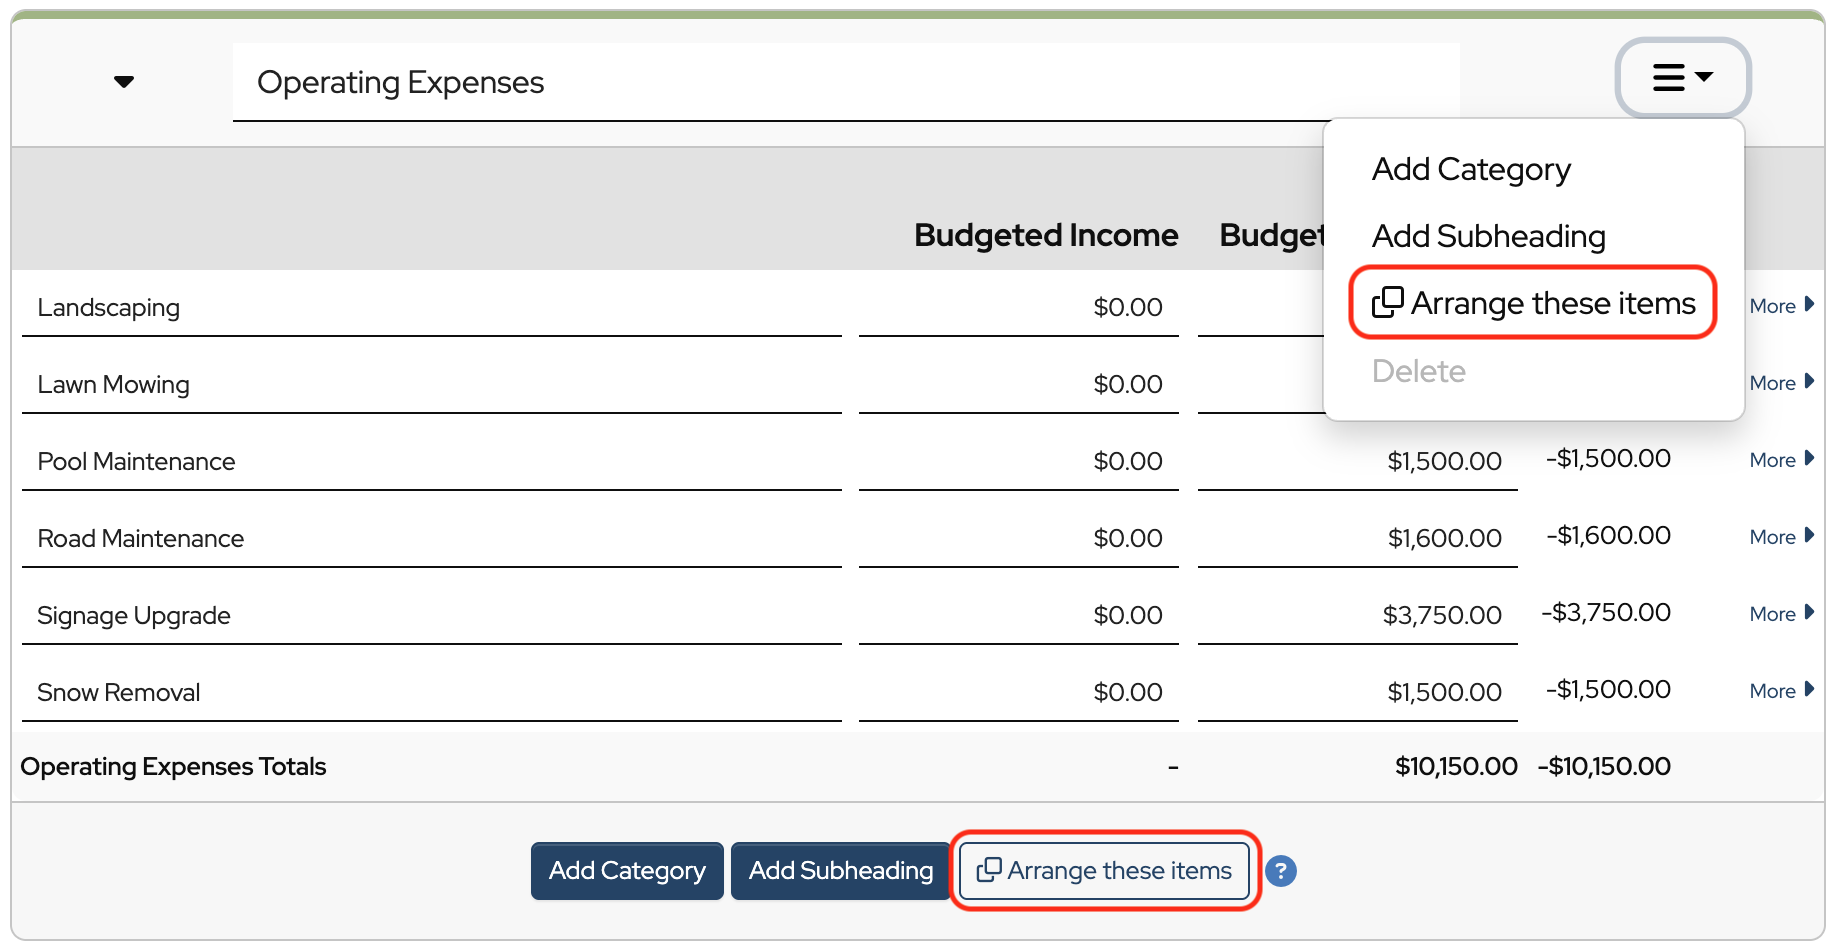
- Use the Alphabetize button or the up/down arrows to re-order, or click and drag the Category to change its position.
- To move a Category under a different Heading, click the Choose heading dropdown and select the Heading.
- Click Done and then Save Changes.
 Connect your Venmo account to MoneyMinder PRO to directly download transactions, saving you time and effort. You just review the transactions to ensure they are properly categorized and fill out any required fields.
 Connect your Bank, Paypal and Square accounts to MoneyMinder PRO to directly download transactions, saving you time and effort. You just review the transactions to ensure they are properly categorized and fill out any required fields.
 Connect your Bank, Paypal and Square accounts to MoneyMinder PRO to directly download transactions, saving you time and effort. You just review the transactions to ensure they are properly categorized and fill out any required fields.
 Join It is a membership management service that helps businesses and nonprofits effectively sell, track, and grow their membership.
 Connect your Bank, Square and PayPal accounts to MoneyMinder PRO to directly download transactions, saving you time and effort. You just review the transactions to ensure they are properly categorized and fill out any required fields.
I am happy for this opportunity