How to Upload & organize documents
Watch Video
Upload documents
The Documents feature allows forms and records to be uploaded & stored.
Some common items that groups upload are Meeting Minutes, Bylaws, 990(EZ) forms and other IRS documentation, Meeting Agendas, Check Request Forms, Audit Findings, NSF Check Letters, Flyers, etc.
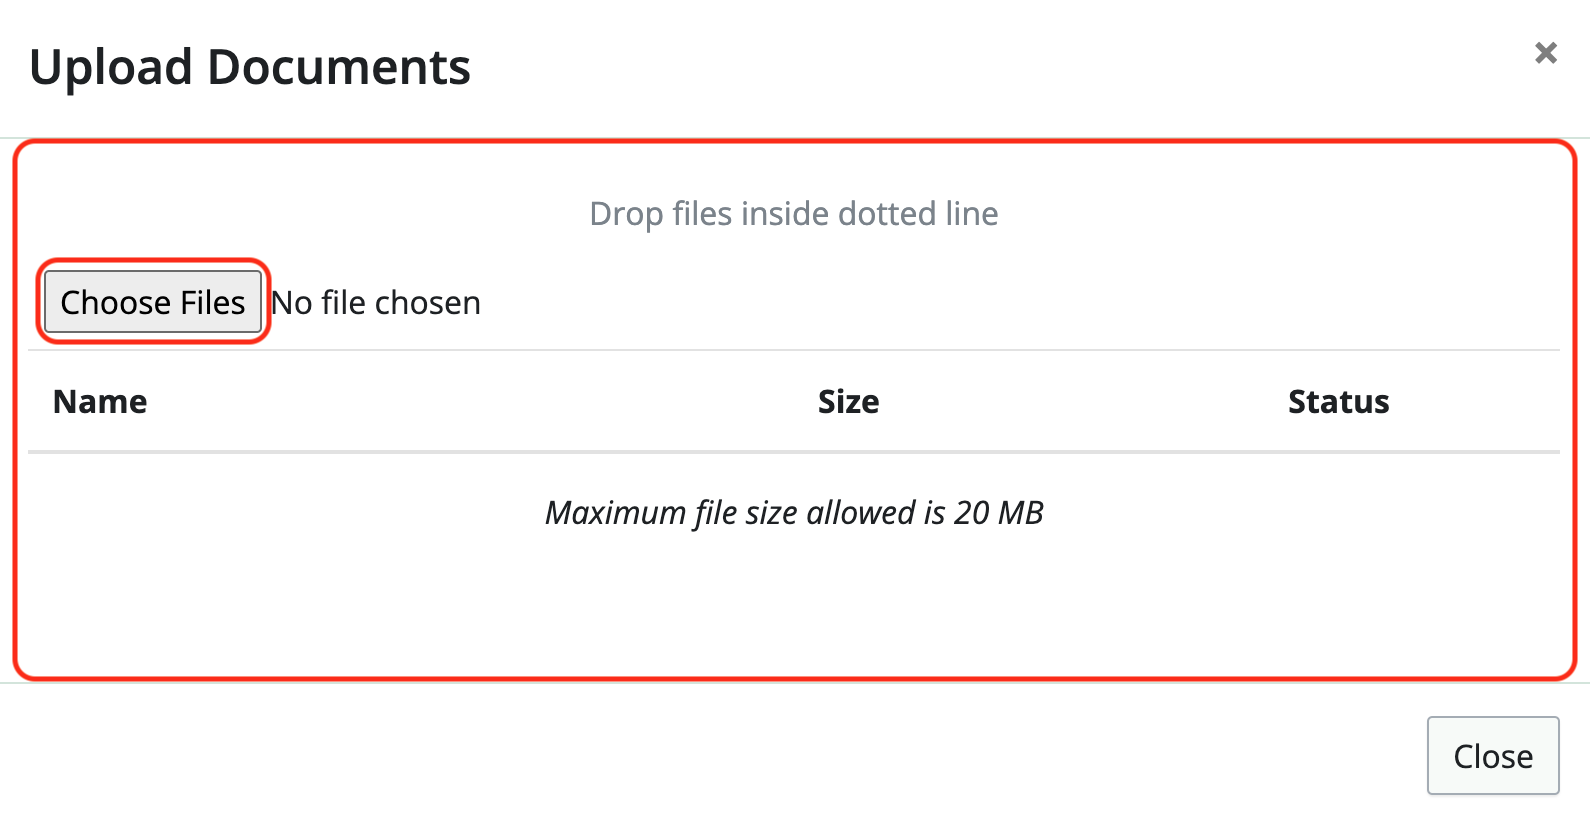
The maximum file size allowed for each upload is 20MB per file.
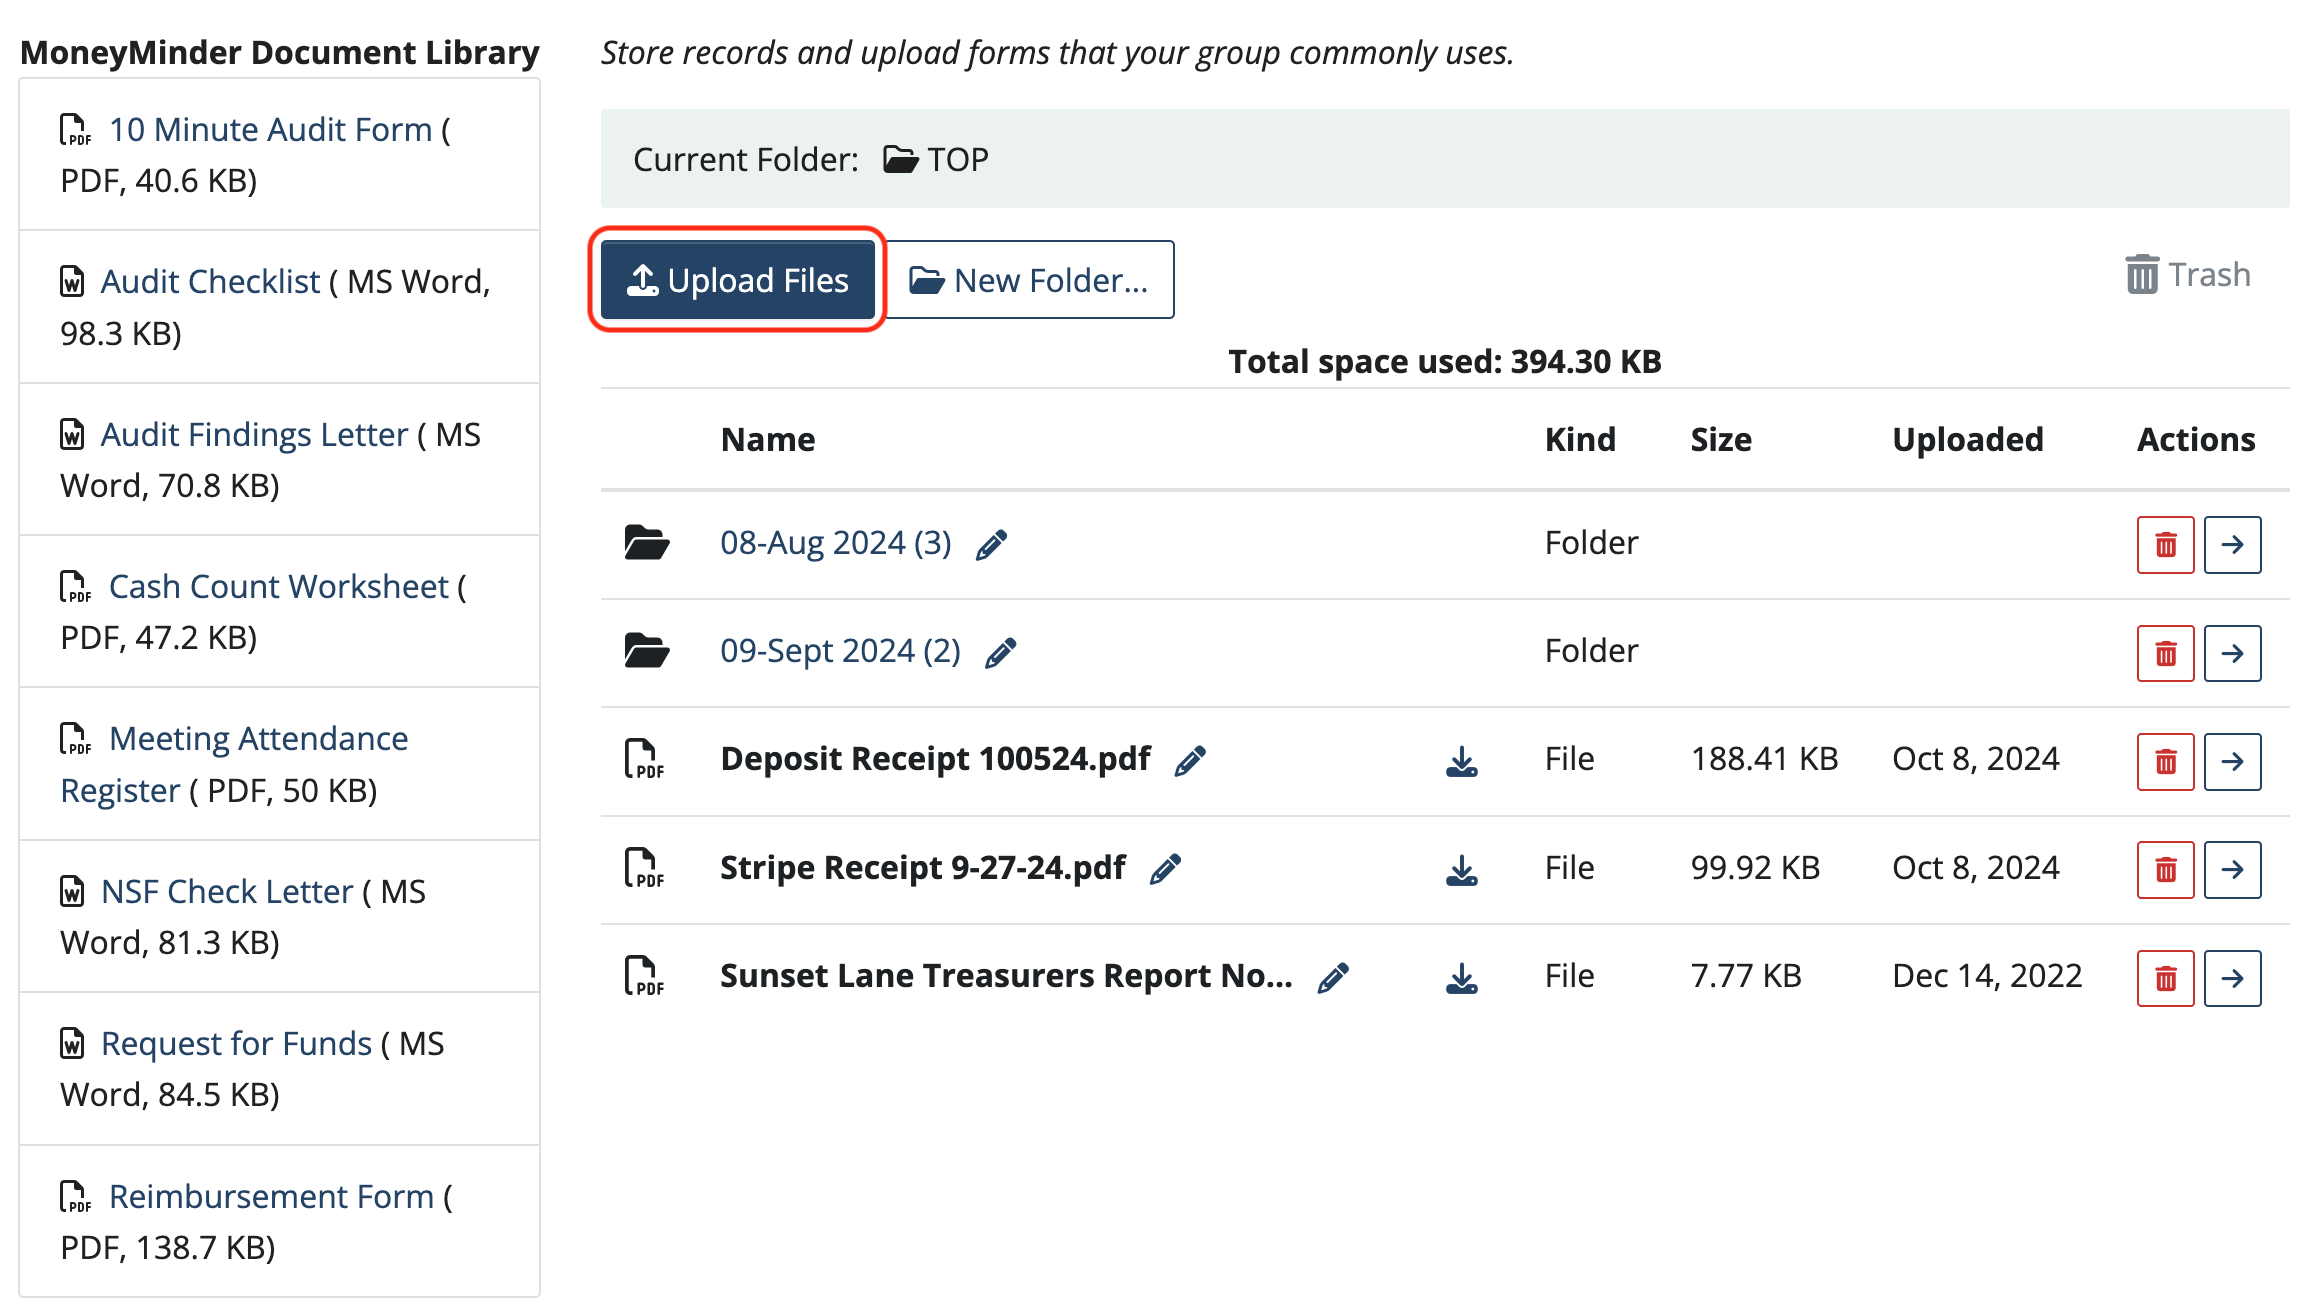
Click Documents in the sidebar:

Click Upload Files.
Next either drag & drop a file or choose a file from your file browser window.
Once the file has been uploaded, the Status will show Successfully Uploaded.
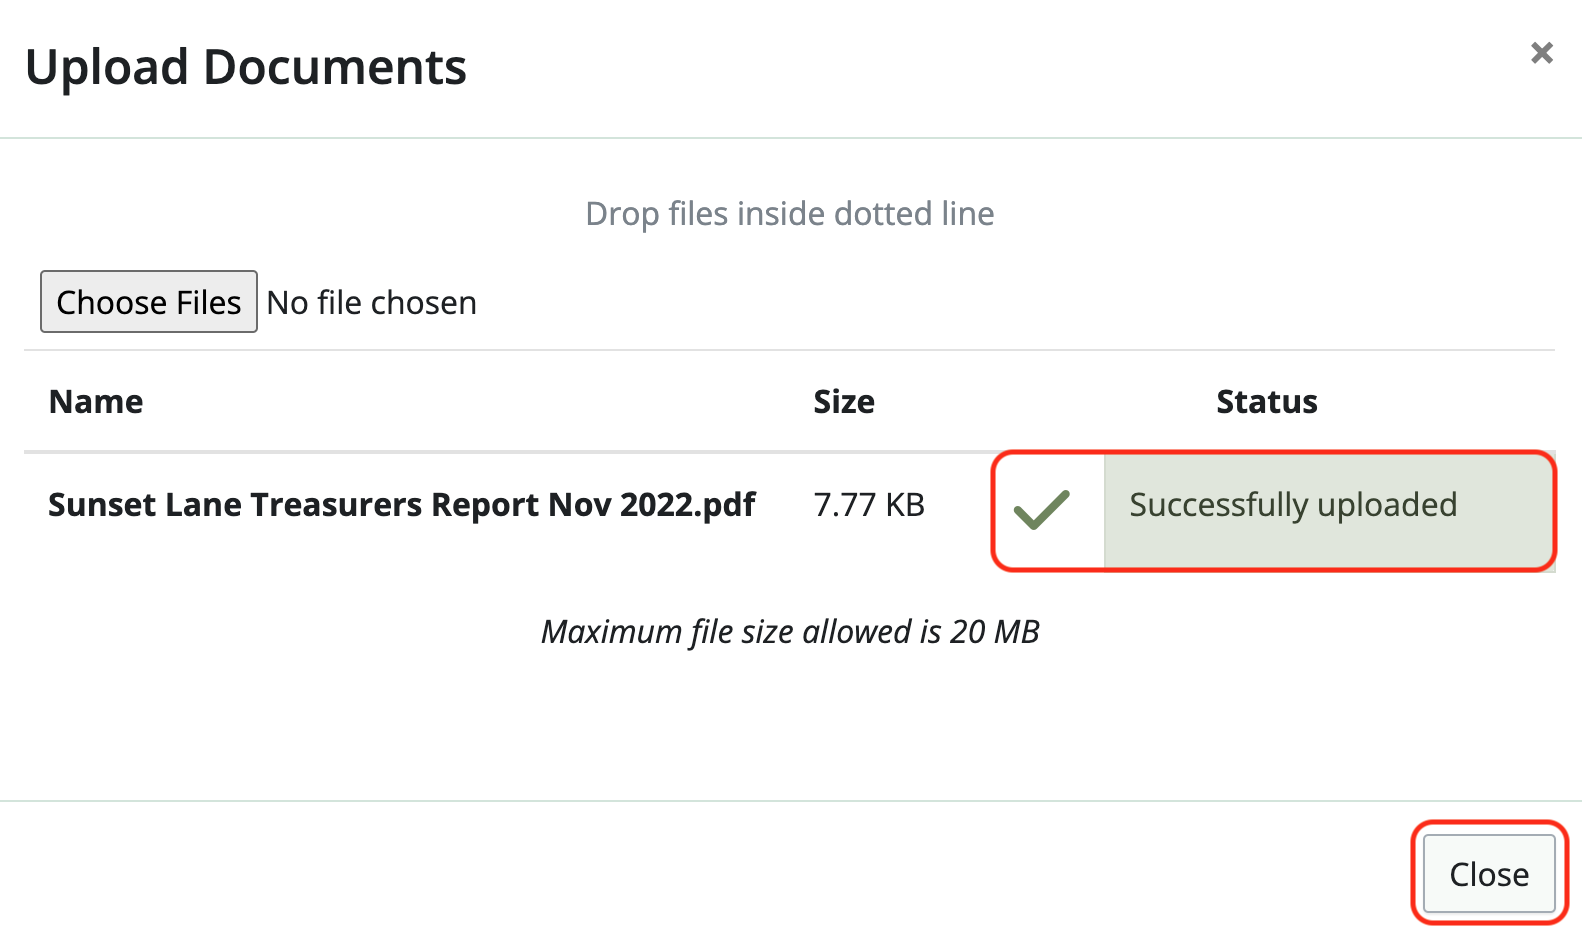
Click Close when you’re done uploading.
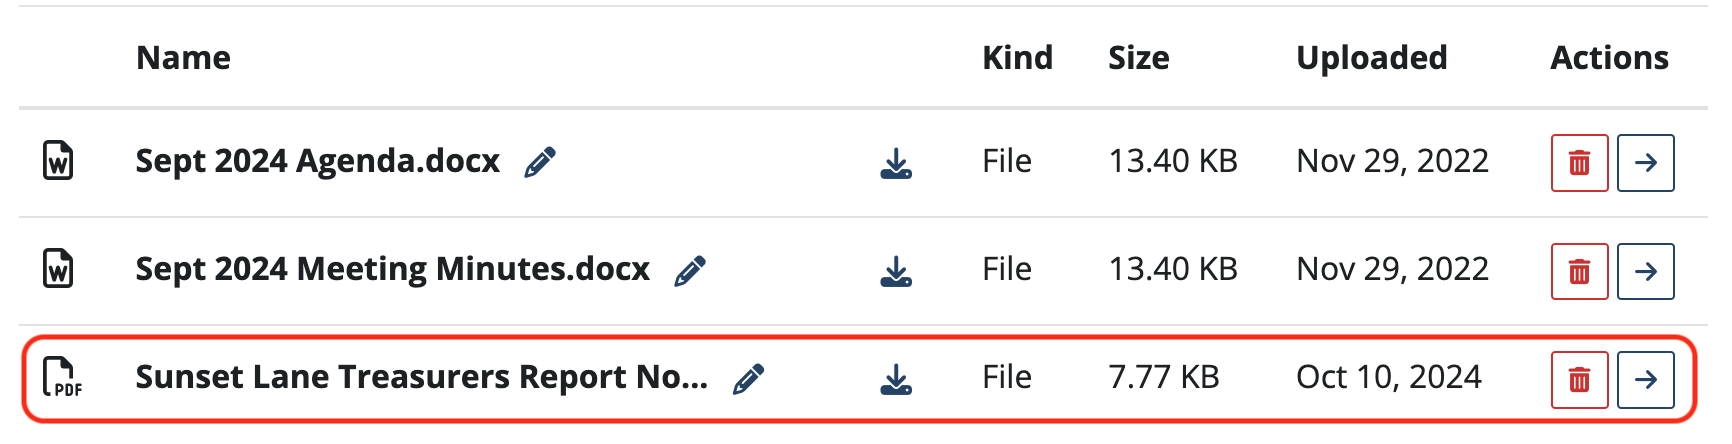
That file will then be listed in the directory.
Organizing your documents
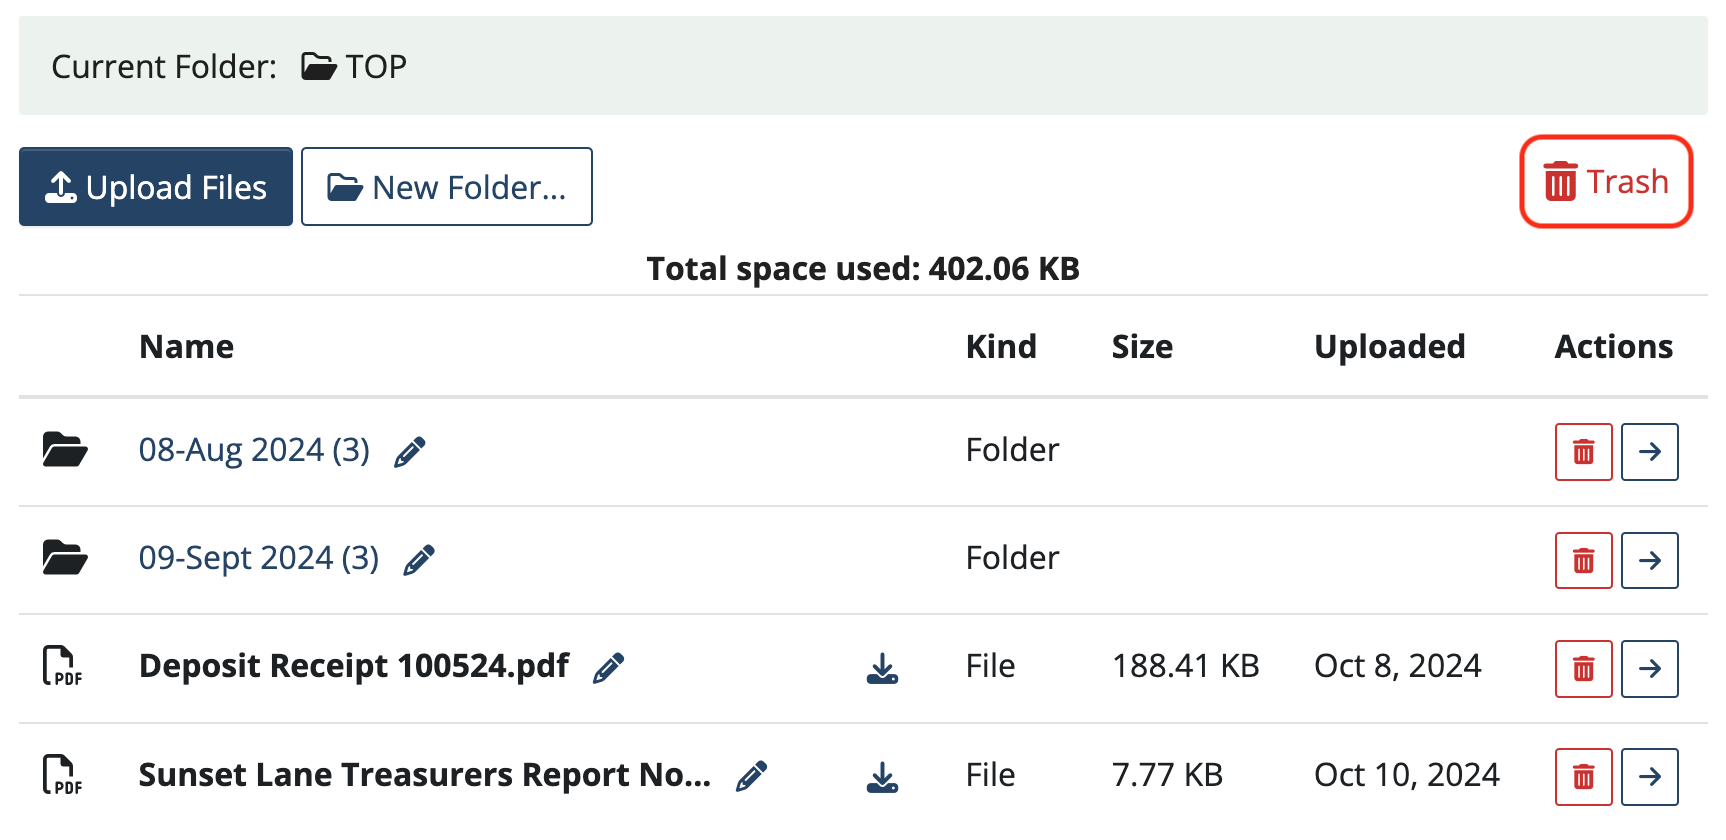
Click TOP to go to the main folder list.
Click on any Folder name to open the folder.
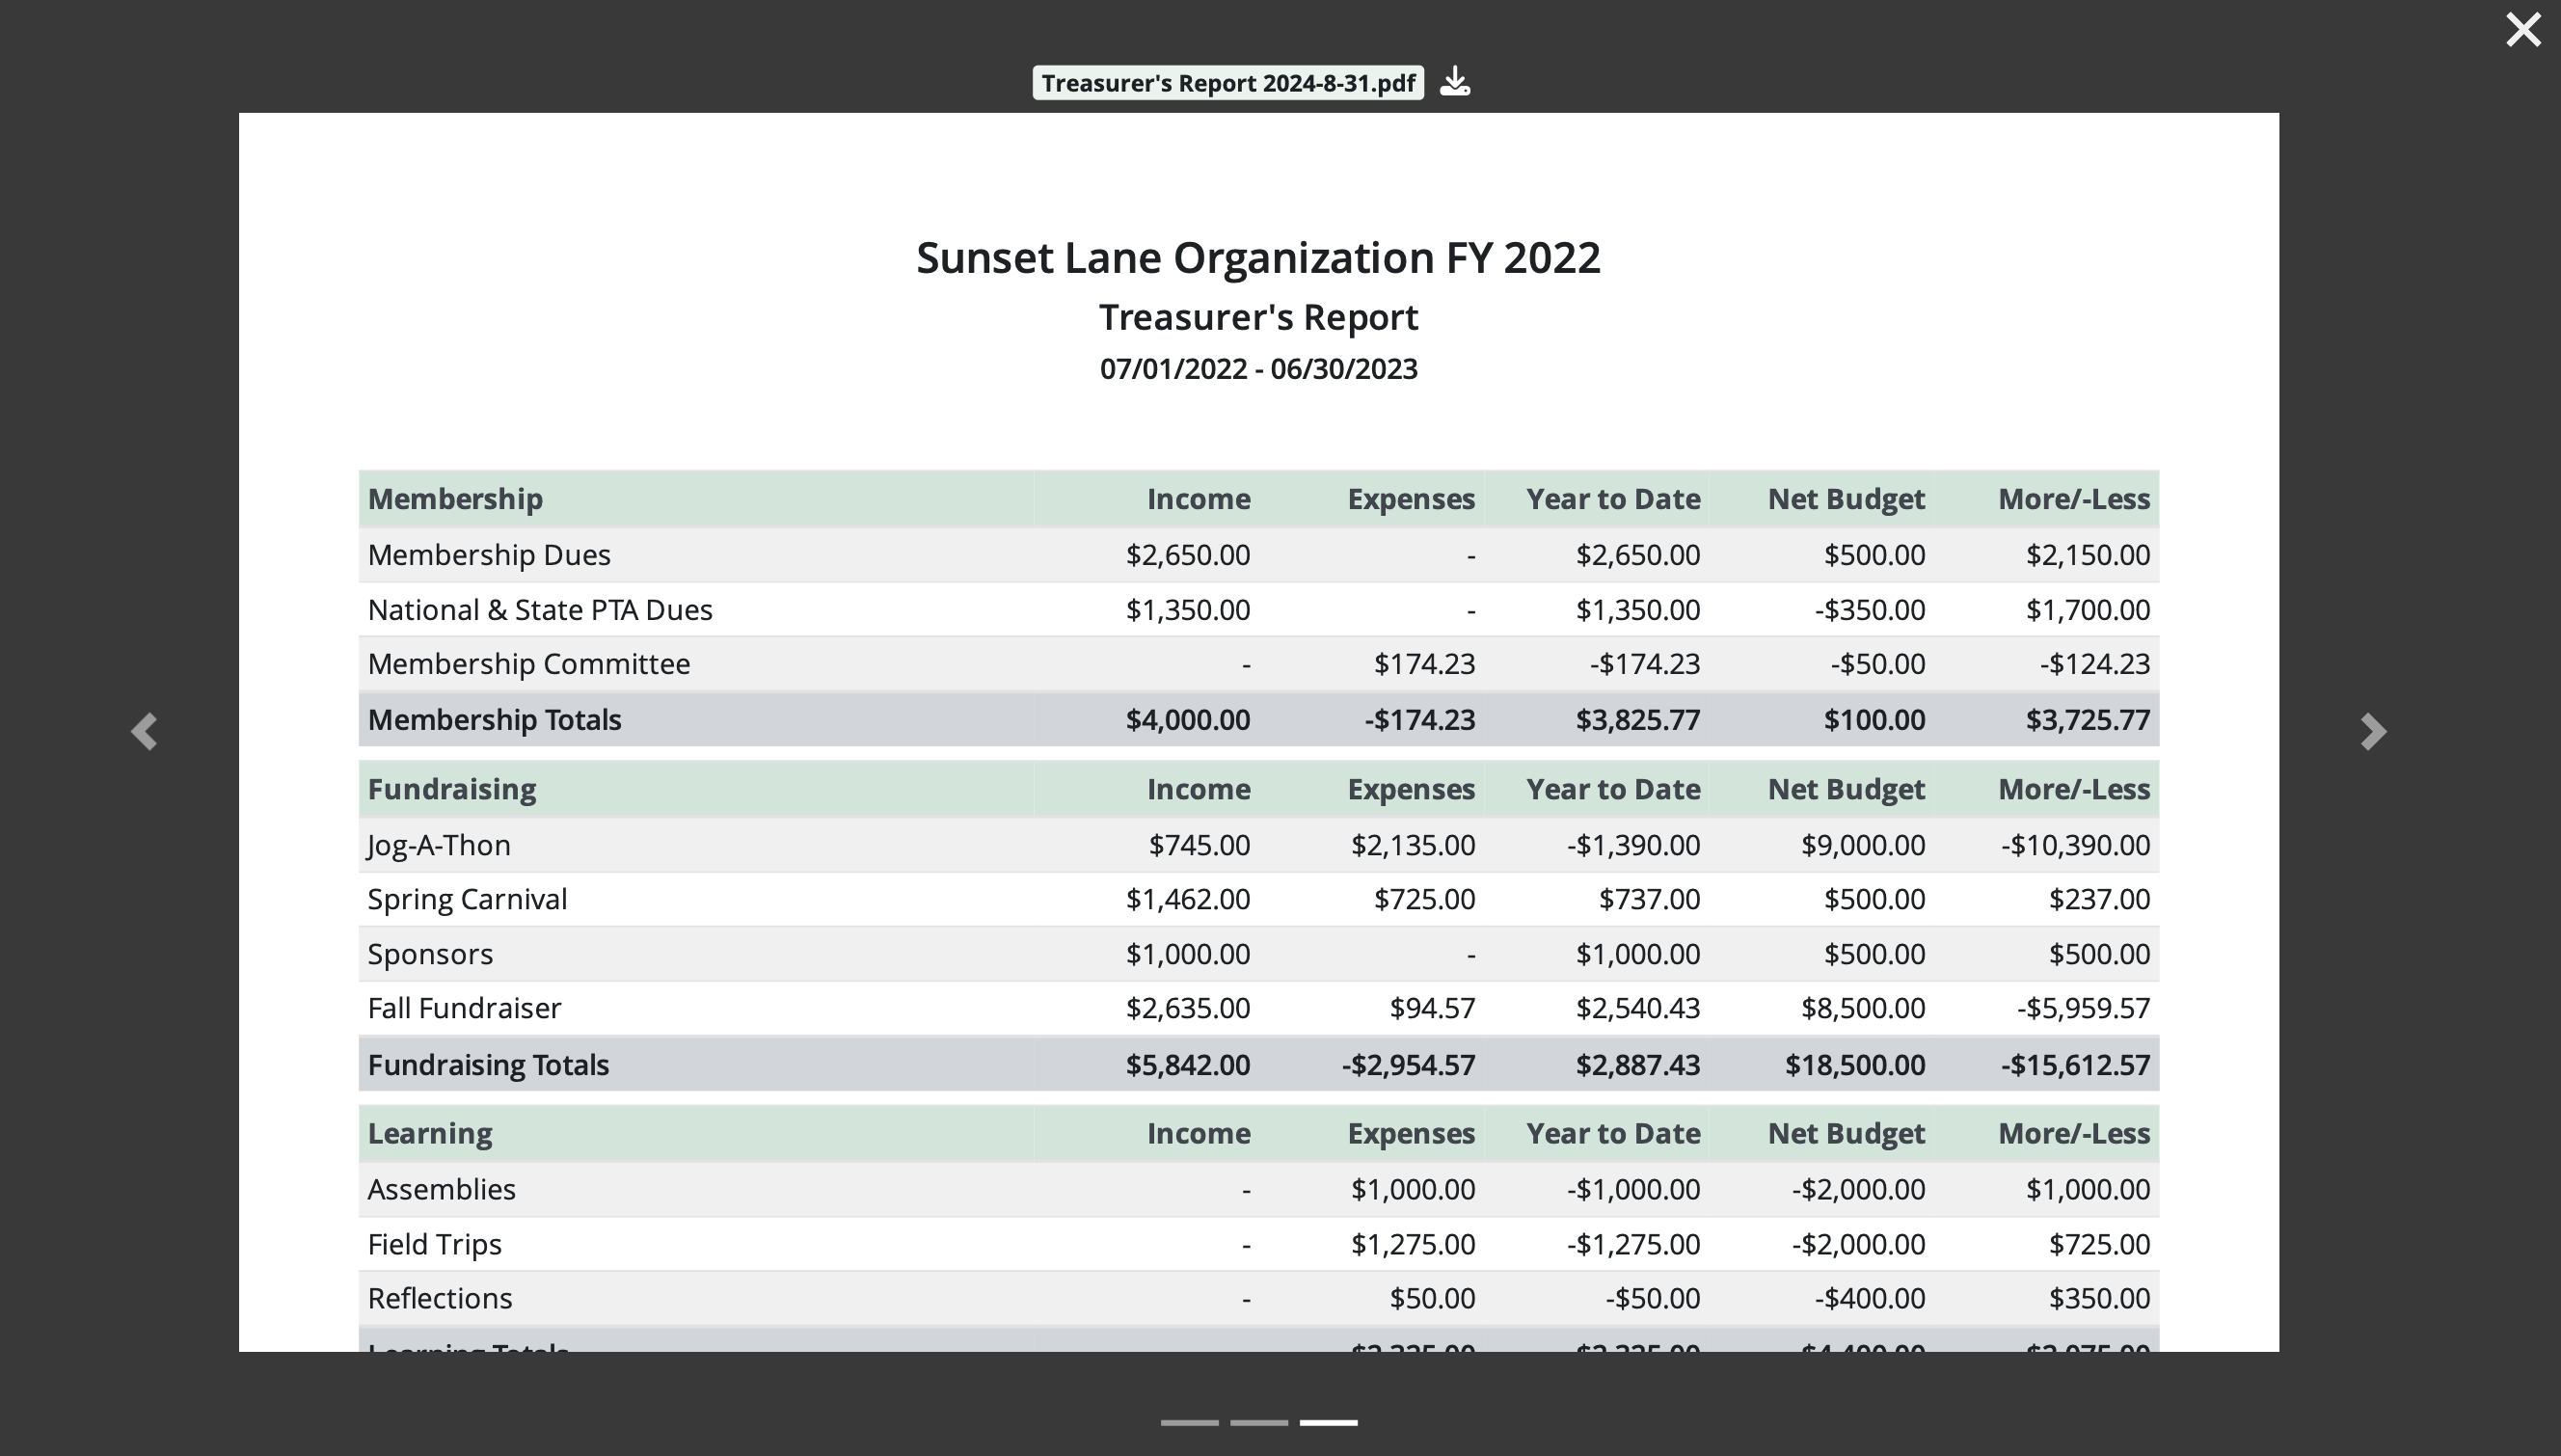
Click on an item name to open a viewer window to view the document if it’s a PDF or image file.
If it’s not an image or PDF, you’ll see the message, [File name] cannot be previewed, please download instead. Click the word download to initiate the process.

Click on the blue arrow icon to the right of an item or folder to move it into another folder.
![]()
Removing documents
To delete a document, click the trash can icon to the right of the document name.

Permanently deleting documents
When a document is deleted, it is moved to the Trash can.
To permanently delete an item, click Trash to see a list of items in the Trash can.
Click the red “x” to the right of an item to permanently delete it. Click Empty trash… to permanently delete all items in the Trash.
![]()
 Connect your Venmo account to MoneyMinder PRO to directly download transactions, saving you time and effort. You just review the transactions to ensure they are properly categorized and fill out any required fields.
 Connect your Bank, Paypal and Square accounts to MoneyMinder PRO to directly download transactions, saving you time and effort. You just review the transactions to ensure they are properly categorized and fill out any required fields.
 Connect your Bank, Paypal and Square accounts to MoneyMinder PRO to directly download transactions, saving you time and effort. You just review the transactions to ensure they are properly categorized and fill out any required fields.
 Join It is a membership management service that helps businesses and nonprofits effectively sell, track, and grow their membership.
Is there a report that shows who uploaded the most recent version of a specific document? Does someone with Reporting designation have the capability to upload a new document to Moneyminder?
Hi Irene,
There isn’t a report that shows who uploaded a document, but the date it was uploaded does show next to the document.
The Reporting user role only has read-only access so cannot upload documents. The Documents user role can upload documents though.